I’m hoping the bulk of this below will be helpful if someone else one day decides to (or is wavering about whether or not to) take on any of these similar tasks.
The extra extra long version + notes / additional pictures
So, I thought about waiting until this was finished (painted and new waterslide applied) before mentioning it, but there’s been a lot of rain and seasonal moisture in the air which has ruined any painting aspirations I’ve had recently, thus I’ve hit a lull on several projects which require paint and been working on what I can do without risking the loss of expensive nitrocellulose (unfortunately I don’t have access to a climate controlled paint booth and the cost of canned nitro is through the roof).
Anyhow, I really absolutely hate the look of laurel, it’s a very superficial thing but the nearly ash grey coloring makes me feel like it’s the most unattractive of fretboard woods, neither light like maple nor dark like any traditional hardwood fretboard. I’ve long wondered about the viability of staining fretboards, but mostly shied away from it as it’s intimidating on any expensive neck, and I’ve seen unpredictable results online.
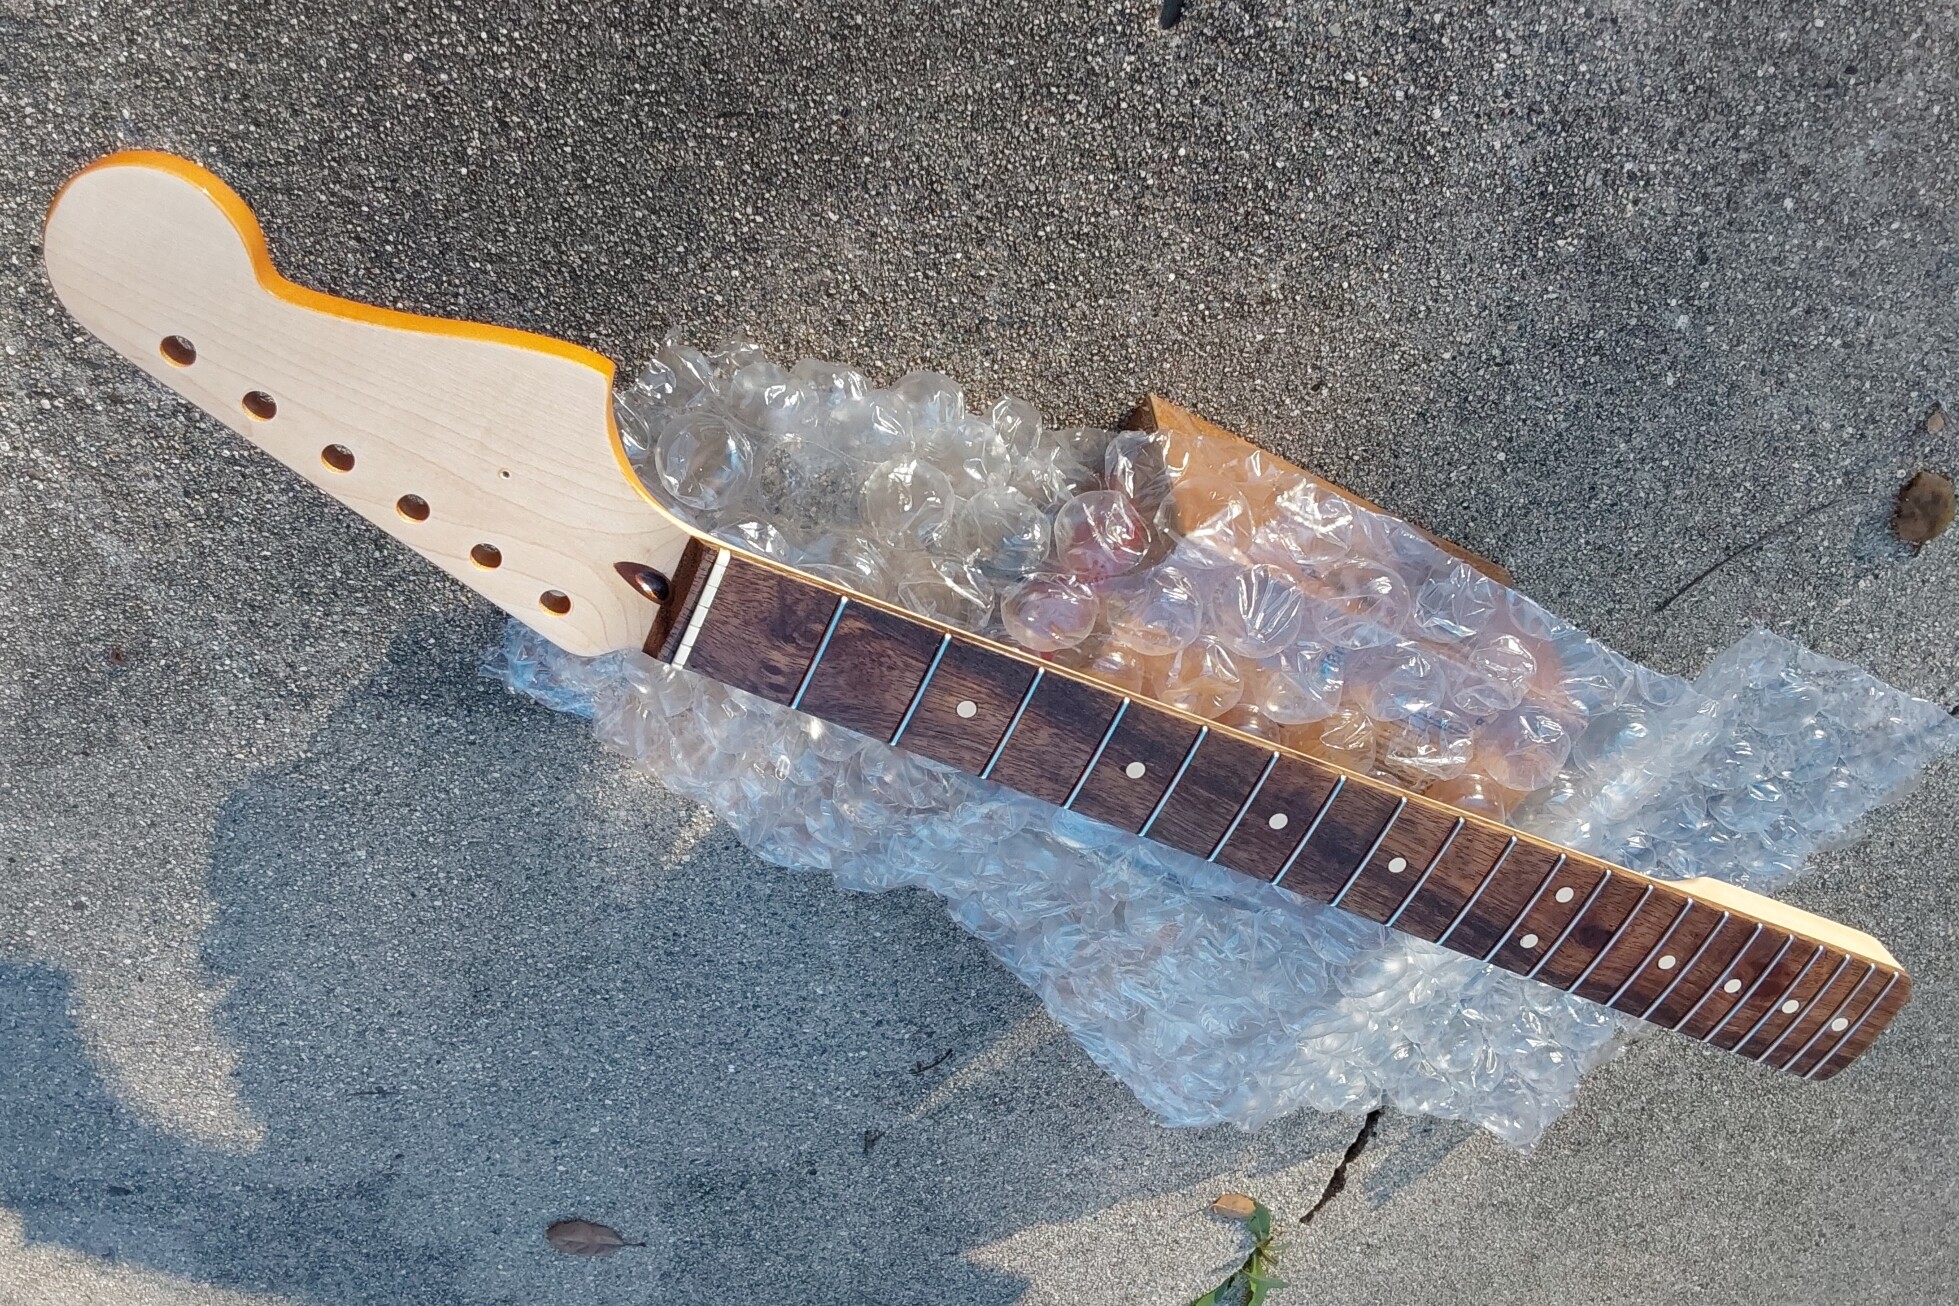
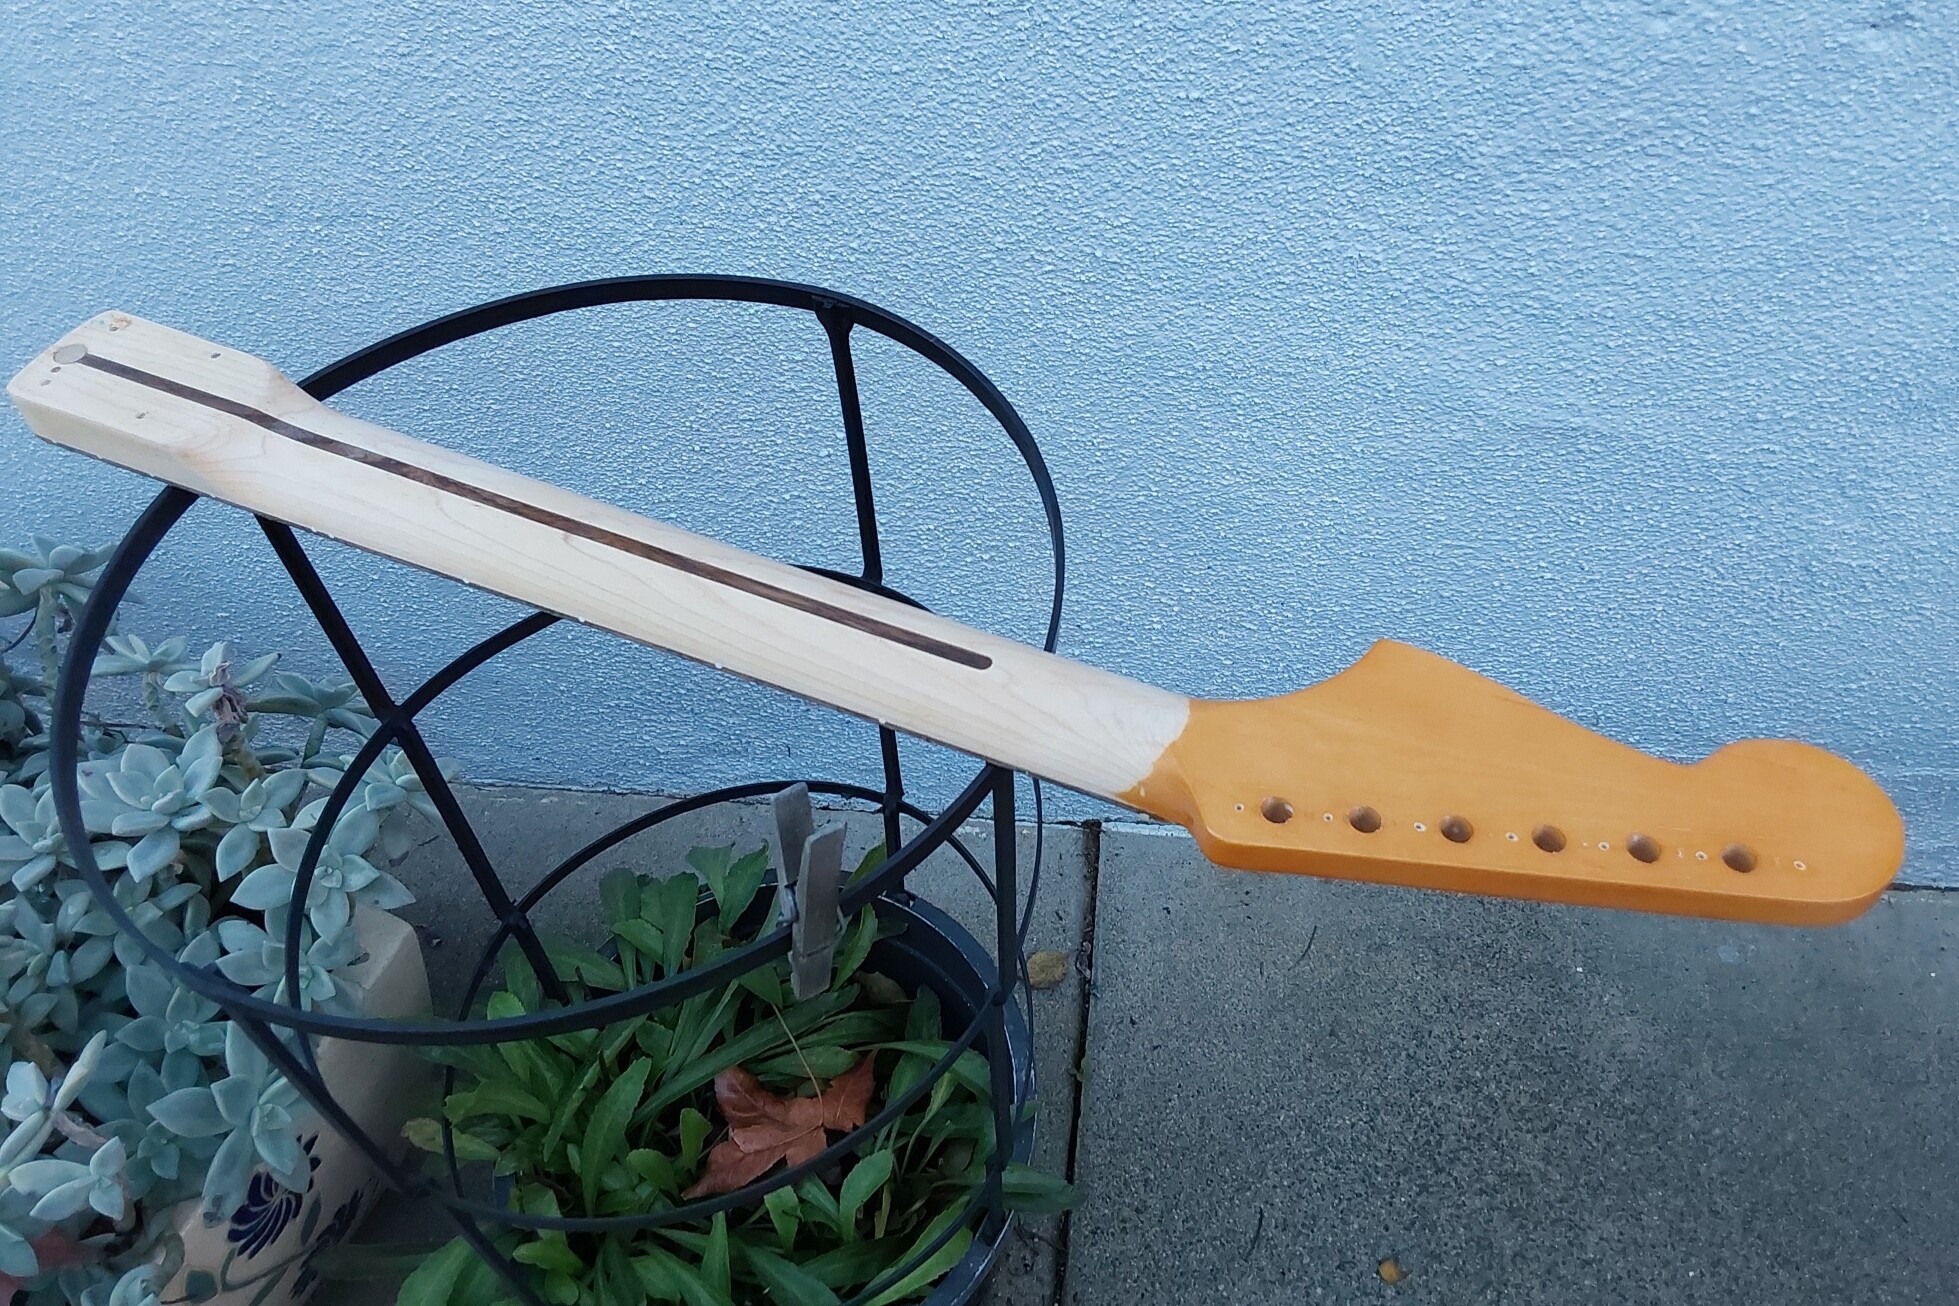
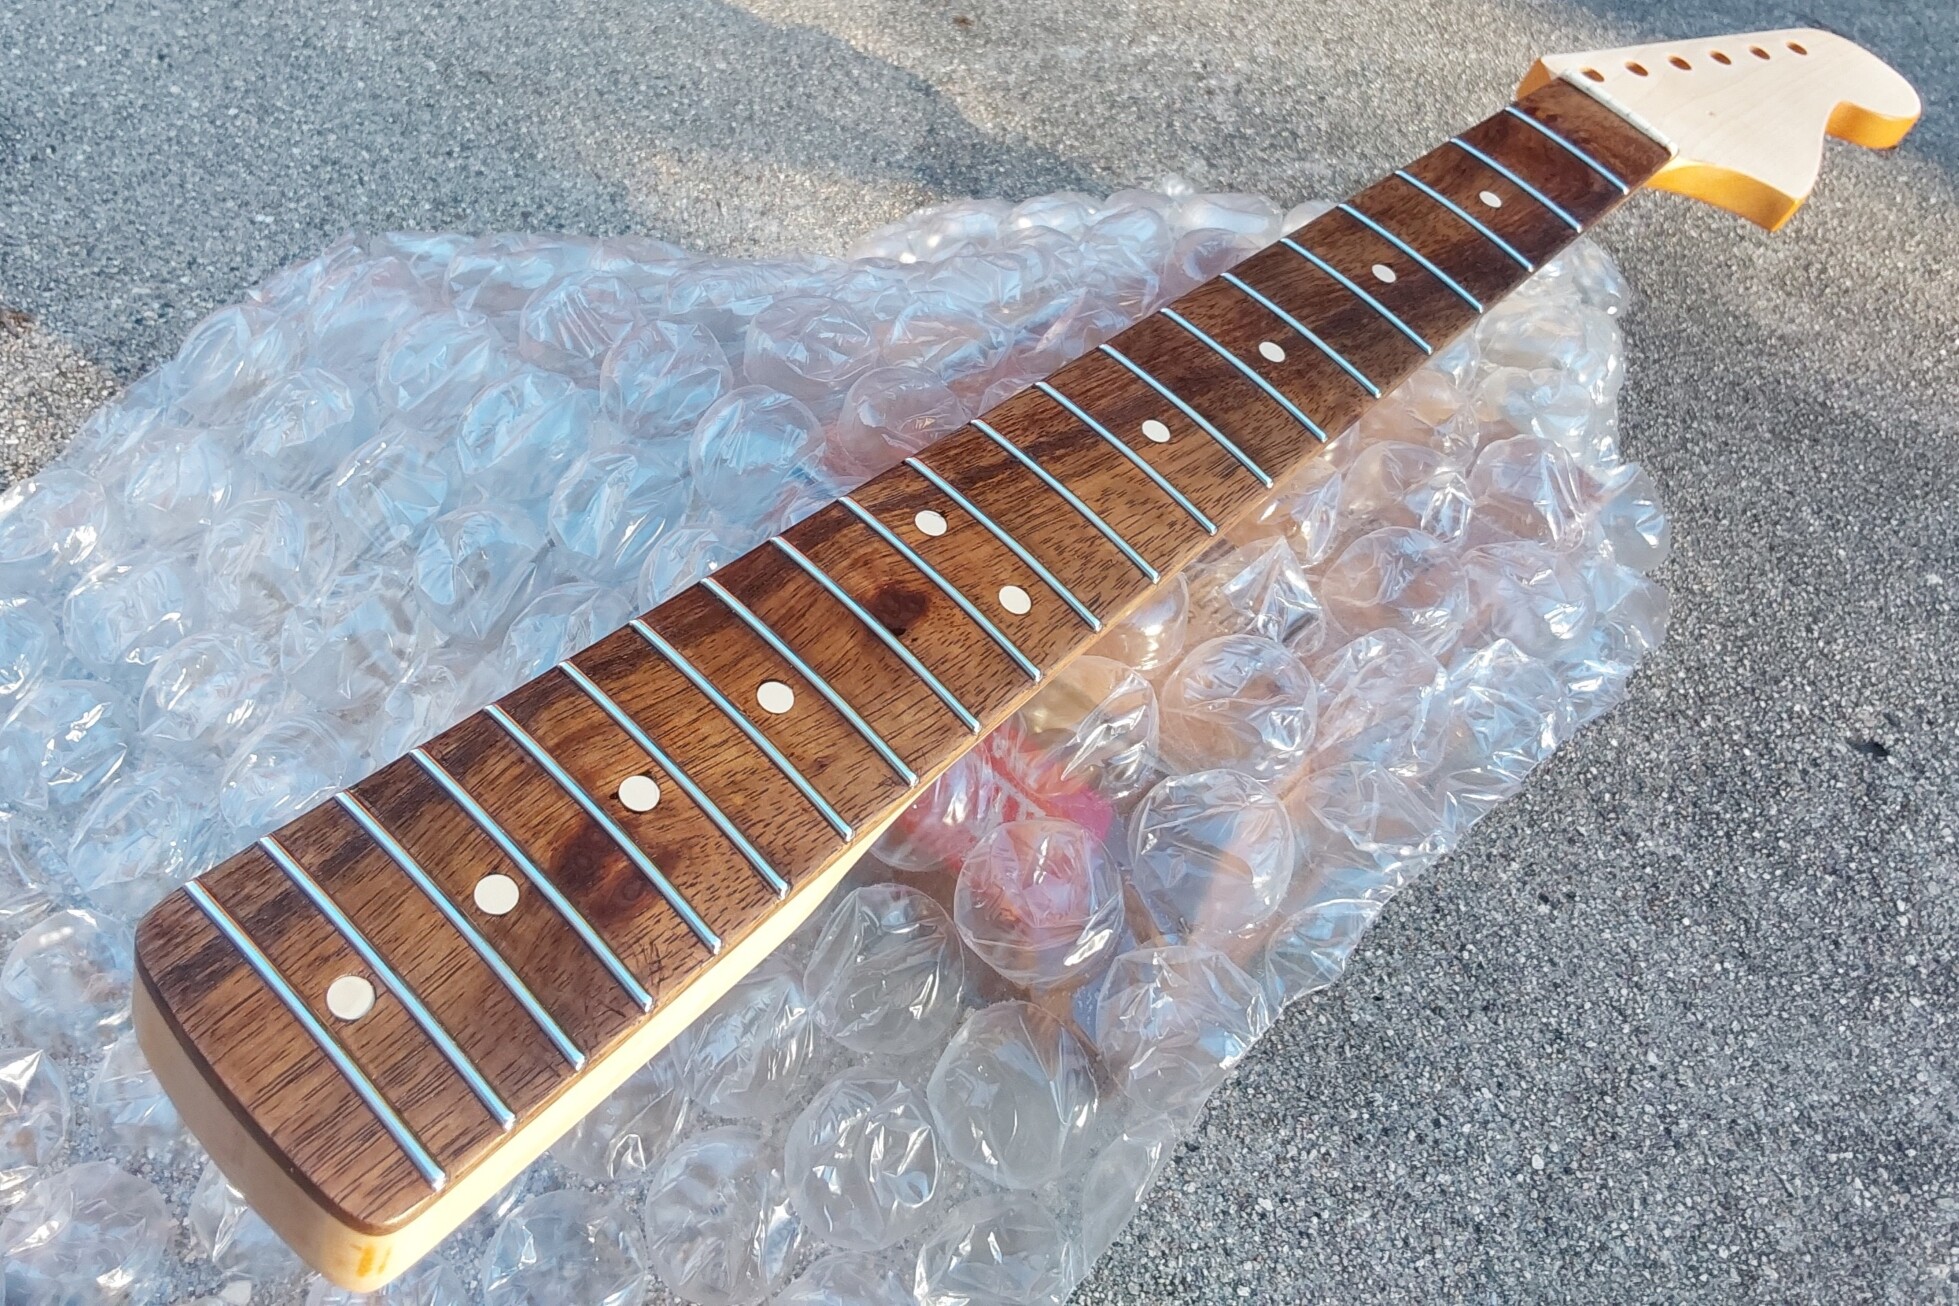
However, when I picked up this classic vibe jazzmaster neck very cheaply, I decided that I would use it for a few experiments aside from dressing the frets, including fretboard staining and changing the 6mm pearloid dots for US spec 1/4 inch clay dots.
as purchased:
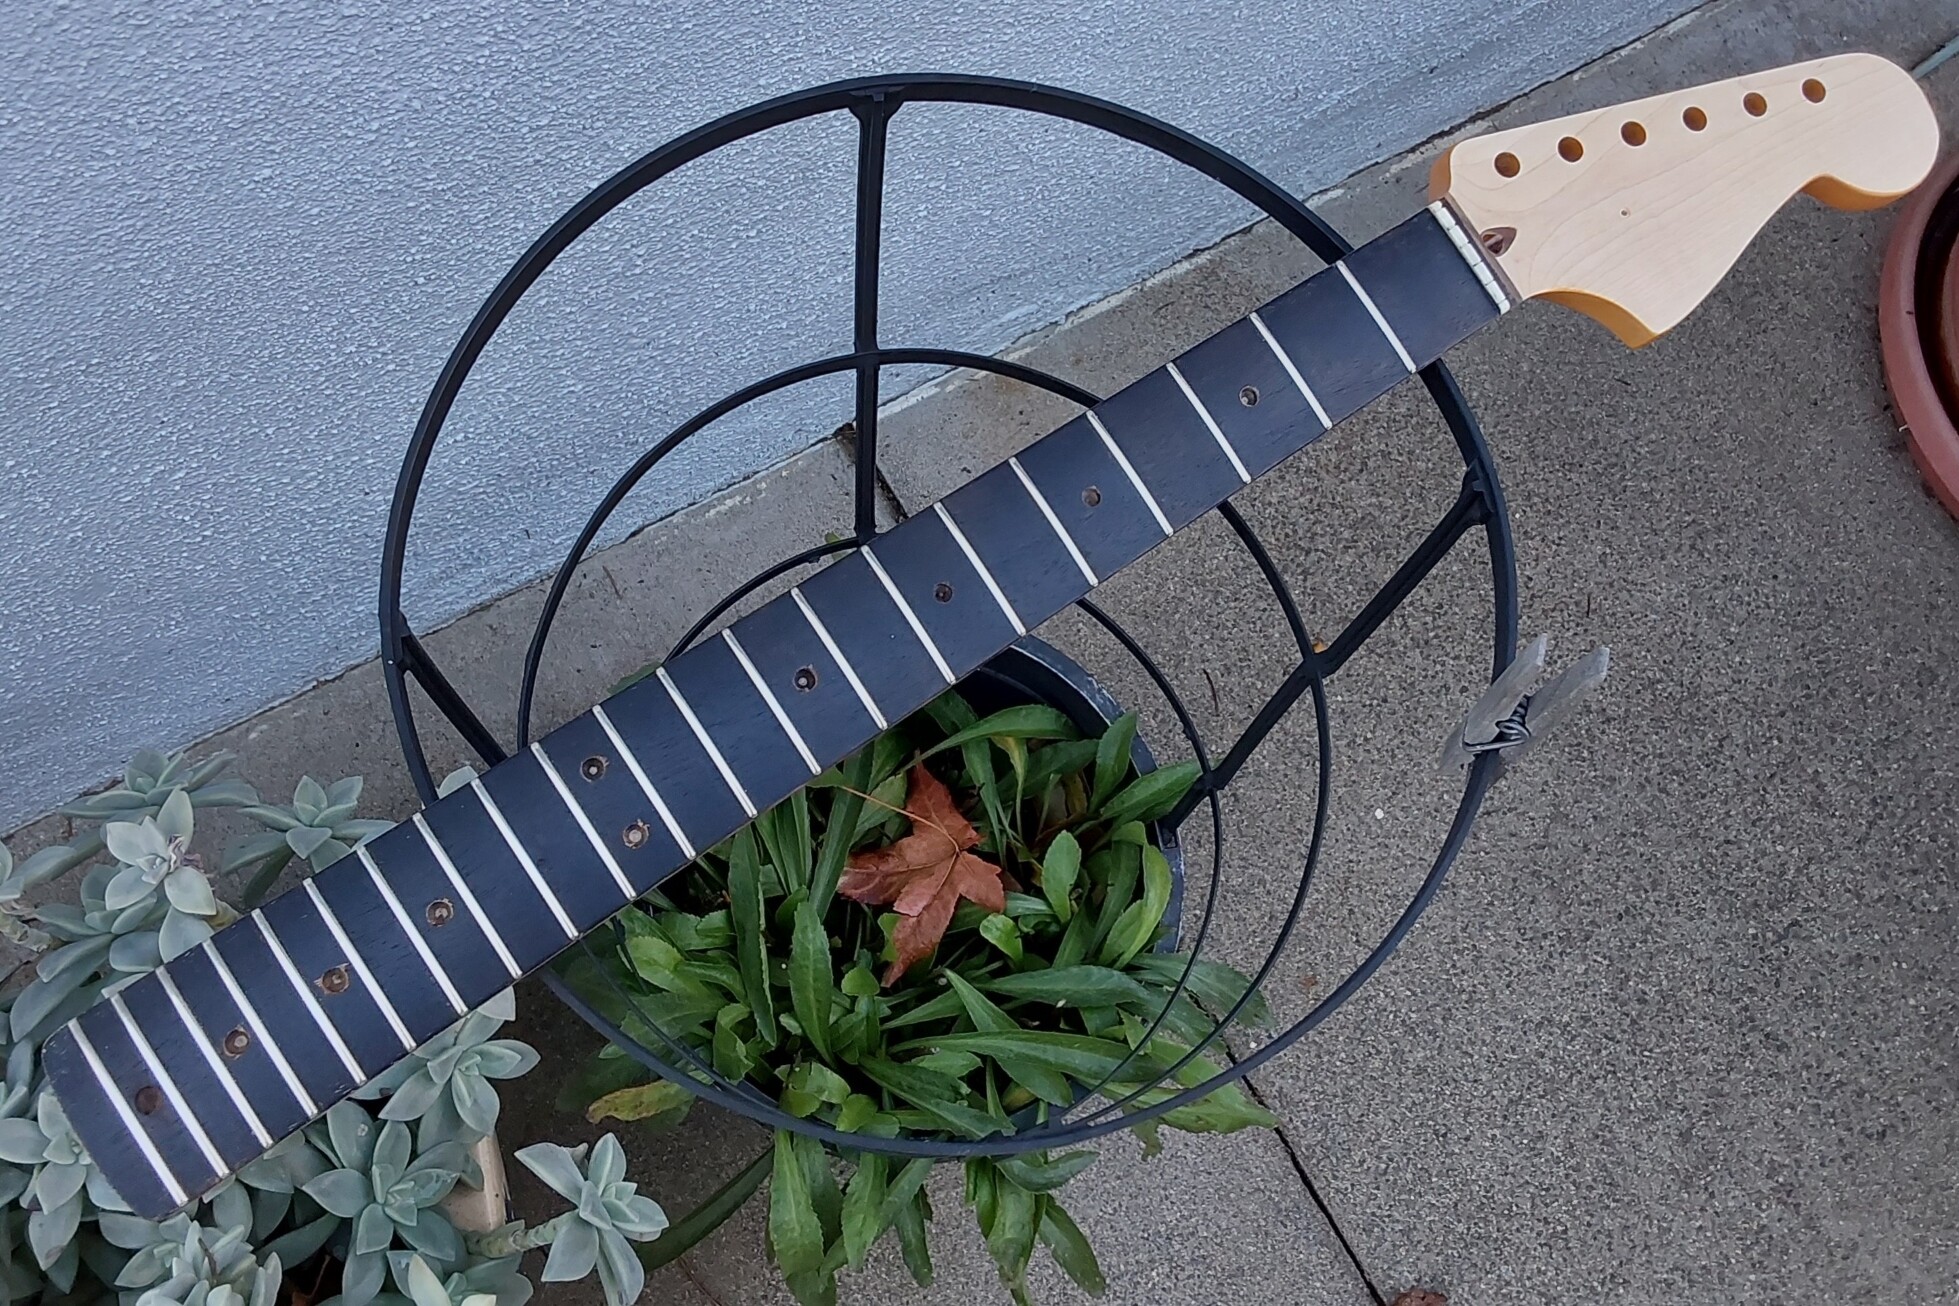
This came with several difficulties to overcome and in the end, maybe it’s not perfect but I’m pretty pleased with the results. What I started with was rounding out the fret ends, smoothing the crowns, cleaning off glue with a razor blade from around some of the frets and rolling the fretboard edge, then I moved on to sanding the fretboard with 400 grit to open up the wood fiber pores and then thoroughly wiped it down with naptha to make it thirsty.
after initial fretwork/before sanding:
I had some misgivings about whether or not I should strip the neck completely and decided I would try and keep the tinted poly finish intact, this led to a series of mistakes and headaches and I would recommend resigning yourself to stripping the neck unless you aren’t bothered by intense mismatch between the fretboard face and sides (as I found that my OCD was GREATLY disturbed by this).
I also wavered about going through with the clay dots which admittedly, was a pain in the ass, but in the end not as difficult as expected and was completely worthwhile as a significant visual upgrade. It would have also been much easier if I’d committed to it before my first go at coloring the laurel.
Let me make it clear, switching dots for dots of the same size is easy and comes with very little risk, you should not shy away from that, however without a drill press, it is a gamble to upsize your dots with a hand drill. As a result, I did have to deal with some chip out around the marker holes, however, I will explain how I addressed this later.
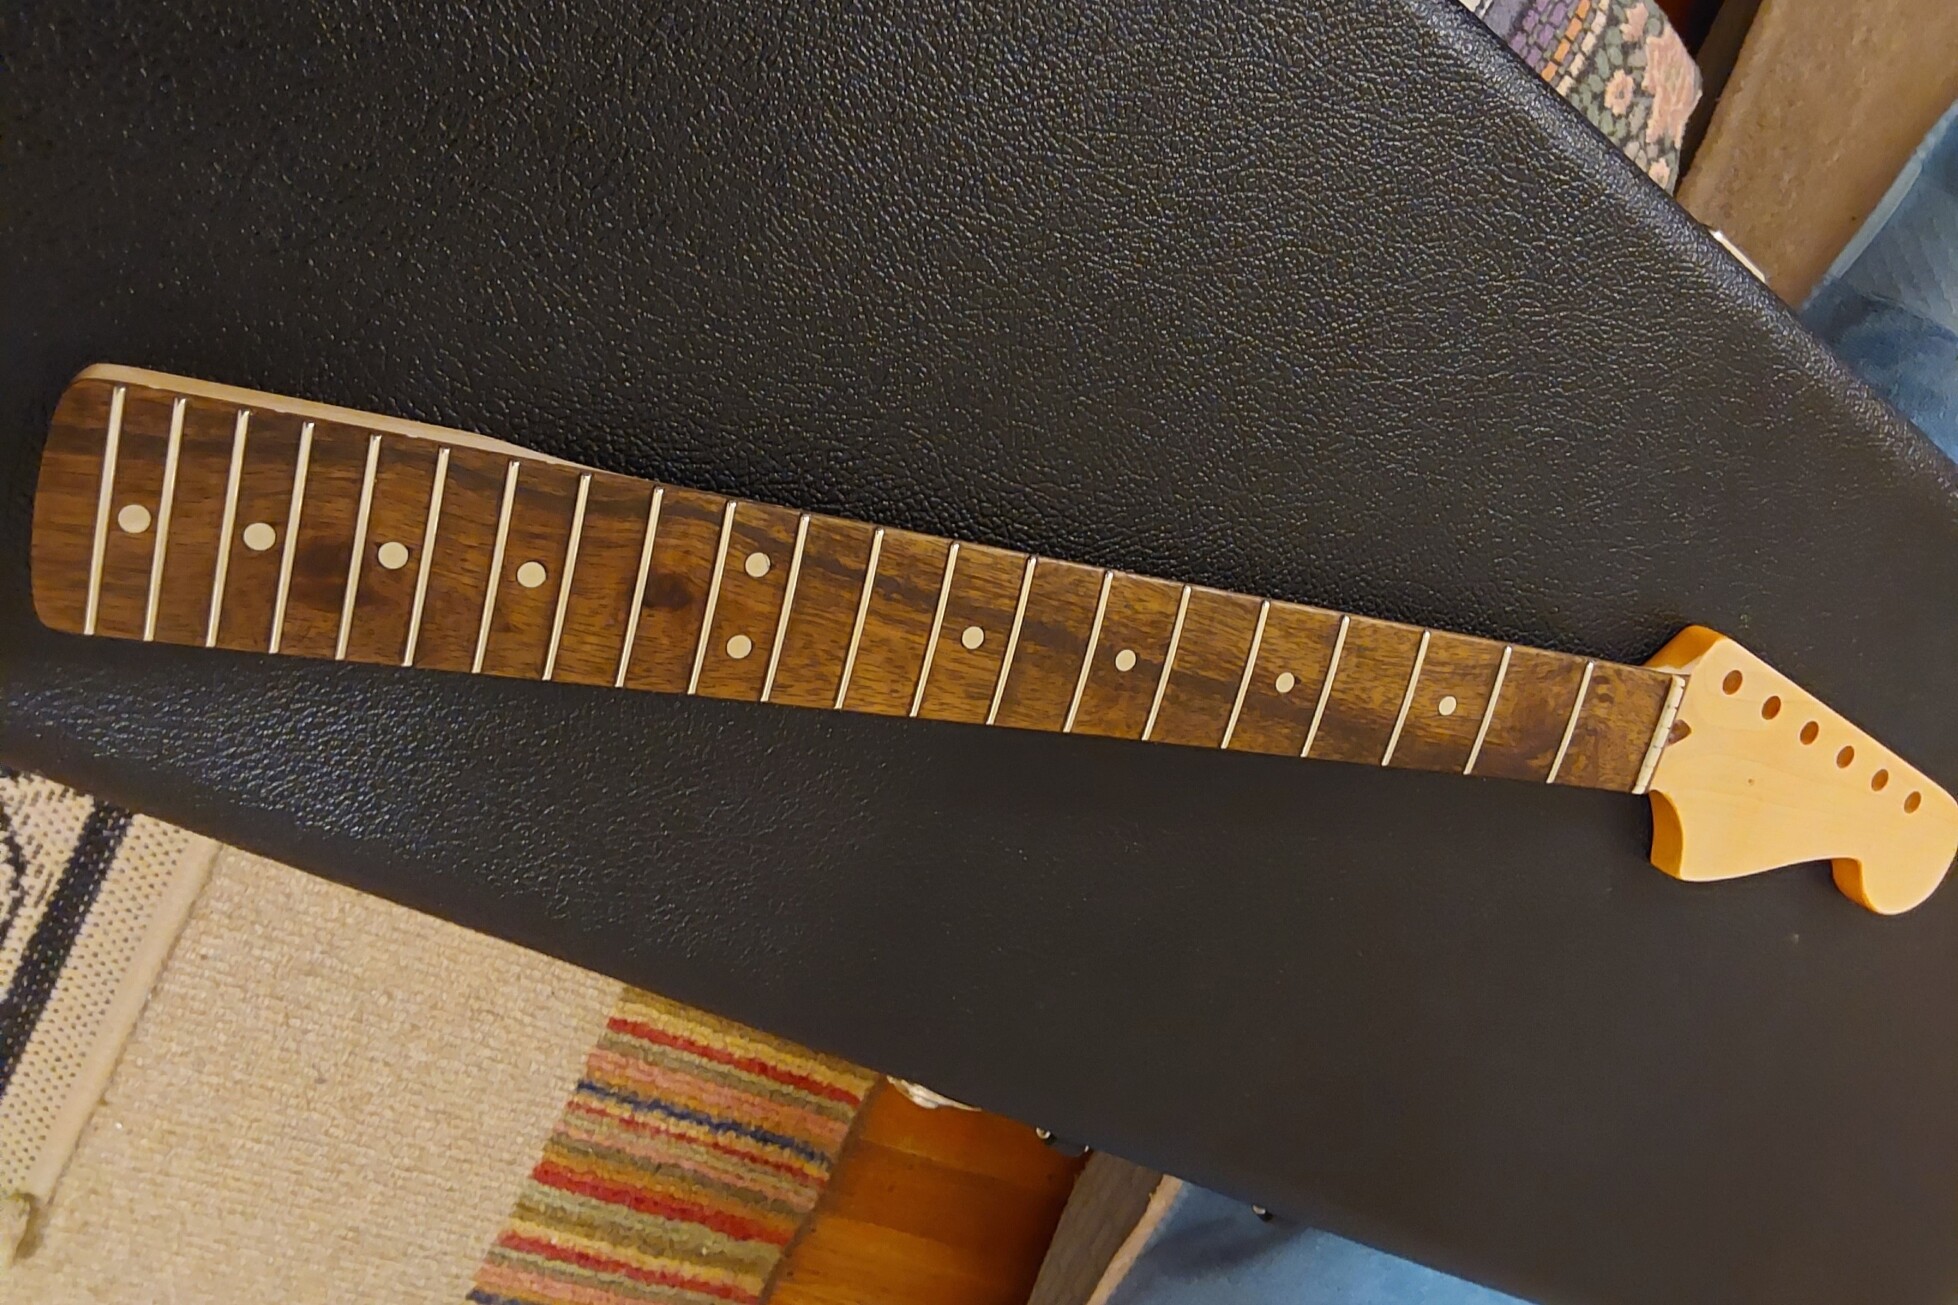
After the prep was complete, I started with a basic wood stain / naptha mixture which proved to not take to the laurel very well, the coloration was not very even, and I was having trouble getting the leave-on timing right. At that point I moved on to adding some leather dyes into the formula and started having better results, however it went on very heavy.
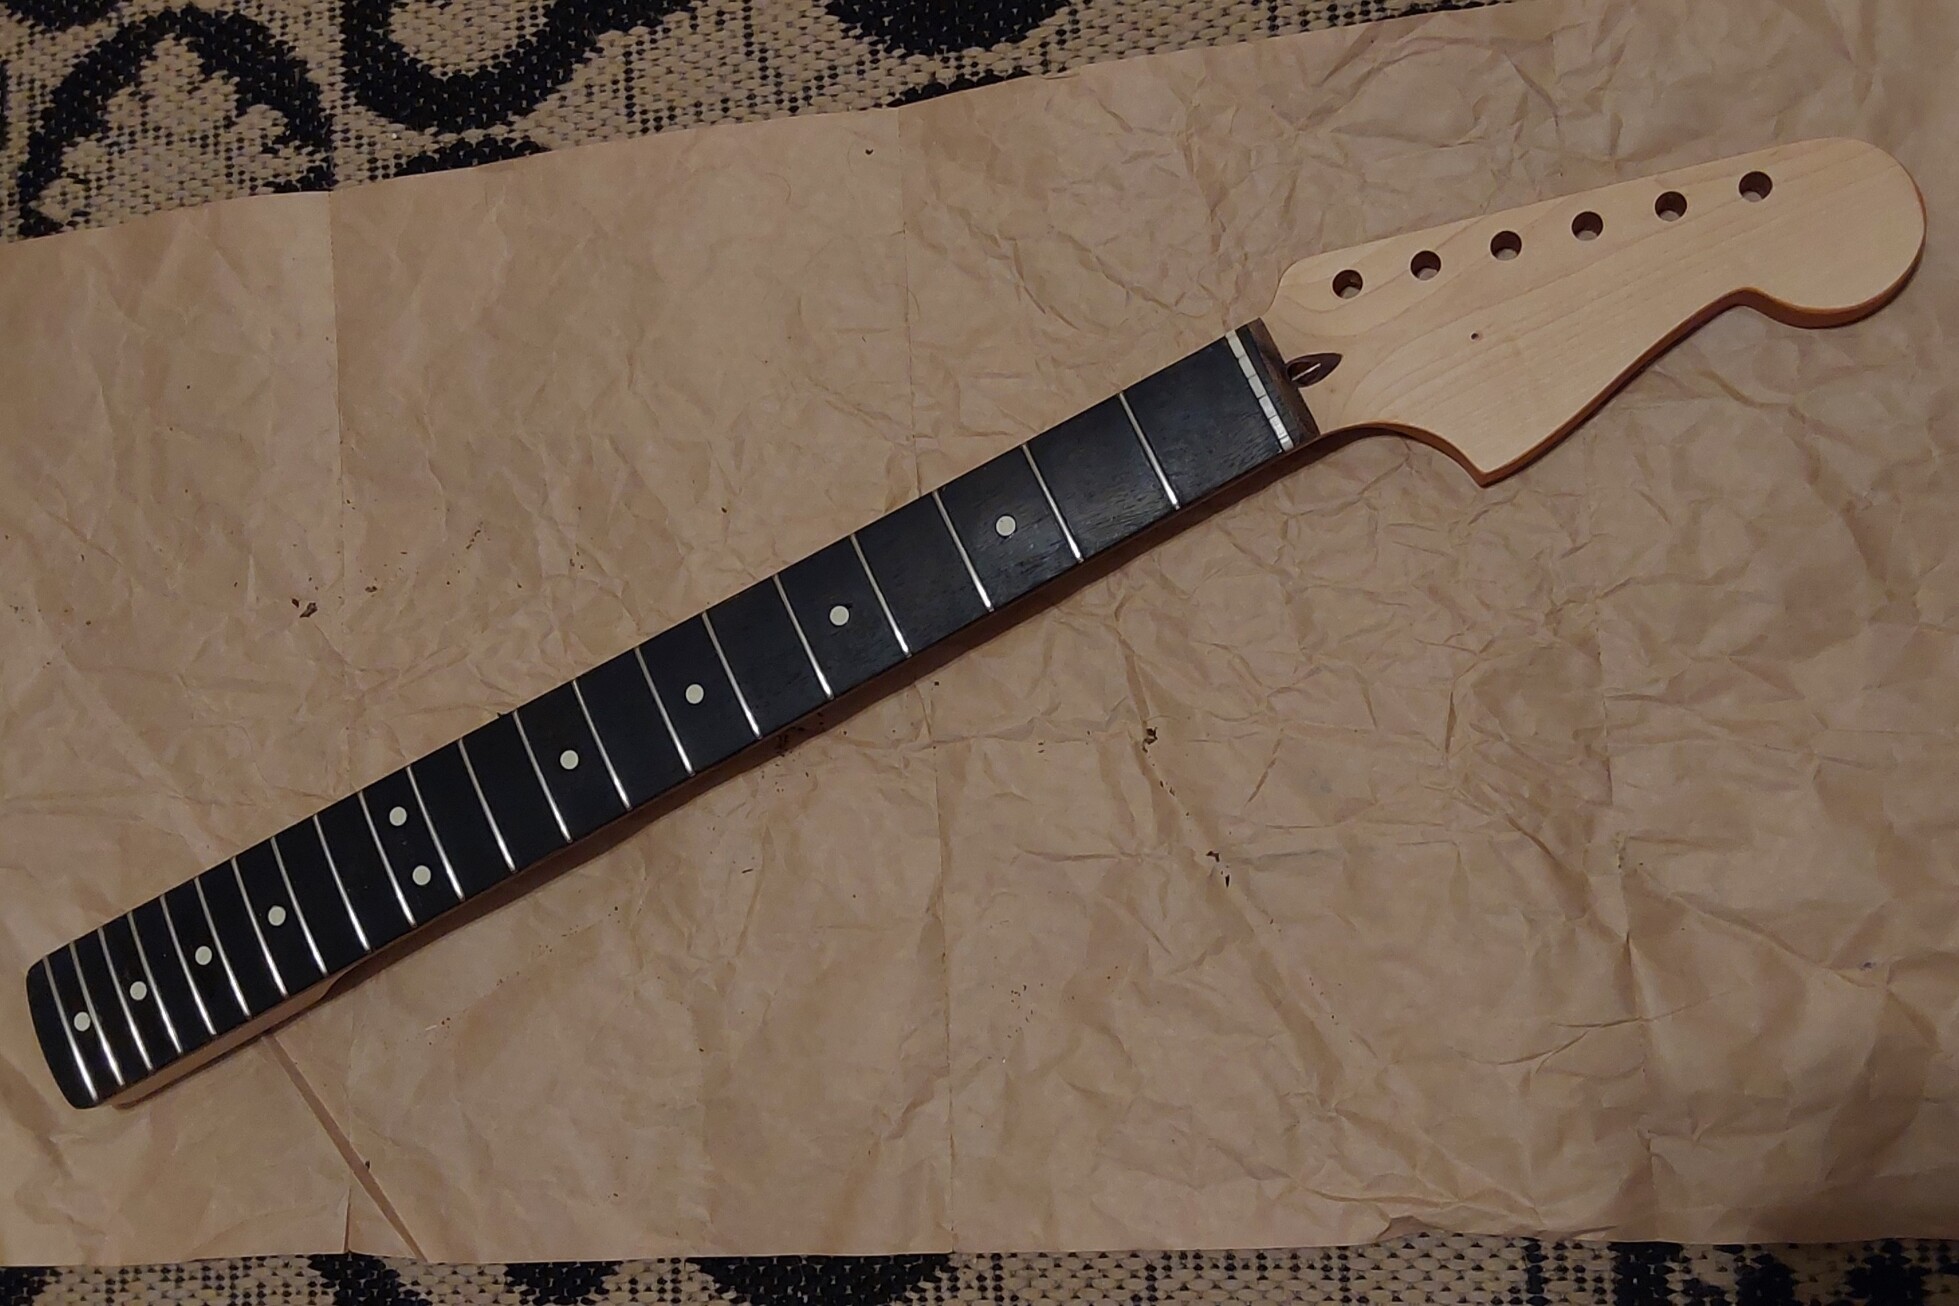
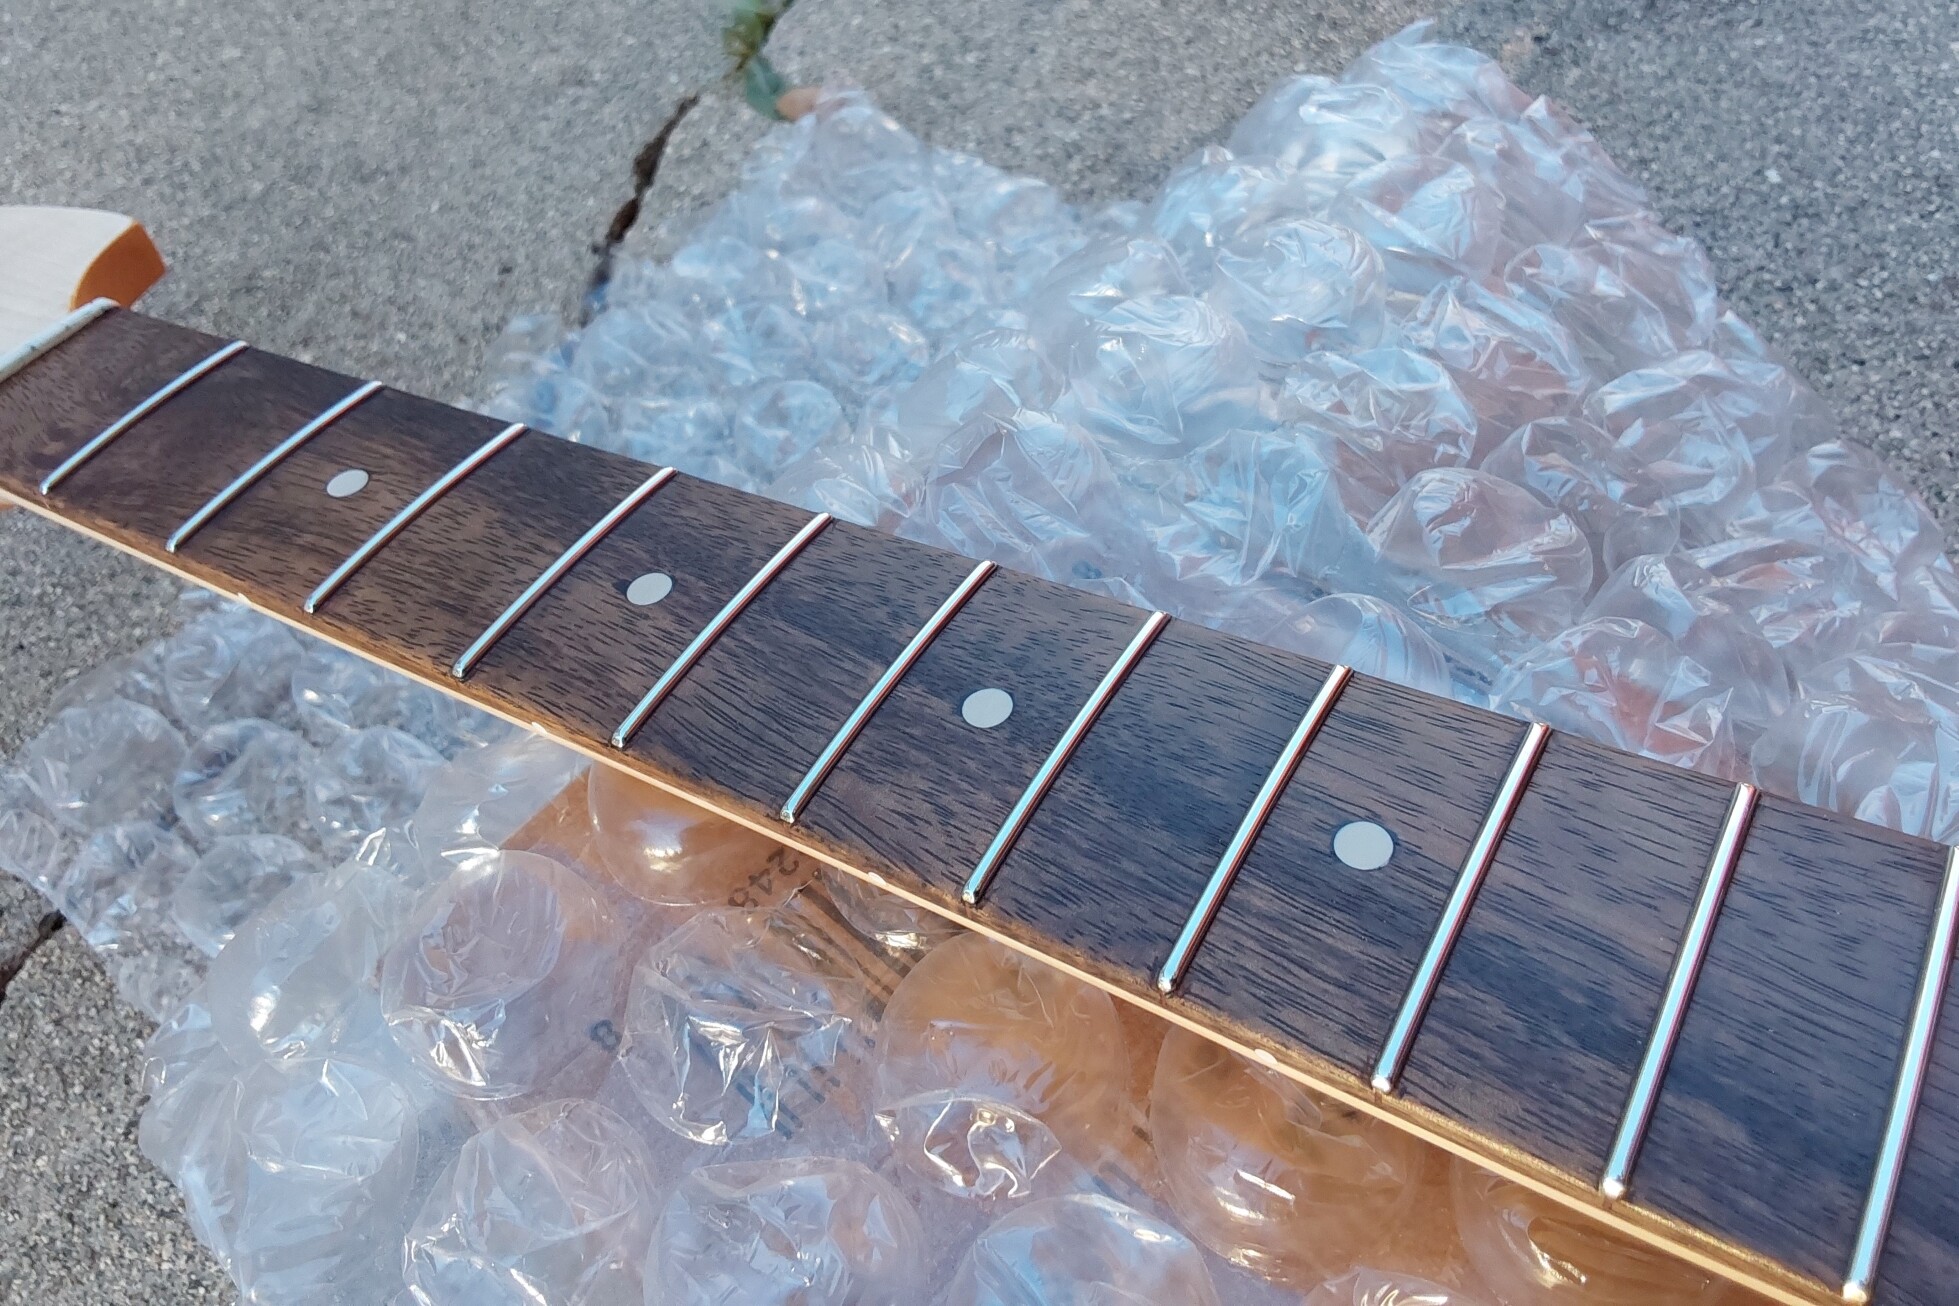
At this point I had successfully stained the fretboard, but while my goal was “rosewood” I ended up with ebony.
Granted, after treating it with some fretboard conditioner it would have looked more natural, but at this point I realized that I would need to strip the neck to dye the sides, that I would be going through with the clay dot installation which would require leveling them (the dots) down and matching them to the fretboard radius, so in this I would need to strip the ebony and reformulate my stain/dye mixture to something thinner and closer to the rosewood color I was looking for.
Therefore, I first went about stripping approximately 95% of the tinted poly, only leaving the back of the headstock covered just in the event I needed to reinstall the tuning machines, so as not to damage or leave deep impressions in the maple with the metal. I decided to strip the poly the slow way with sandpaper so that I would have more control over what I was doing rather than risk a heat gun or chemicals and as it turned out, the neck poly was pretty thin so I’m glad I went this route.
Next I first used a very small drill bit to put a center (pilot) hole in each of the pearloid dots, then went to a slightly larger drill bit and in those larger holes, I sunk a screw which I had dremeled the tip off of to thread into that hole and then gently turn / pry / jiggle the original dots free. Most were very easy to remove, but I was trying to be careful not to damage the original holes so I could keep things as centered as possible, I cut the sharp point off the prybar screw so it wouldn’t sink down into the neck as I turned it into place in order to be able to grip and remove the original dots.
Then, after all dots were removed, I first used the US equivalent of a 6mm drill bit to clean up the holes in the fretboard, afterwards moving on to the 1/4" bit to open the holes fully, and while .35mm doesn’t seem like much, it doesn’t seem like much, but in reality, it might as well be a meter’s difference. If your placement is off, the centering will be ruined, it will look janky, thus I made the decision I would not start the drill in the air above the hole like one would when trying to avoid chip out, I would take on the task of centering the drill on the hole, keeping it perpendicular, and starting it in contact with the wood fully knowing there would be repercussions. This is a risky maneuver and without a drill press, you have to take the lesser of 2 evils here, I made my choice.
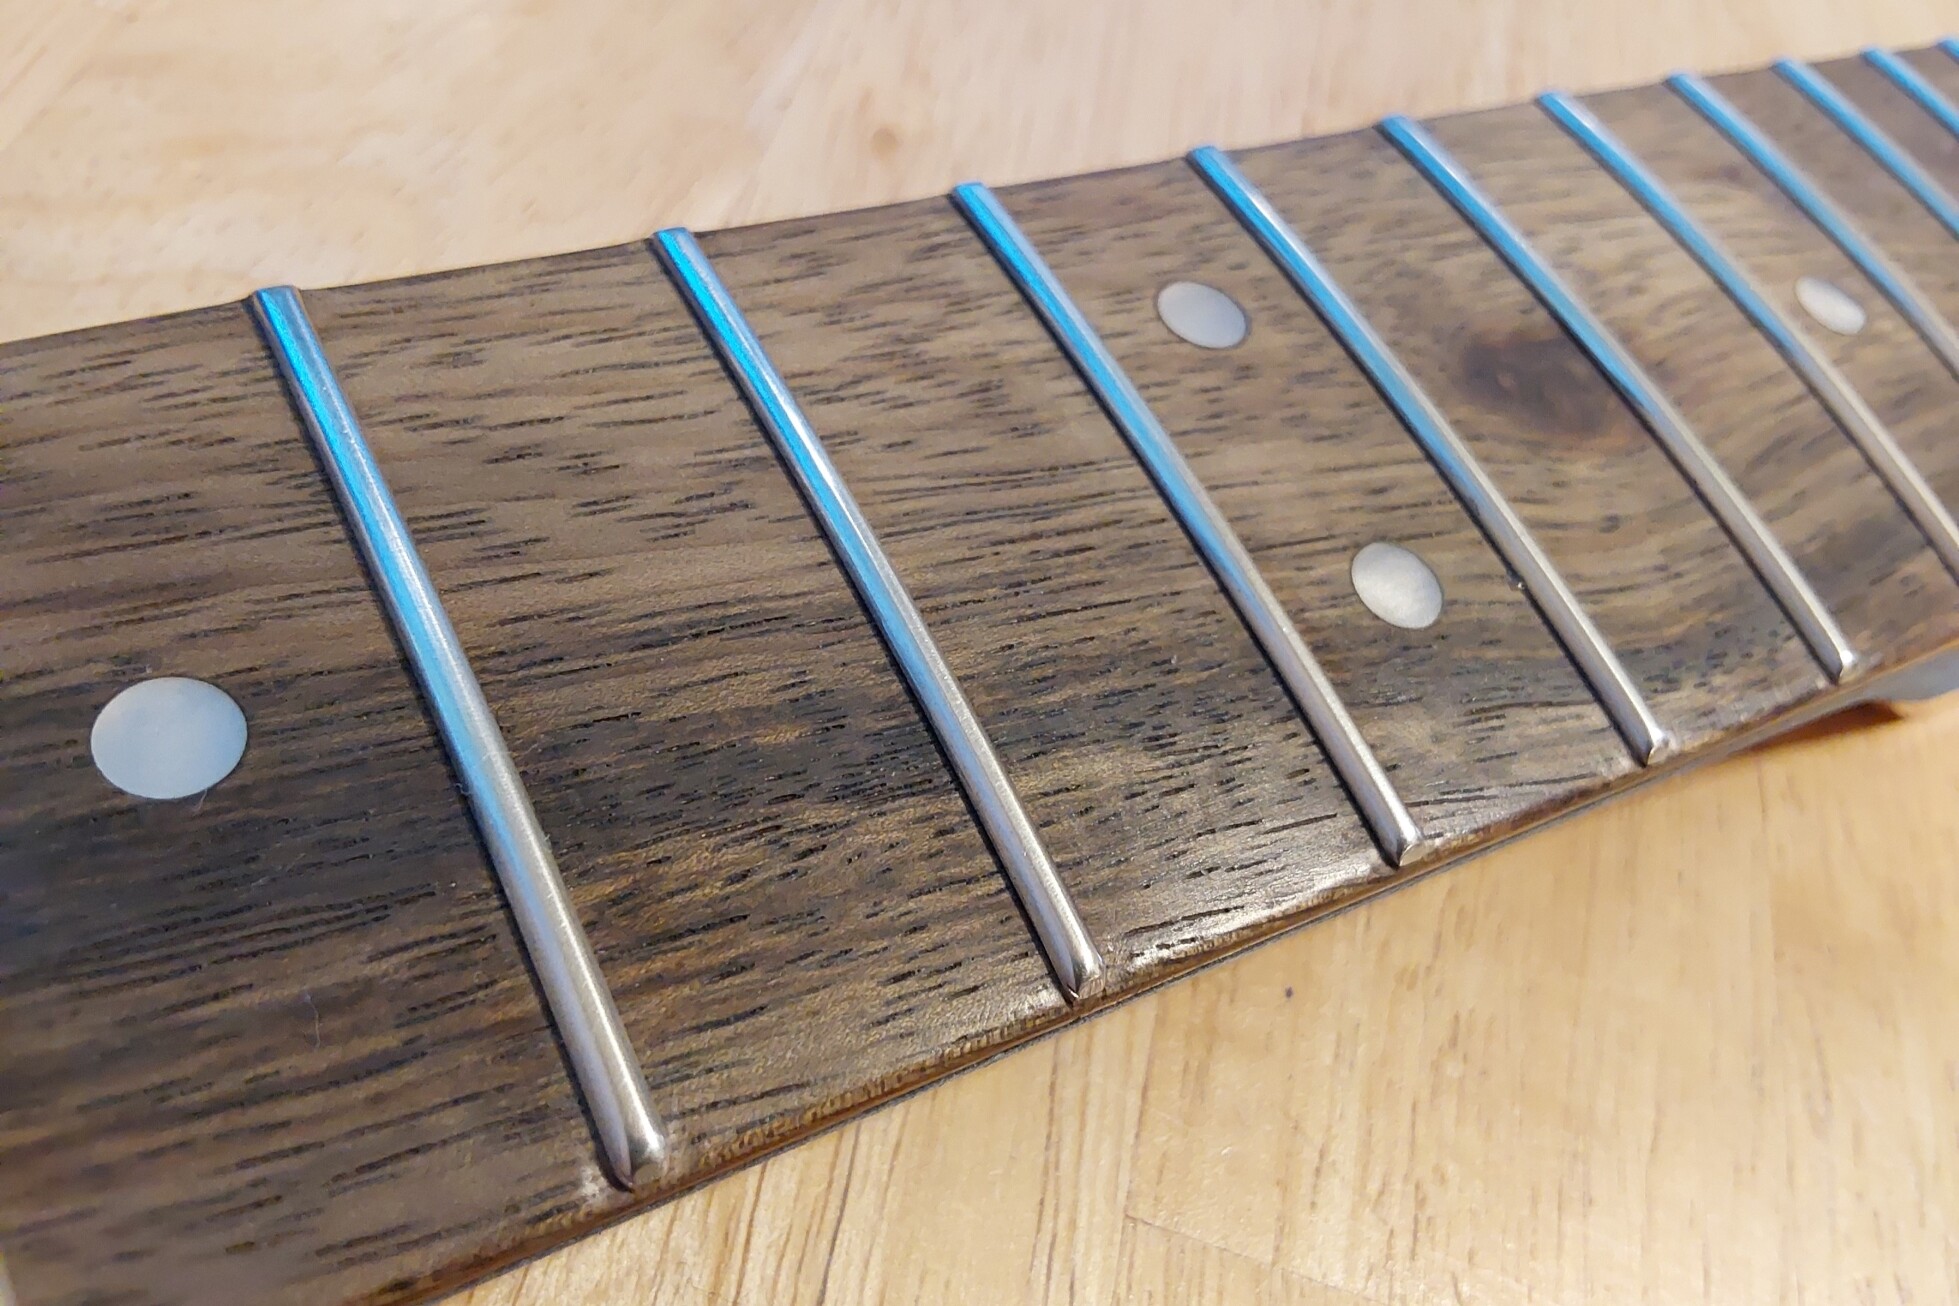
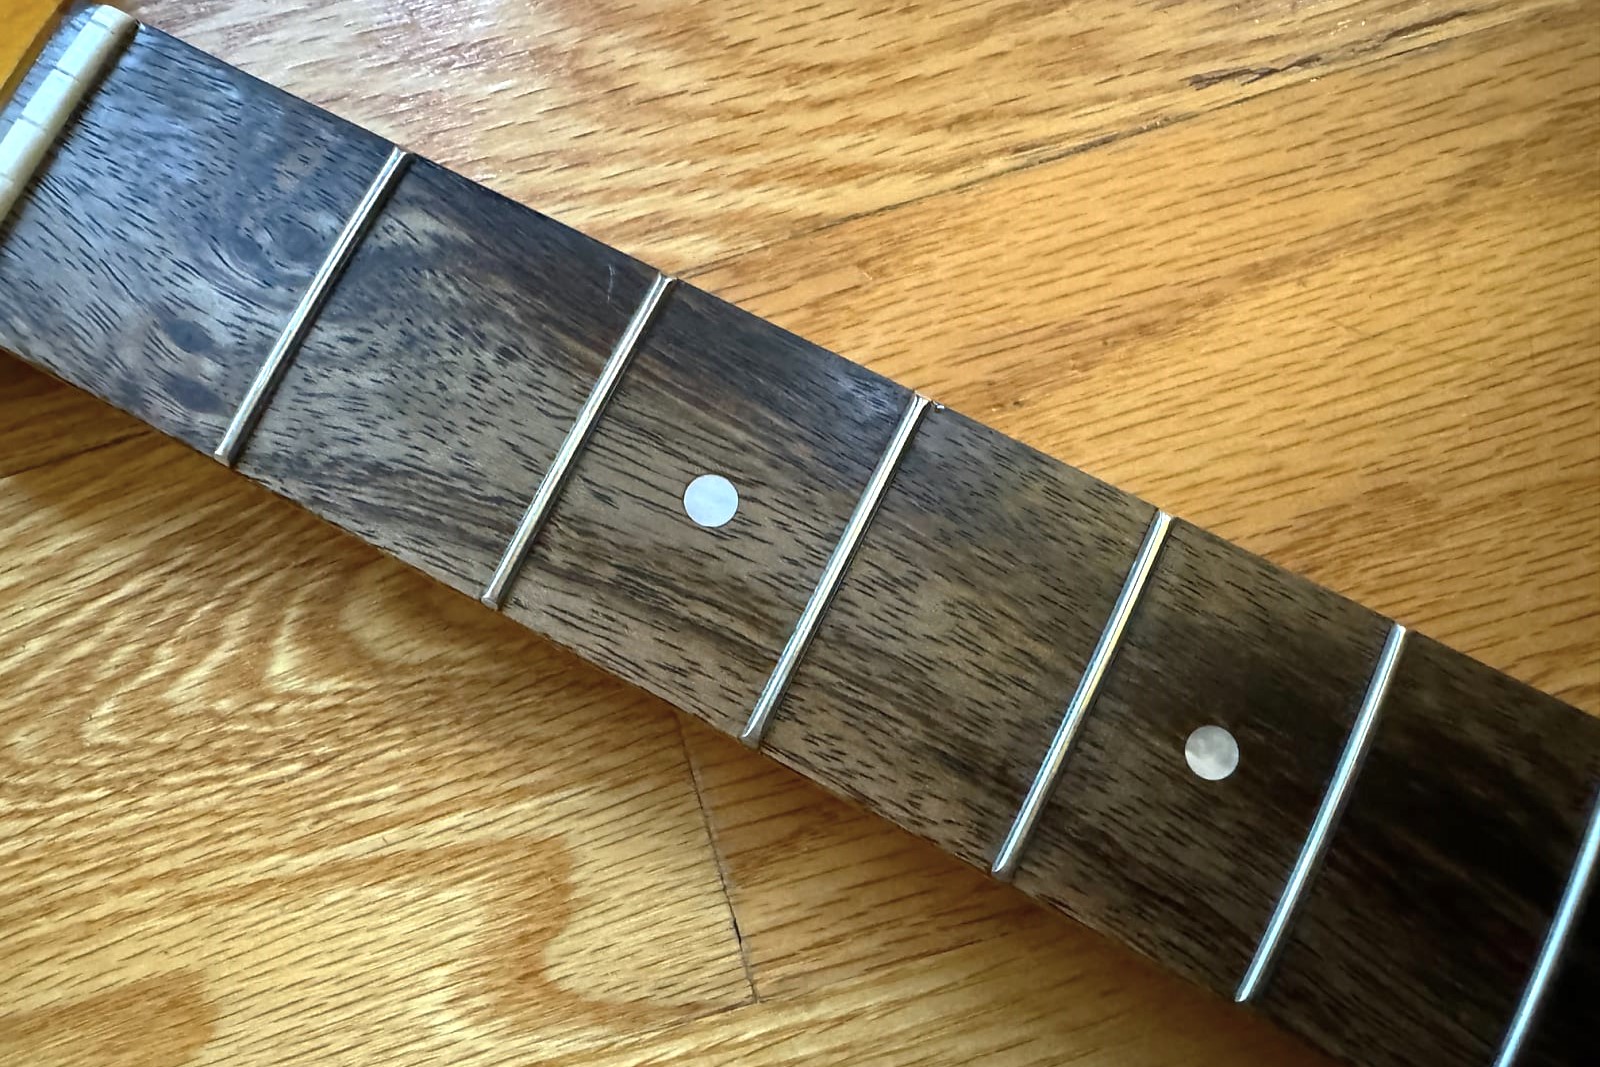
Here is the fretboard with markers removed and only part of it has been drilled out to 1/4 inch, I had not yet stripped the ebony so you can see some of the chip out around the holes pretty clearly.
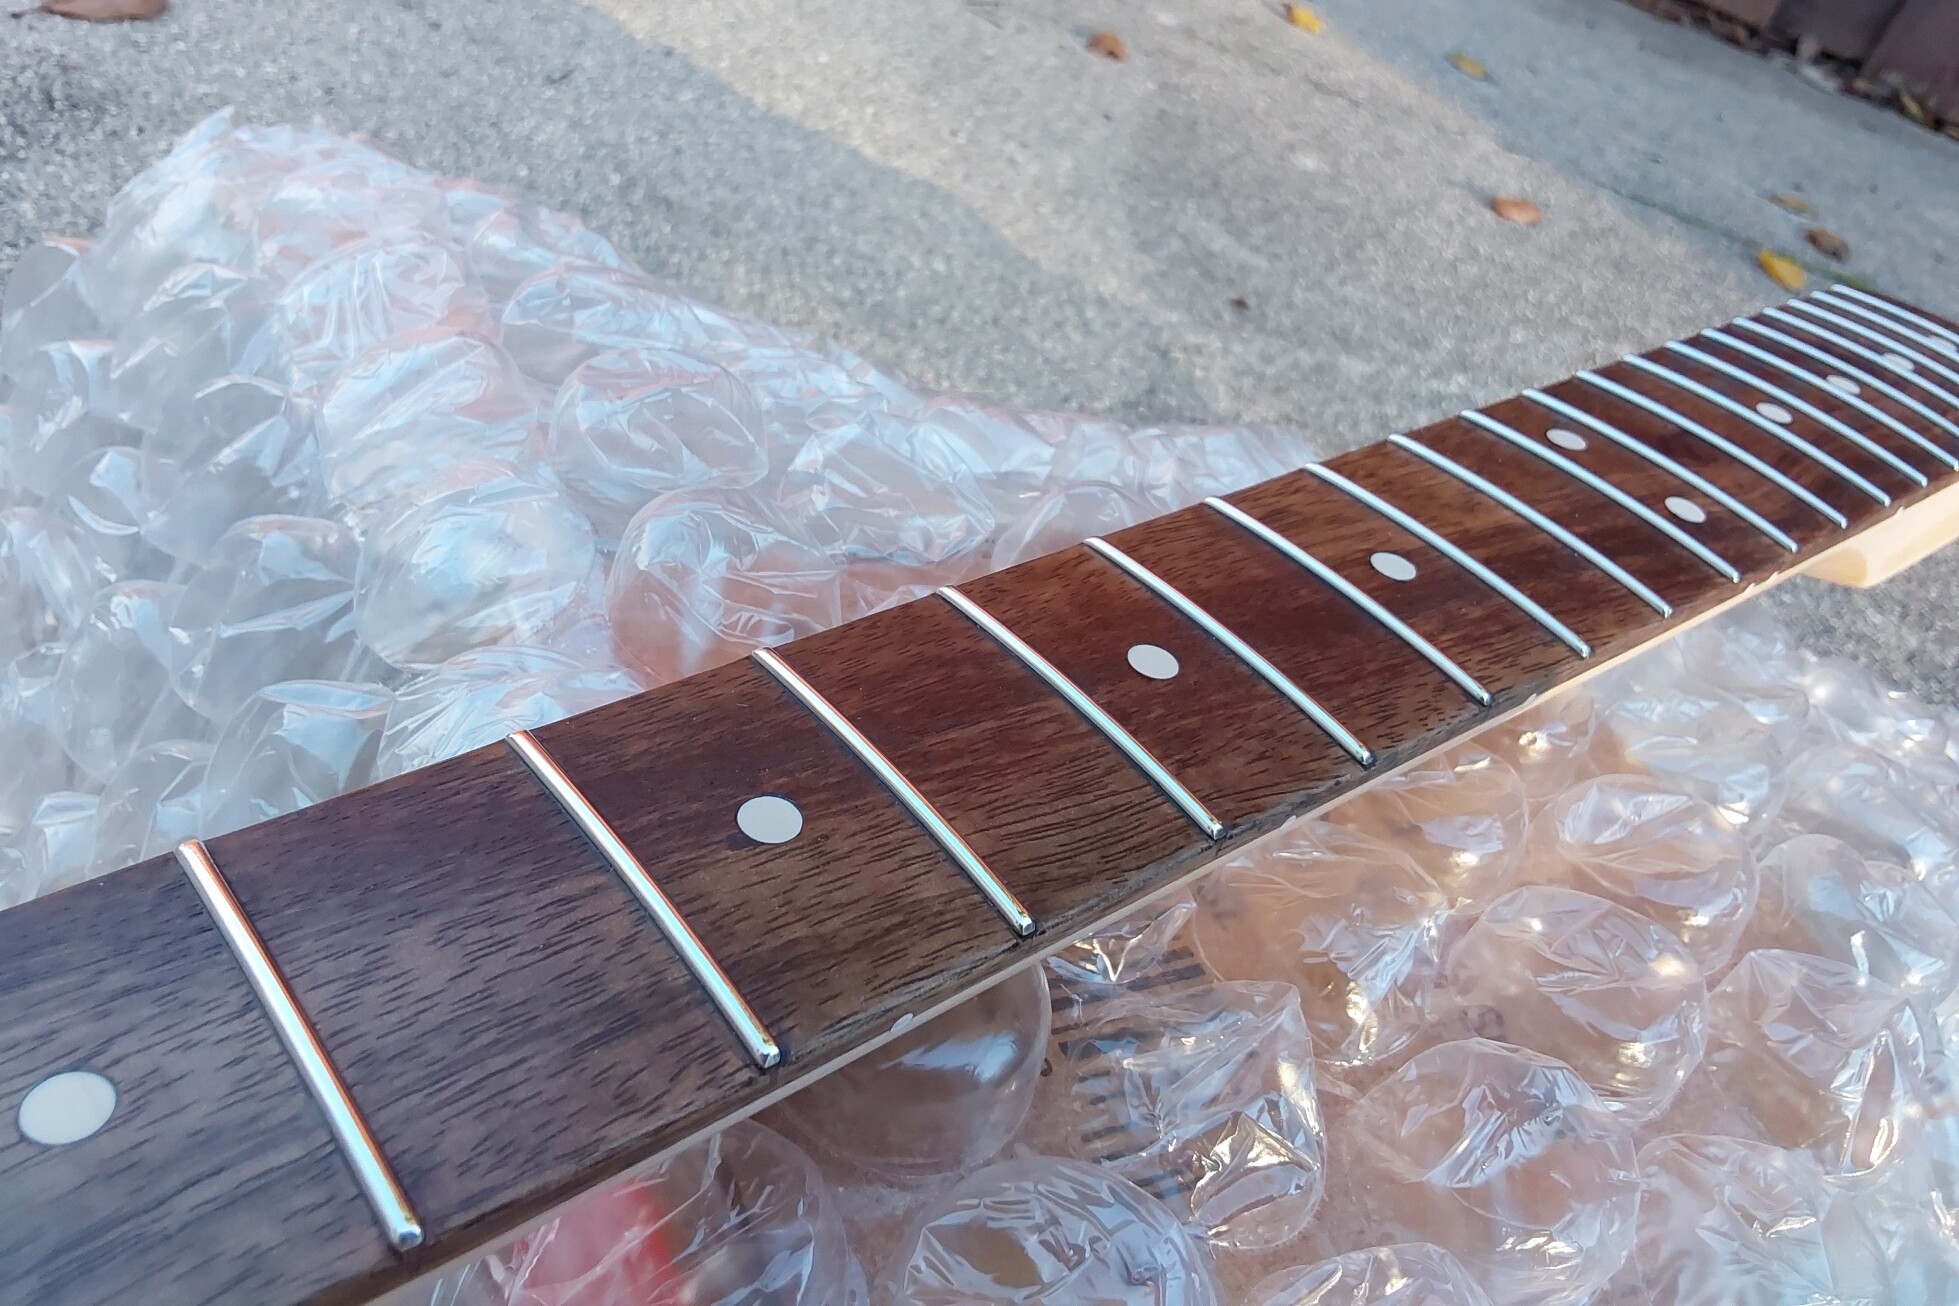
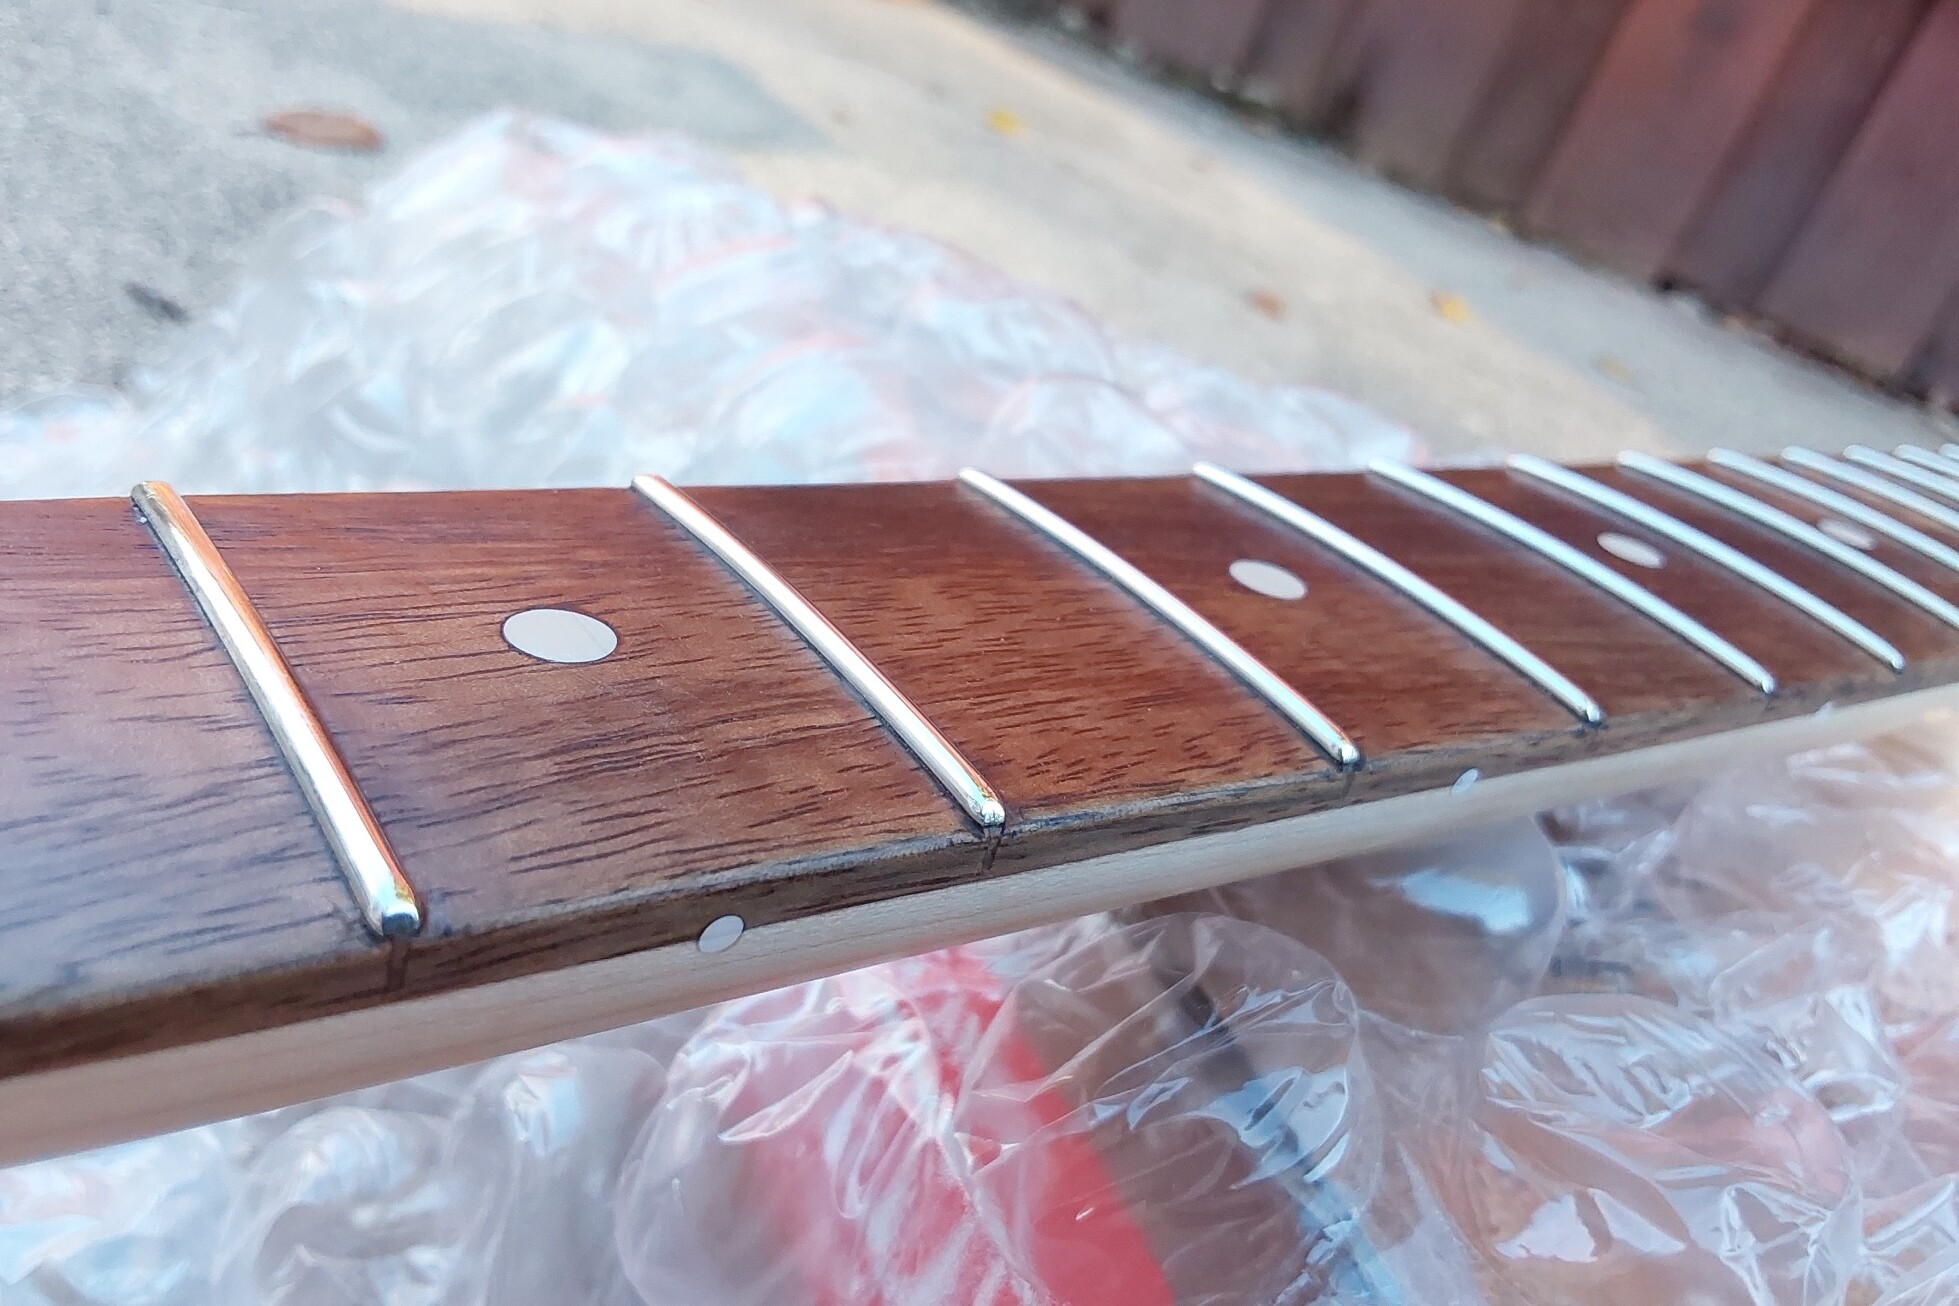
after finishing this and trying to leave the holes as accurate as possible in diameter, I used various soft wood and plastic elements along with a small hammer to tap the clay dots into the new holes, as seen here.
The clay color was originally very white which was not quite what I was going for, so I was hopeful they would take on a bit of the color of the stain when I refinished the neck, and while not quite as dark or caramel colored as I like “aged” clay dots to look, they did tint nicely and take on a less pale tone as the work progressed.
Next I had to alternate between sanding with 400 grit and cleaning with a tack cloth and a naptha rag to take off the ebony stain coat. I had made 2 small sanding blocks out of an old credit card with 3m double stick tape and sandpaper cut to size. One block that was a little wider and could fit up to around the 6th fret, and one which was narrow and could get all the way up at the 21st fret. in this, I alternated between carefully taking down the top of the clay dots with my small flat diamond file by using a hole punch to cut a 1/4 hole in thick masking tape, then putting that over the fret which I was filing so I would know I wouldn’t go down to the tape when cutting the excess from the clay dots. Afterwards, I removed the tape and used the sandpaper to finish leveling the dot with the fretboard, and then stripping the ebony dye.
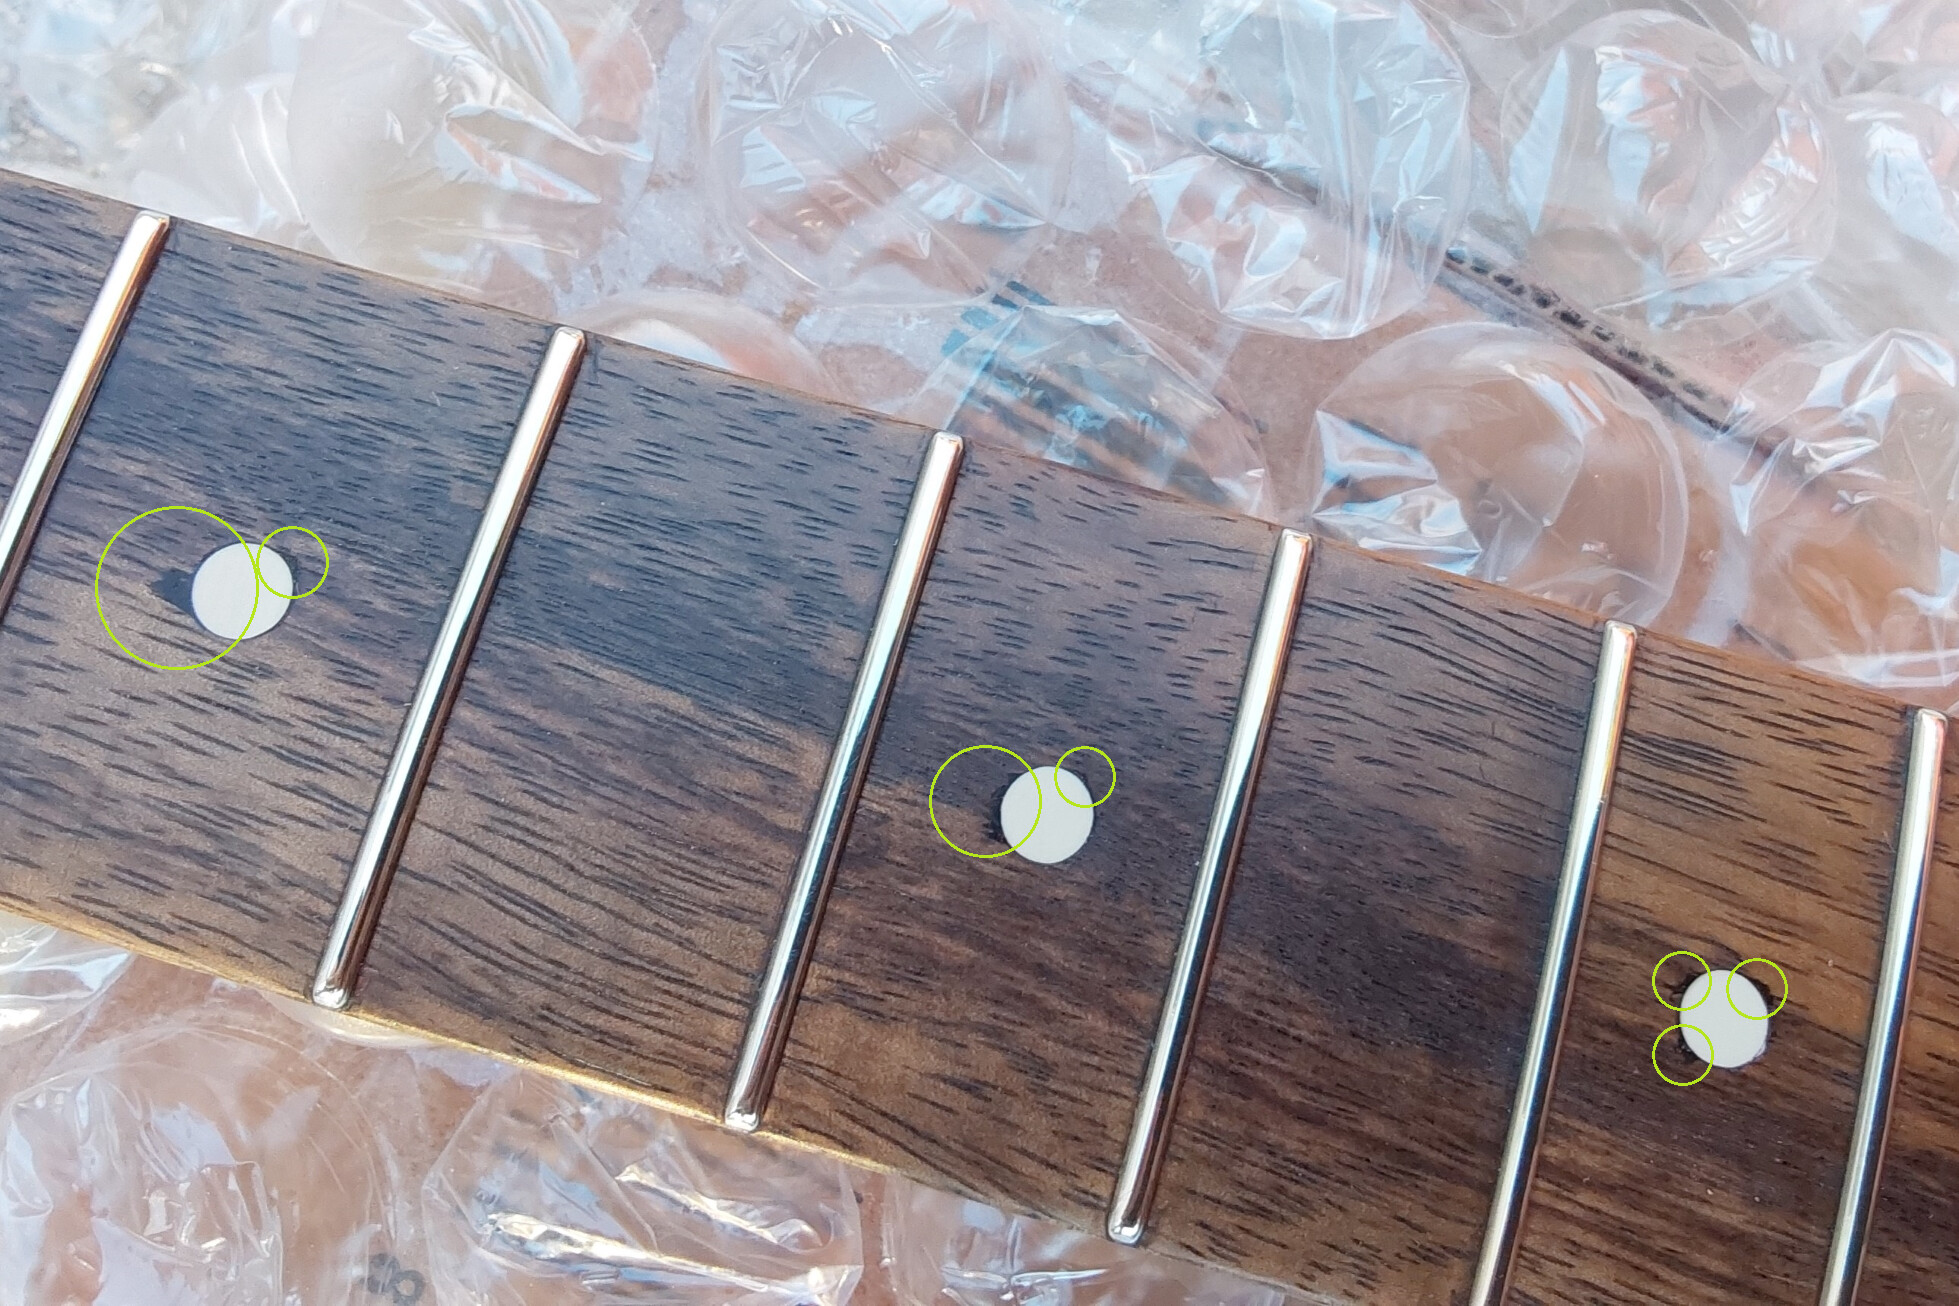
After this arduous process of leveling and stripping, it was all looking and feeling pretty good, however, at this point while it wasn’t as bad as expected, some of the holes surrounding the clay dots had chip out which needed to be addressed and I’ll tell you how I went about repairing that.
This is already stained, but I circled some places where I made repairs.
I’ve mentioned in the past that you can use finely ground, used coffee grounds as a filler along with wood glue, in the same way you would use sawdust. Some of you may be aware of the technique for nut repair which involves using CA glue and baking soda, it makes the CA glue dry and become very solid almost instantly and it becomes rock hard. Applying the same technique, I’ve read about people repairing fretboards with CA glue and sawdust, thus I used some of the dusted coffee grounds I’ve stored along with a drop of CA glue to create a very fast drying and dark fill in the same manner as mentioned with the baking soda or with the wood glue.
To effectively do this, I punched masking tape dots which I covered the clay dot with, then anywhere other than the fill area I carefully covered with more tape, leaving only the repair area visible. I sprinkled a small amount of the coffee grounds into the tear out divot and pressed it down using small pieces of parchment paper allowing a slight amount of overfill but brushing away most of the excess. Afterwards, using a toothpick (I don’t have any pipettes right now), I carefully let a nice sized drop of CA glue go over the fill spot then quickly and firmly pressed it down into place, the result is a dark colored fill which is very solid and almost immediately sandable.
I then level sanded this down to the tape, removed the tape, and sanded it with my small 400 grit sanding blocks applying even pressure across the fretboard until I couldn’t feel any lump or gap. The results are very good and unless I point it out, you don’t really have any reason to look for it as the natural pigment and the stain make it blend in very well. Keeping some coffee grounds dry and on hand is a great thing to have in your arsenal.
After this I carefully masked the entire fretboard leaving the frets exposed, did a little clean up on the frets themselves with fine grit sandpaper, then used polishing compound with a thick velvet wheel on my dremel to polish them to a high shine.
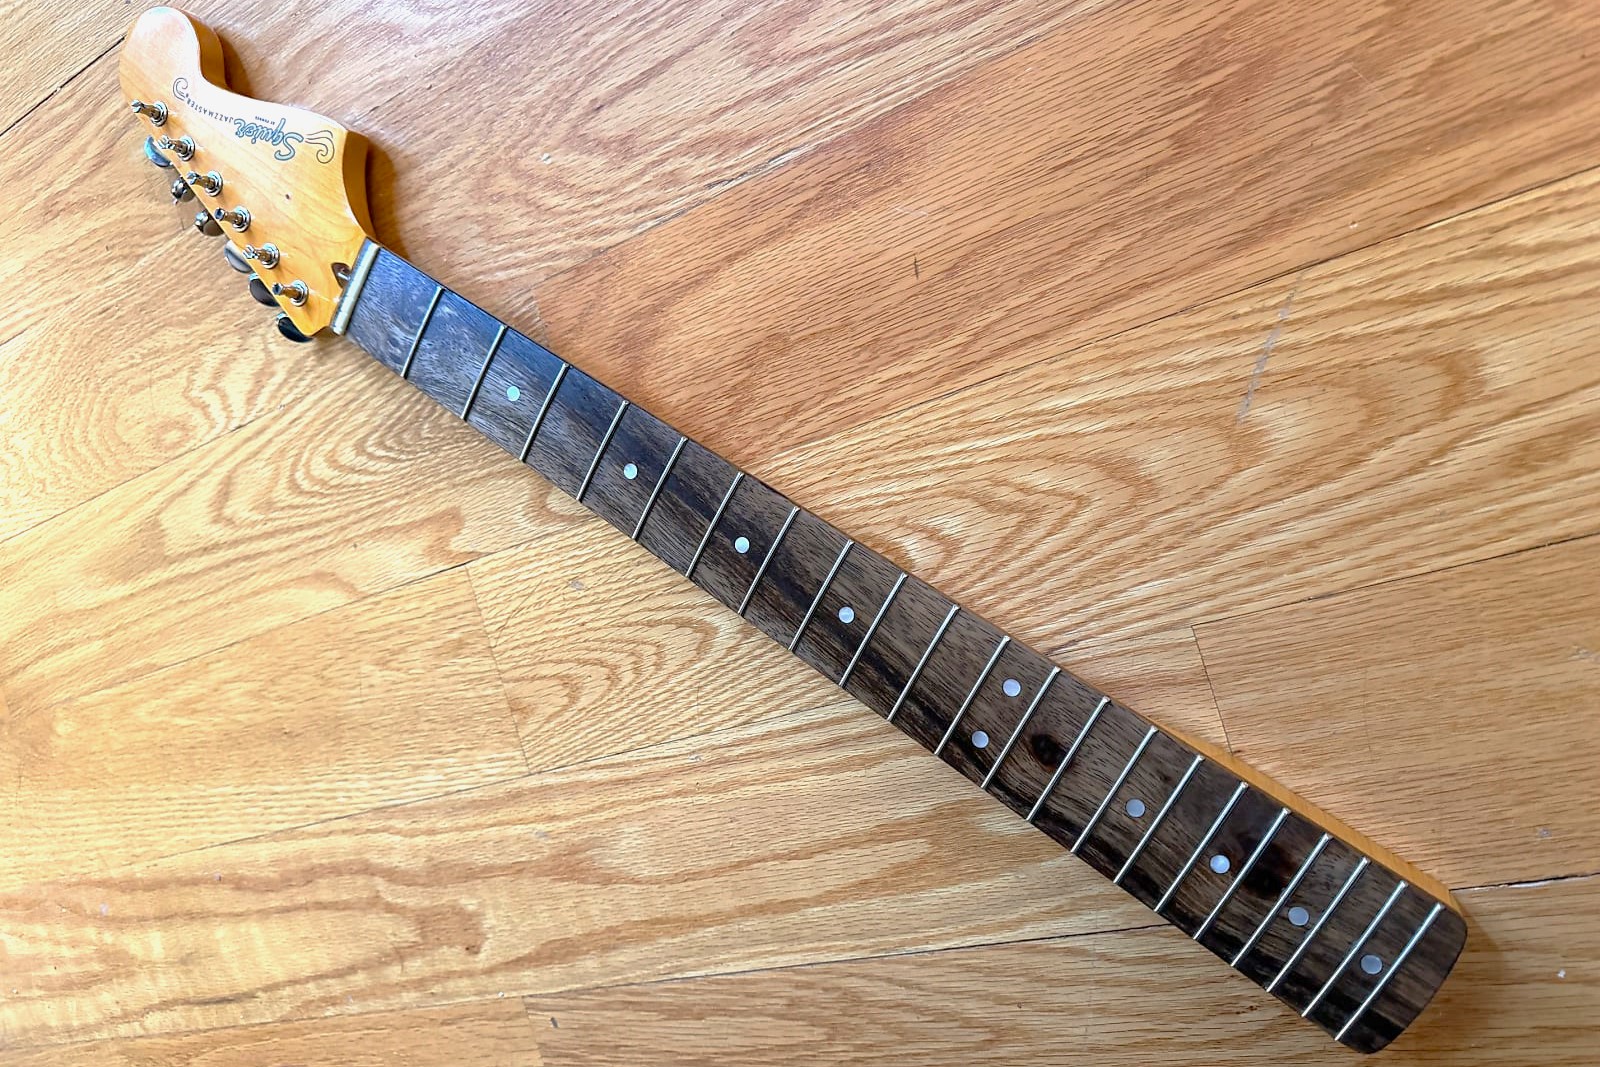
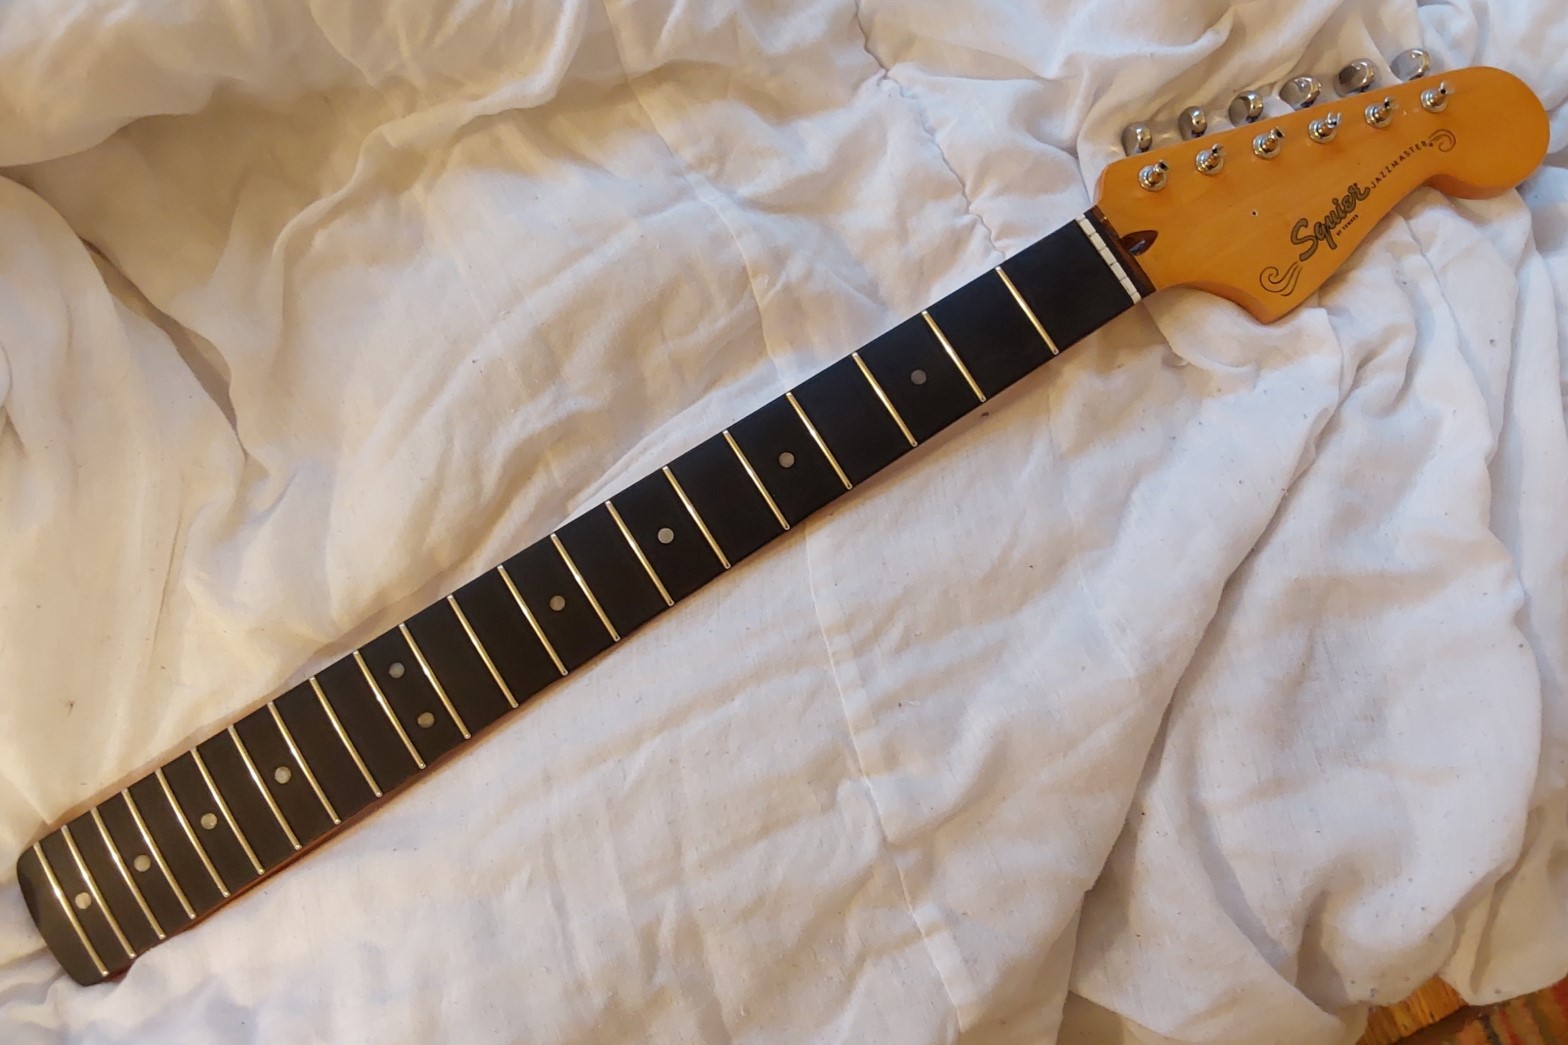
After removing the tape and buffing the frets with a cloth, I proceeded to carefully mask the now exposed edges of the fretboard and, with a newly formulated color, went light in applying about 4 or 5 applications of stain, with a little bit of drying time and rubbing the fretboard smooth inbetween.
I could maybe have continued and gone a little darker, but I got to a point where I felt maybe I should “leave well enough alone” so that I didn’t go too far or end up regretting it and, after a few days of looking at it, I’m fairly pleased with the color. I don’t think the pictures represent the richness of the reddish brown and it might be slightly darker than the pictures show, but overall, I think it comes across that it came out well. And it feels like a much higher quality neck than any squier I’ve ever had my hands on.
Anyways, all that’s really left to do is finish stripping the back of the headstock, then I’ll paint this as soon as possible (maybe even indoors if I can’t avoid it) and I have a nice repro pre-cbs style jazzmaster waterslide I think I’m going to use with this. I believe this is a fairly thorough accounting of my herculean trials but if I think of anything else I’ll update the post.
If anyone made it this far, thanks for reading and hopefully this will either help you decide to move forward with, or dissuade you from undertaking your own project of this manner, as I’ve done my best to keep it as realistic as possible. Even with all I’ve said, I really can’t convey the entire experience so if you have some specific questions feel free to ask.
The biggest concern I had was with altering the fretboard radius but I found with a flexible mini sanding block and not exceeding 400 grit, the wood of the fingerboard didn’t seem to be flattened by my light sanding, although I was very careful not to apply finger pressure and gouge the wood.
That’s about it folks, and while I appreciate if you don’t have the opinion that projects like this are necessary, please take solace in this meme and try to be gentle if you want to roast my efforts 

Cheers!