Watching one of the videos, the demonstrator, when asked about the manual implied that there is only a quick start guide. I would certainly hope that there is a full manual in the works though.
2 Likes
Got one here. I think it’s an amazing thing and a great way to get the most out of the stuff you’re already using. I’ll definitely be keeping it and I’ve already found that mapping to the arpeggiator has me behaving in different ways than I usually would.
Couple things I’d like to see addressed:
- The ability to map one knob to multiple controls (at the moment if a device has a rate knob and a switch between free / synced mode then you need to map separate knobs to control free or synced speed meaning one is always out of use)
- Would love to be able to set up knobs with more than 16 steps as some controls would do well with haptic feedback but exceed the amount of steps possible currently (ie scale picker)
- I would love to see the value change on the knob when I am turning it. For stepped controls I can name each stage but for free rotary encoders this can leave you without some information that would be nice to have
- On my unit I’m seeing a weird burn-in that shows up when the screens are blank but lit. It seems to fade quickly but due to the nature of what you’re doing with the unit every time you switch to a blank or semi filled bank it’s noticeable. I’m not sure if it’s a defect or just a quirk of the display tech. Something I’ll keep an eye on
- When setting center detents (64 is the default) it’s never quite centred on the controls, maybe 0.3% off or so. This is fine for some things but when talking about delay offsets those small percentages from 0-0.3 really make a difference in how wide the sound is
Doubtless I’ll find more things I love and quirks I’d change about it but I genuinely believe that this is a gamechanger in terms of being able to work in a very immediate way with software and after initial mapping it’s a very very intuitive thing to use
EDIT: Small Example of the Arp
13 Likes
Doesn’t seem like there’s a manual just yet. Some things like parameter clearing aren’t even mentioned in the quickstart guide but I managed to pick stuff up via the videos and just trying what I thought would be sensible key combos
As far as the guide goes here is what you get:
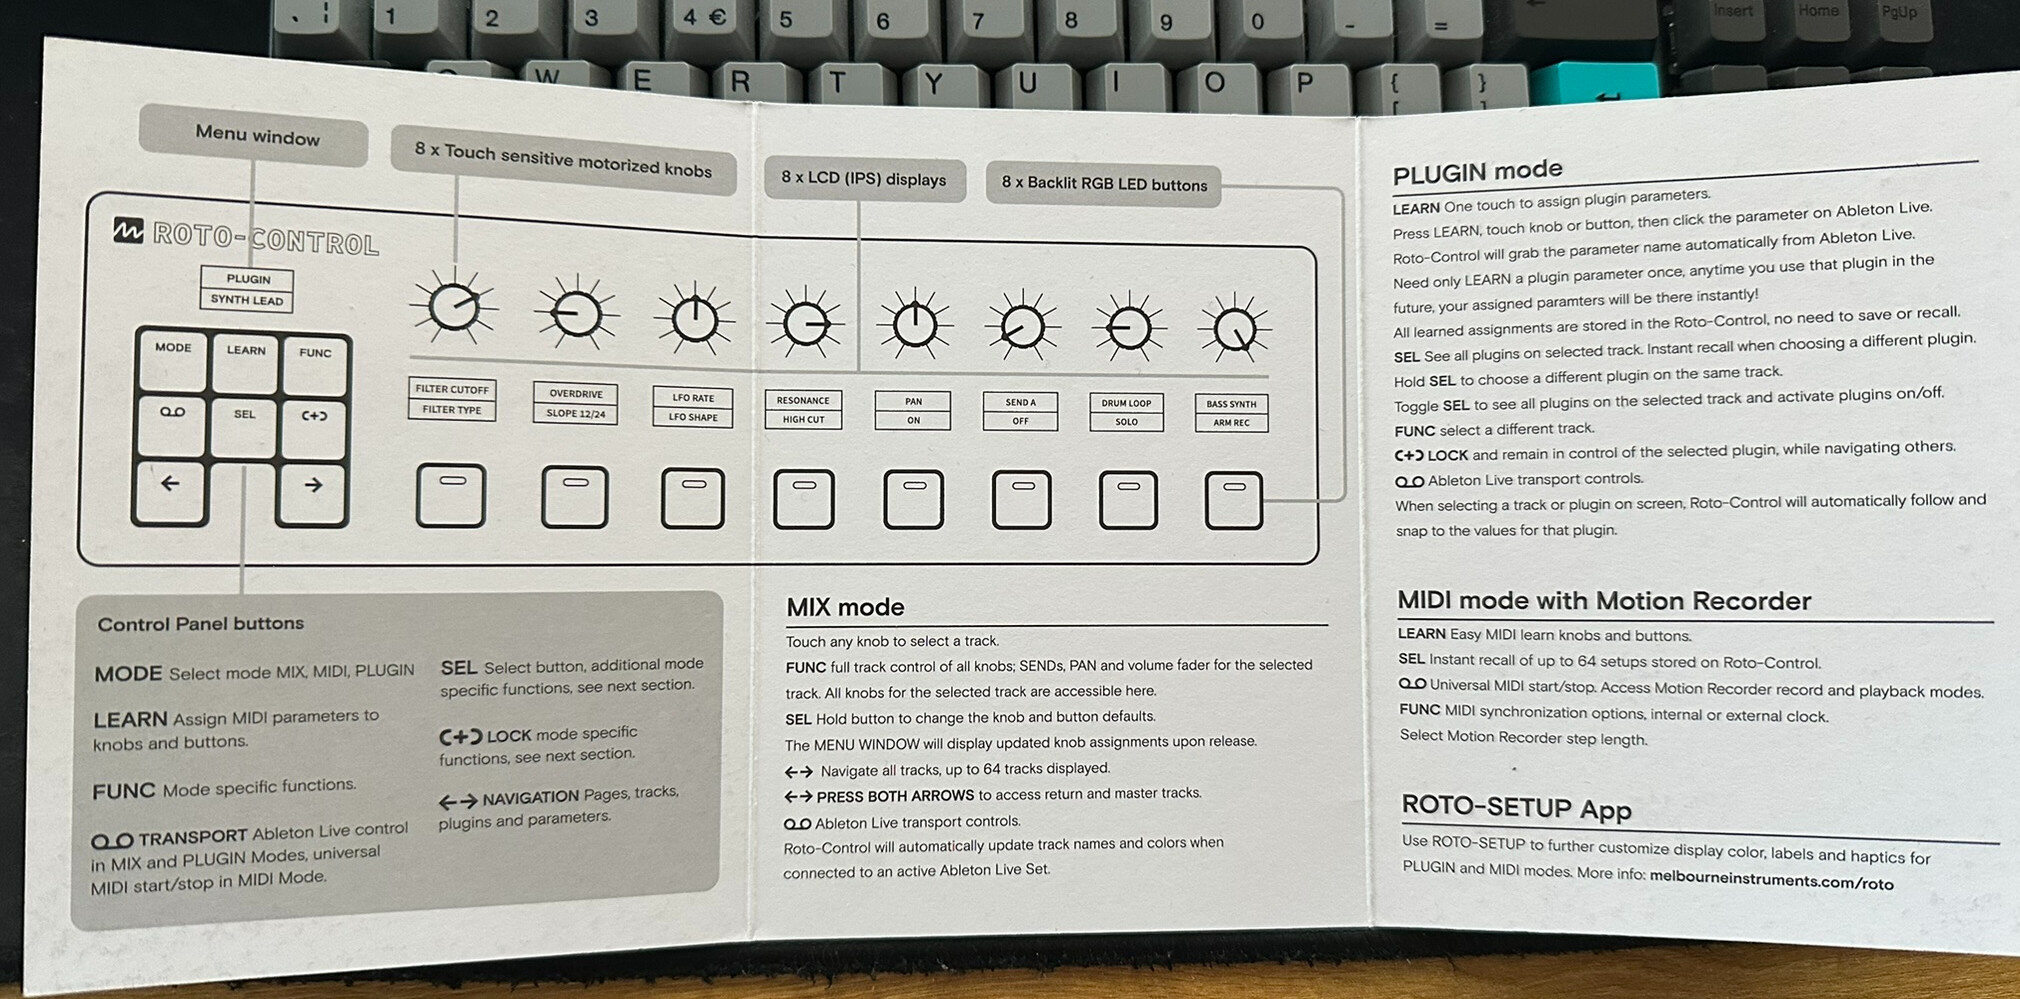
4 Likes
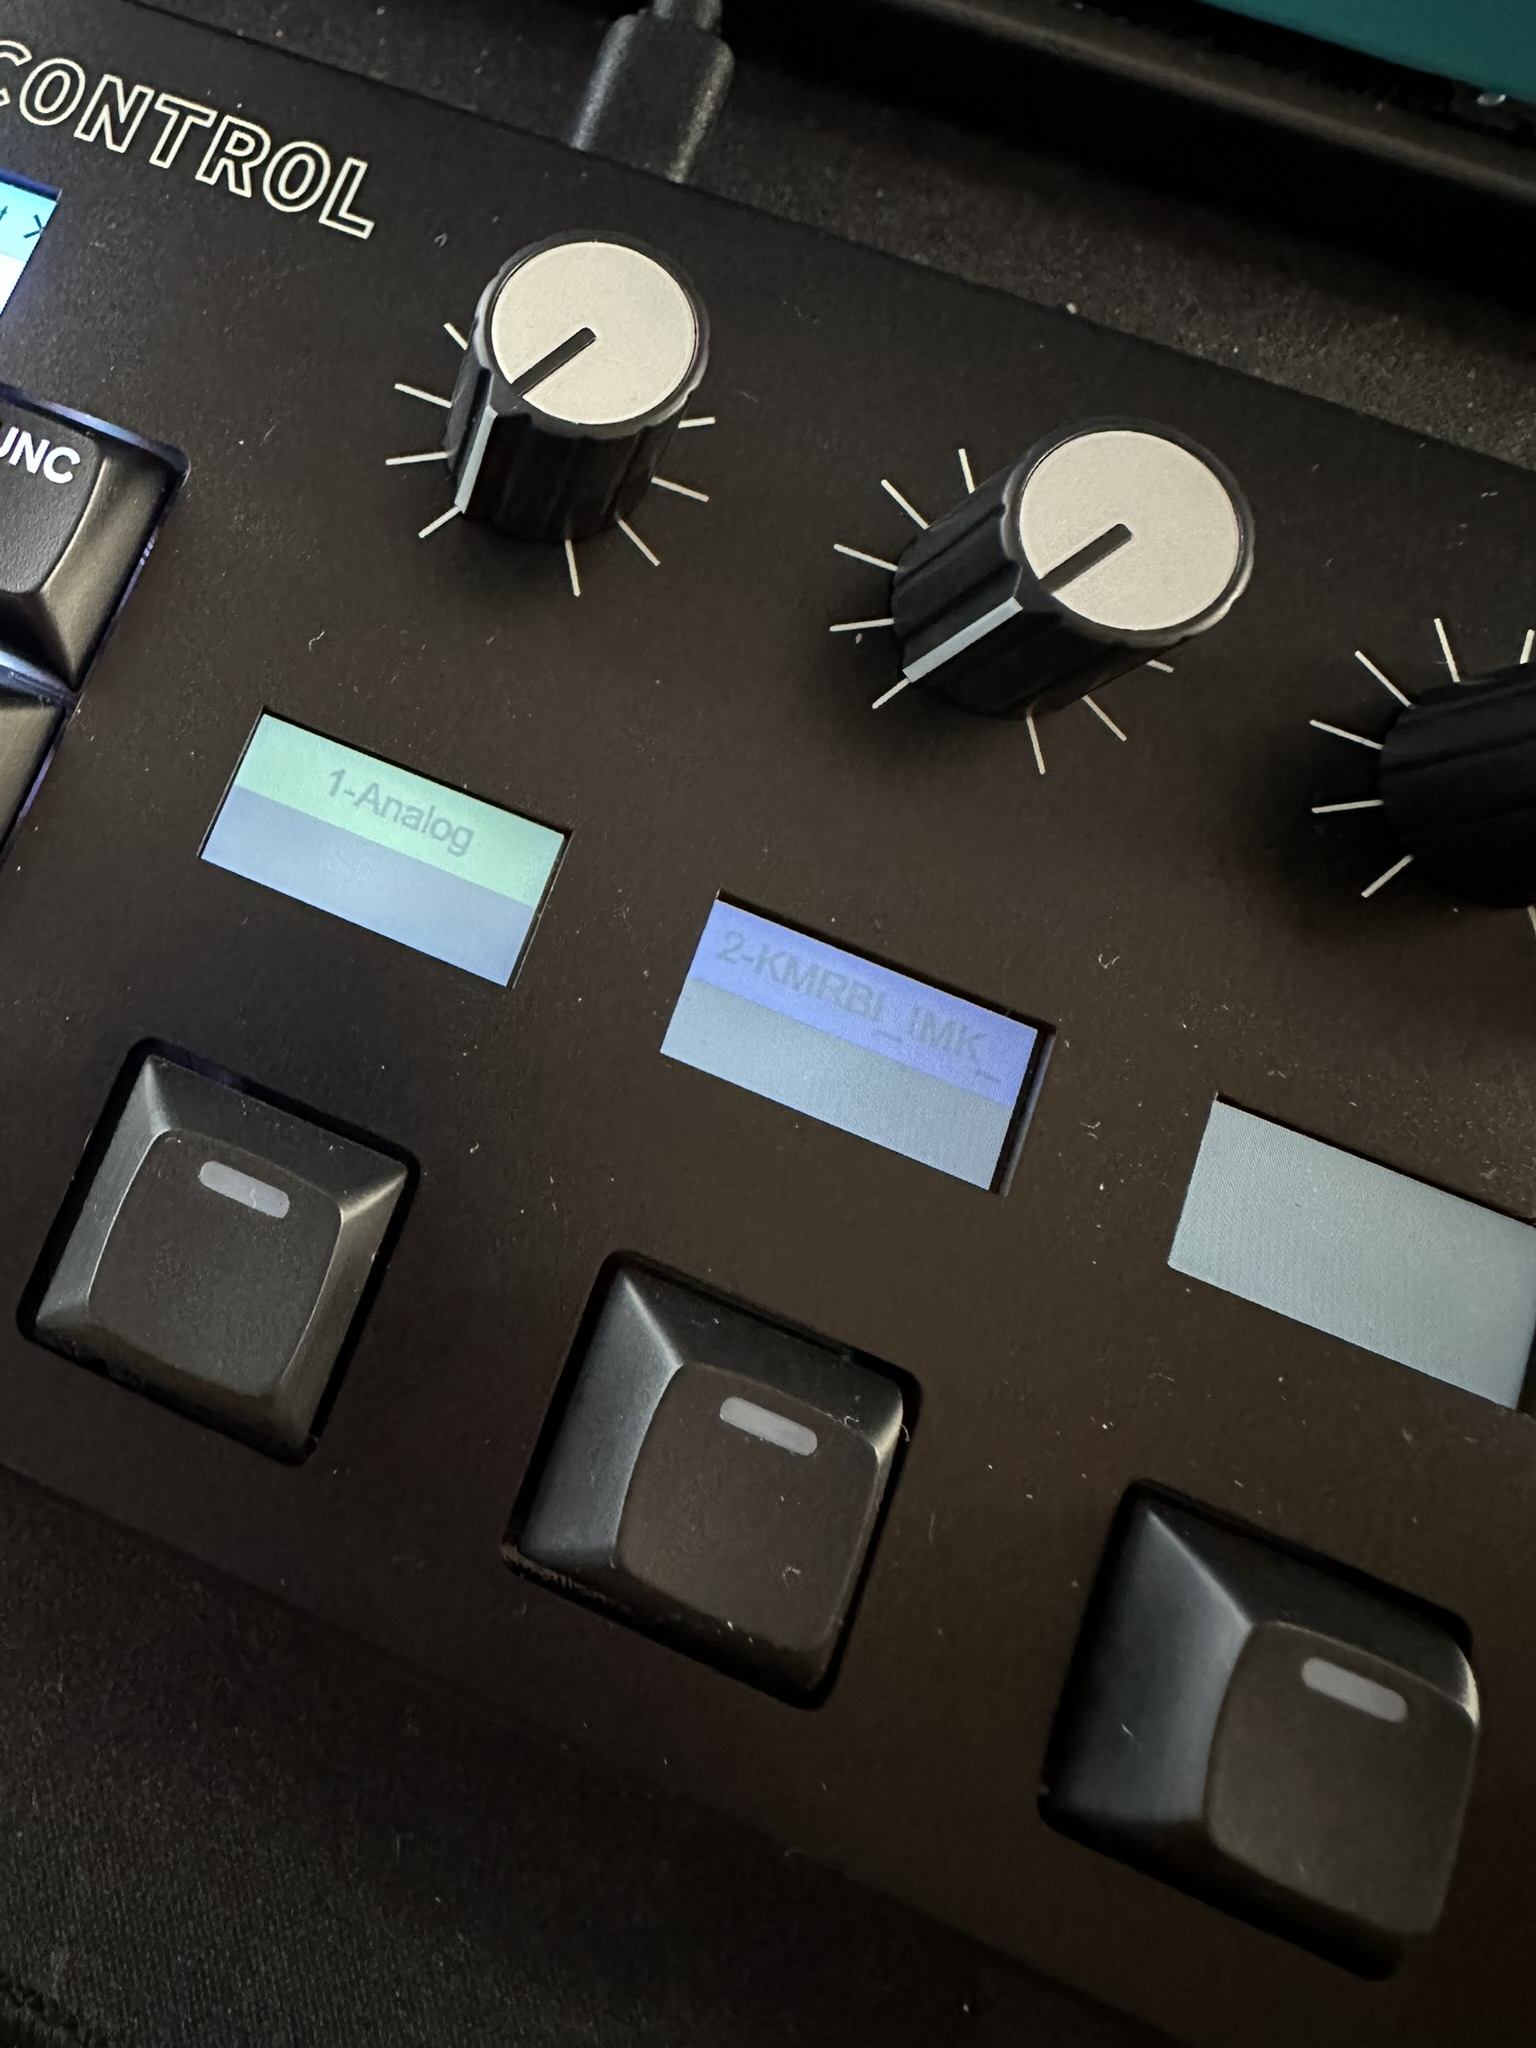
As a follow-up on the ‘burn-in’. I think it’s wrong to call it that, maybe’ image retention’ or something like that. These images were taken about 10 minutes apart so you can see how they fade rather quickly.
However the brighter the label colour you are using the faster it appears and the longer it takes to go away, as the soft pink labels I have set fade quicker than the light blue ones.
This is not something that concerns me as long as it doesn’t pose a threat to the display long-term or is something that can burn in permanently
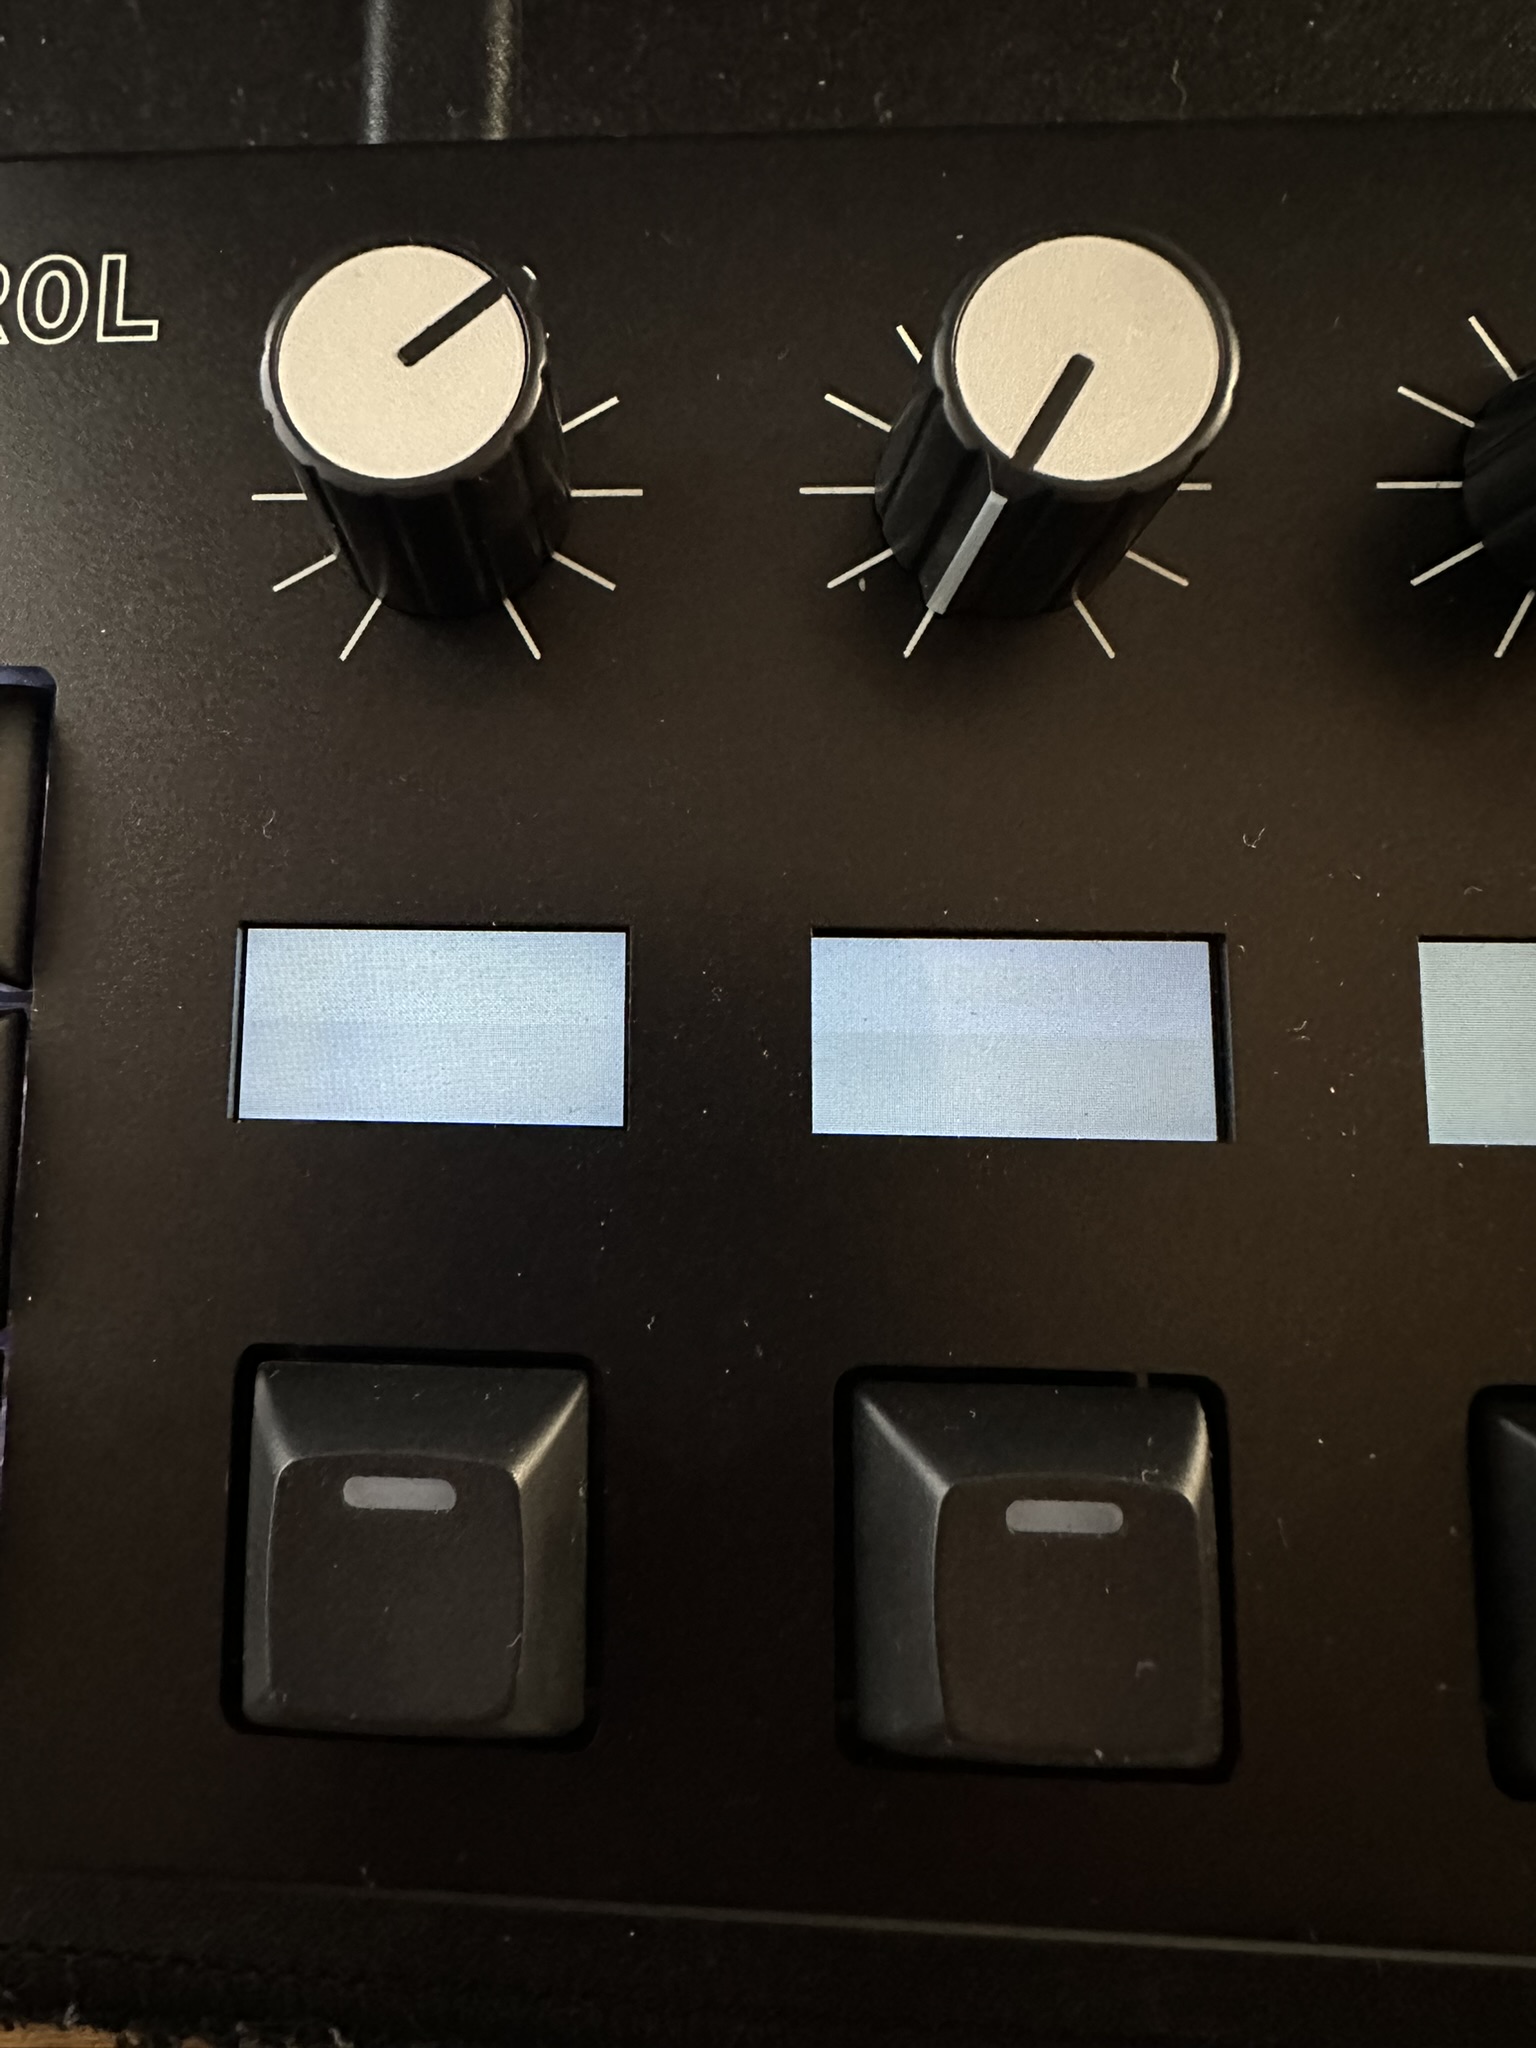
As of writing all labels have faded away completely, unusual but would be interested to know if anyone has ideas on what’s the reason for this behaviour
3 Likes
am I right in thinking it comes with two usb-c cables? one for power and the other for data? I guess it’s not bus powered?
It is indeed bus-powered. There are two ports (one regular cable provided and one wall-wort to USB-C). I assume that the power cable is for if you are using it with external gear and do not need to be sending data over USB? But it works fine with Ableton just powering from the USB port. Couldn’t say more without a full manual!

4 Likes
I’m hoping it will work with a usb b to c cable, otherwise I’m going to need a hub. Great that it’s bus powered.
Cable it comes with is C to C 
3 Likes
For anyone interested in some quick maps I am working my way through the default Live 12 devices and exporting the maps as .json from the utility app. Feel free to download if you would like to try them. It’s mostly basic stuff but should save some time setting up.
Download
So far I have:
Align Delay
Amp
Auto Filter
Auto Pan
Beat Repeat
Cabinet
Chorus-Ensemble
Color Limiter
Compressor
Drum Buss
Dynamic Tube
EQ Three
Erosion
Gate
Gated Delay
Glue Compressor
Grain Delay
Limiter
Multiband Compressor
Overdrive
Pedal
Phaser-Flanger
Pitch Hack
Redux
Reverb
Saturator
Spectral Blur
Utility
Notes
I will be adding more performance effects like Echo and Delay but at the moment there’s so much doubling up of parameters (free rate and sync rate) that it feels unwieldy and I’m sure there will be a better way (FX Group or something) so just doing the simple ones now
19 Likes
I see the potential for this to be a really big hit and we could probably see these as standard devices in every Ableton producer’s video, like a Keystep. Which would make me really happy, so that Melbourne can expand this line of hardware.
4 Likes
I think that’s a given now.
Expanding both with more devices, and with more features.
Whether they OEM the tech, is still TBD, but i think they should.
2 Likes
This is what I want to know also. At the moment I’m guessing not, or at least they have not made it publicly available.
I´d like to know as well!
I still hope they license the knob tech to Sequential. OB6 with this would be amazing.
3 Likes
Legend! Ordered yesterday, I am excited!
Do you have an easy way to measure power consumption? I am wondering if I can easily power it with my Ipad or notebook. I am a bit worried because of the motorized knobs
1 Like
Why wait until that will happen? The Rotomania can be your’s much sooner.
1 Like
Already have the Low Frequency Expander for the OB6 so more would be silly. It’s mostly fine as I hardly use presets. But if the knobs worked like this I’d probably use presets more.
Hoping for a future where these knobs and MIDI (let’s throw in it being wireless too) are everywhere. Though that’d probably mean cheap knockoff knobs that break all the time too.
1 Like
I think it looks great. I’d love if they added some onboard LFOs for adding modulation.
4 Likes
Or the other way around. Can you plug in power to the Roto Control and then power the iPad Pro via its USB C connection?
1 Like