Octatrack MK I lcd-screen glitch

Recently when slicing samples and turning the level encoder sometimes the lcd screen of my OT MK I glitches out and won’t go back to normal until I reboot.


It is still responsive but almost impossible to work with since it’s so scrambled. Has anyone encountered a similar issue? Is my OT nearing end of life? It’s one of the very first models with the rough texture. I would like to open it up for some cleaning but the former owner almost stripped the screw in the middle on top of the faceplate and I haven’t had any luck unscrewing it. I‘m afraid to completely destroy it when trying. Any tips for this situation? Thank you all in advance.

1 Like

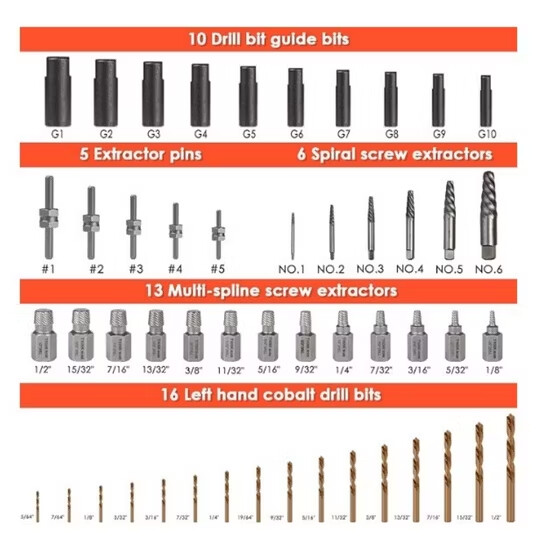
You can get a screw extraction kit, or you can get creative, both will probably take a little bit of effort.

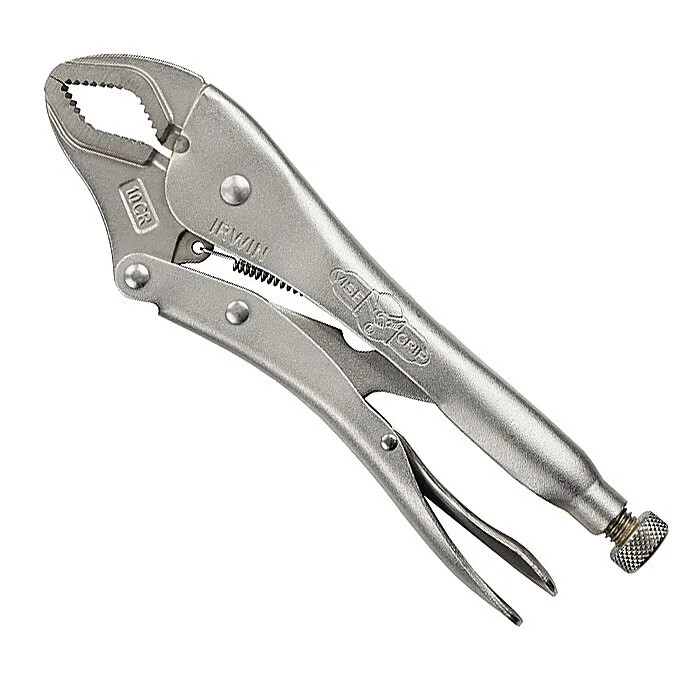
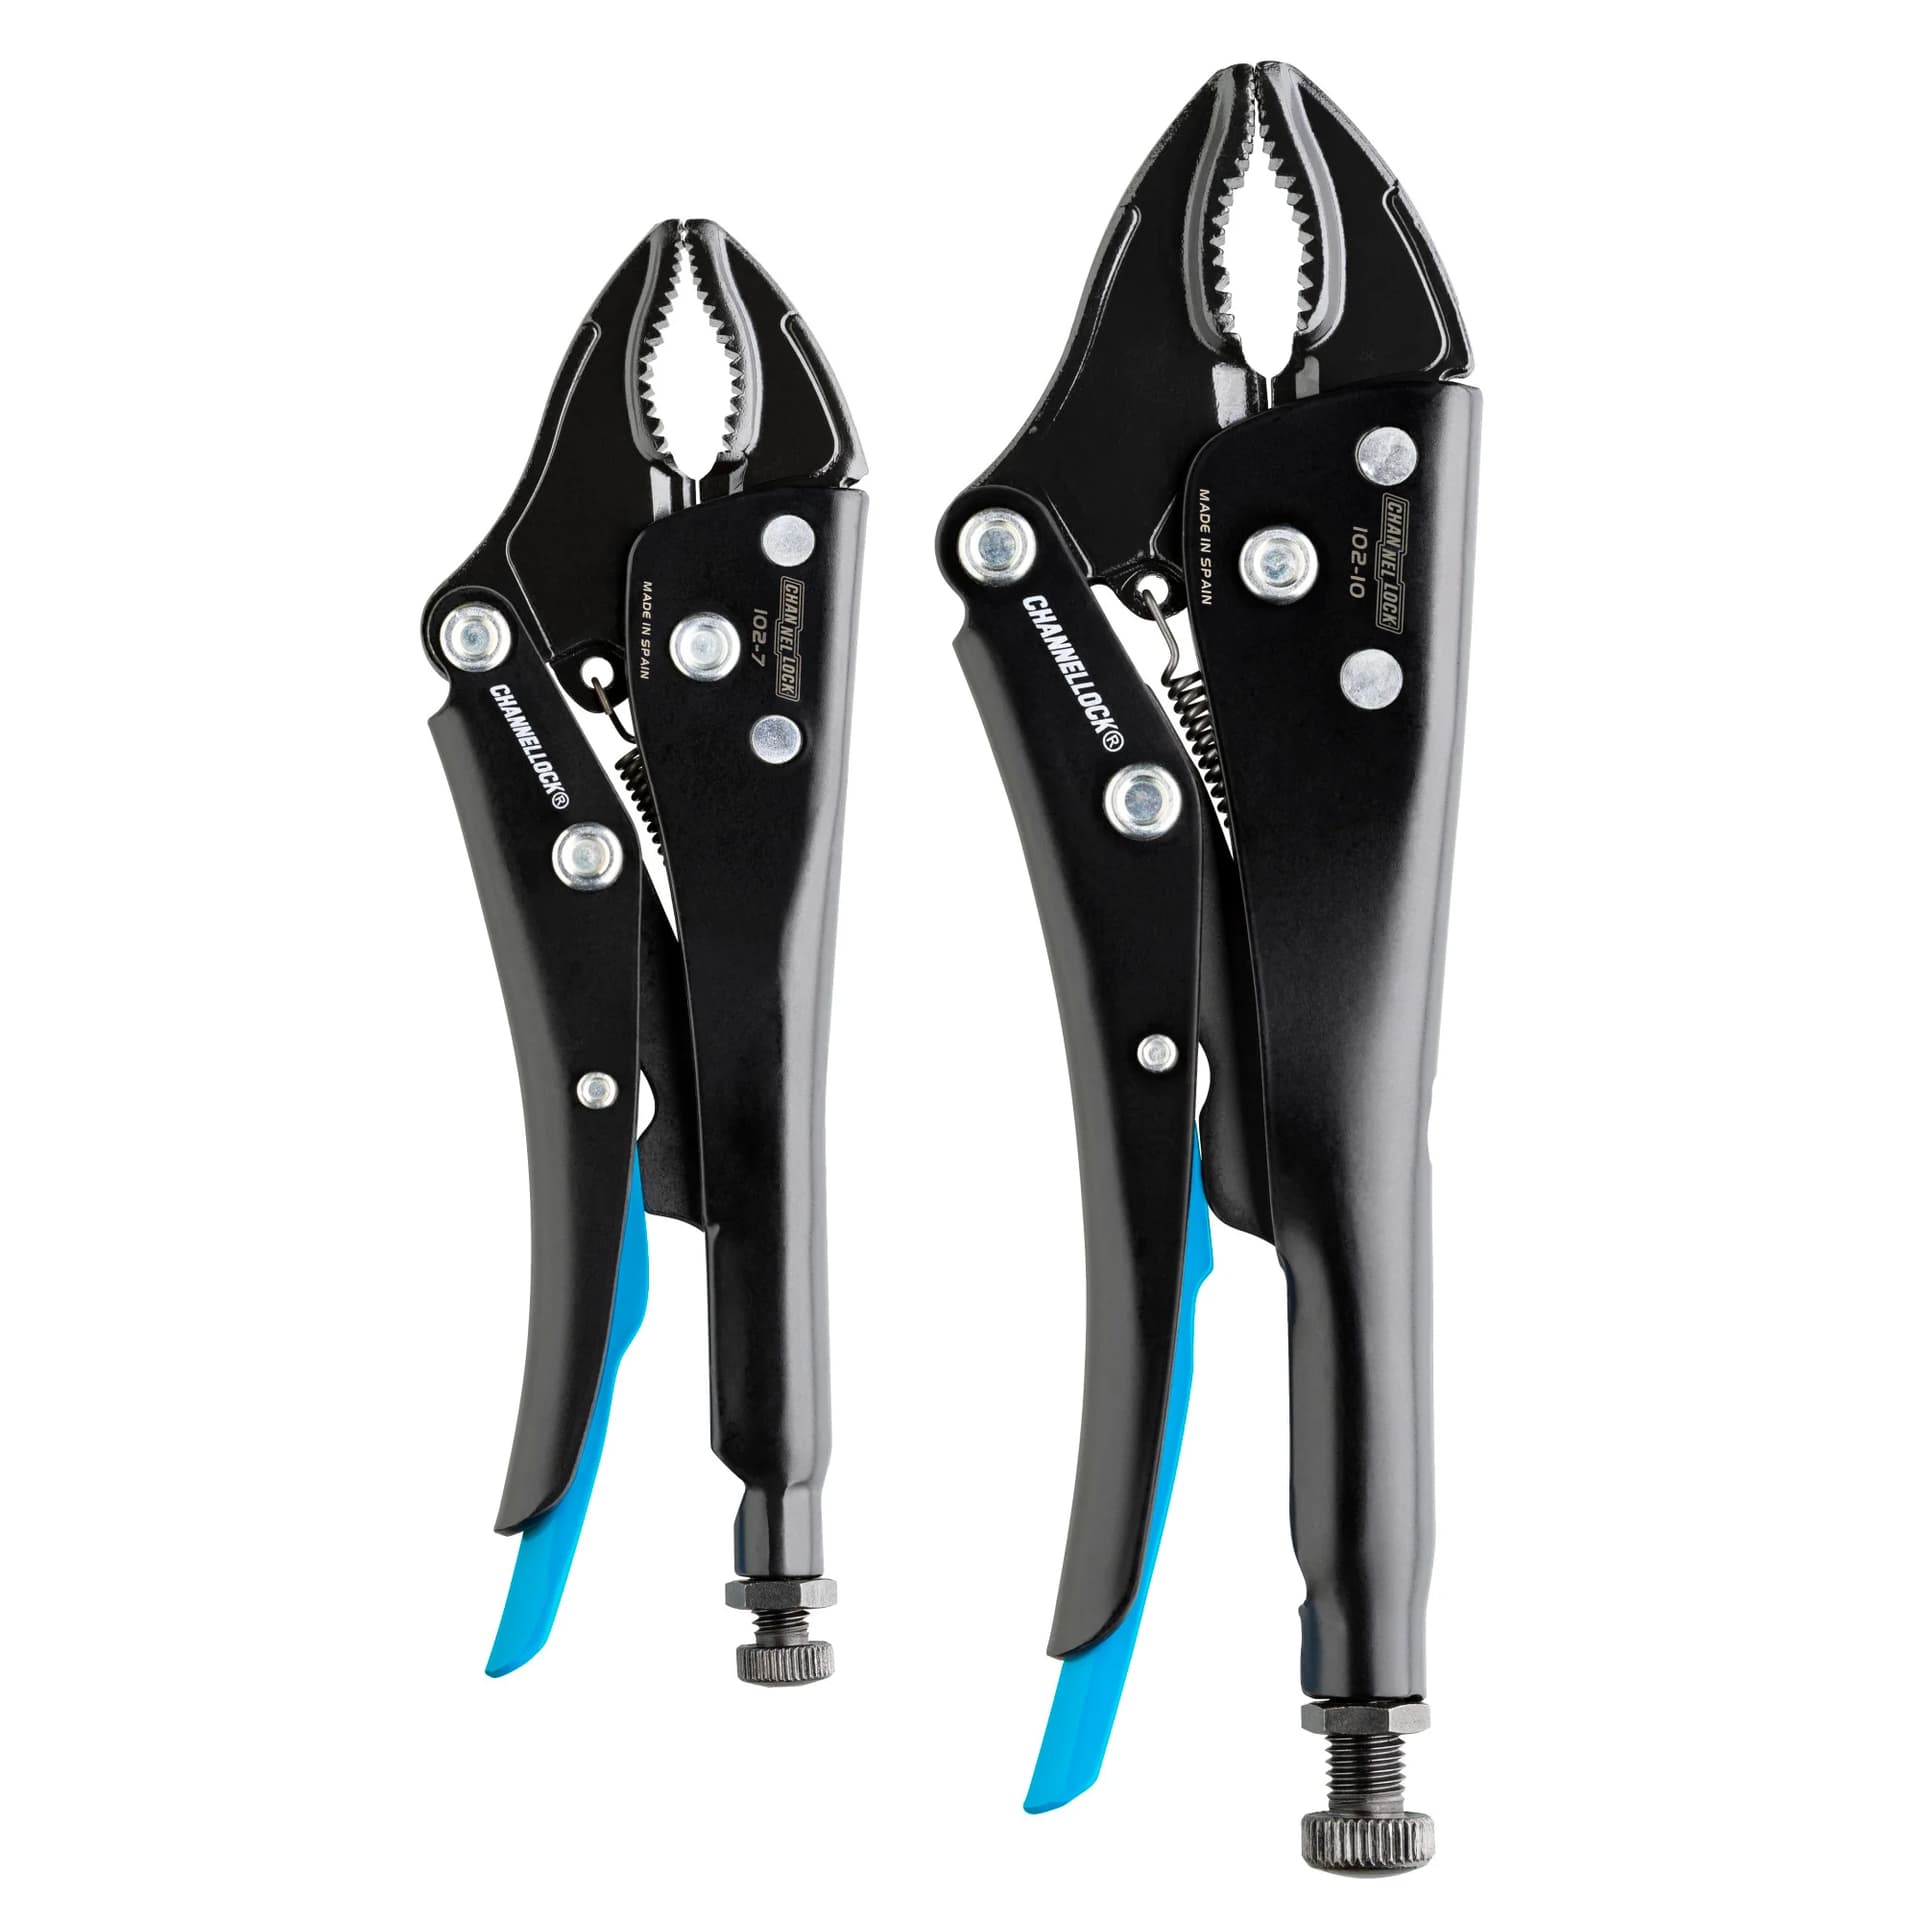
If you have steady hands, you might be able to first protect the faceplate with some blue tape and a little bit of thin cardboard and then use a pair of channel-lock pliers to get a firm grip on the screwhead and manually turn it out.

As far as your screen, once you get the face off you could unplug the ribbon cables and clean the copper parts of the terminals with some contact cleaner. I don’t know if that’s an actual physical issue with the screen or whatever drives the screen, or maybe a bug in your firmware causing it.

You could run the error test by booting into startup mode and after you check the results, try backing up everything and then reloading firmware and test for results on a blank project, just see if it comes back.

It’s often recommended that if you have the original CF card that you try another one if project data is getting corrupted and I don’t know if this is project data, but if you have the original CF card still then I guess that’s something to consider as well.

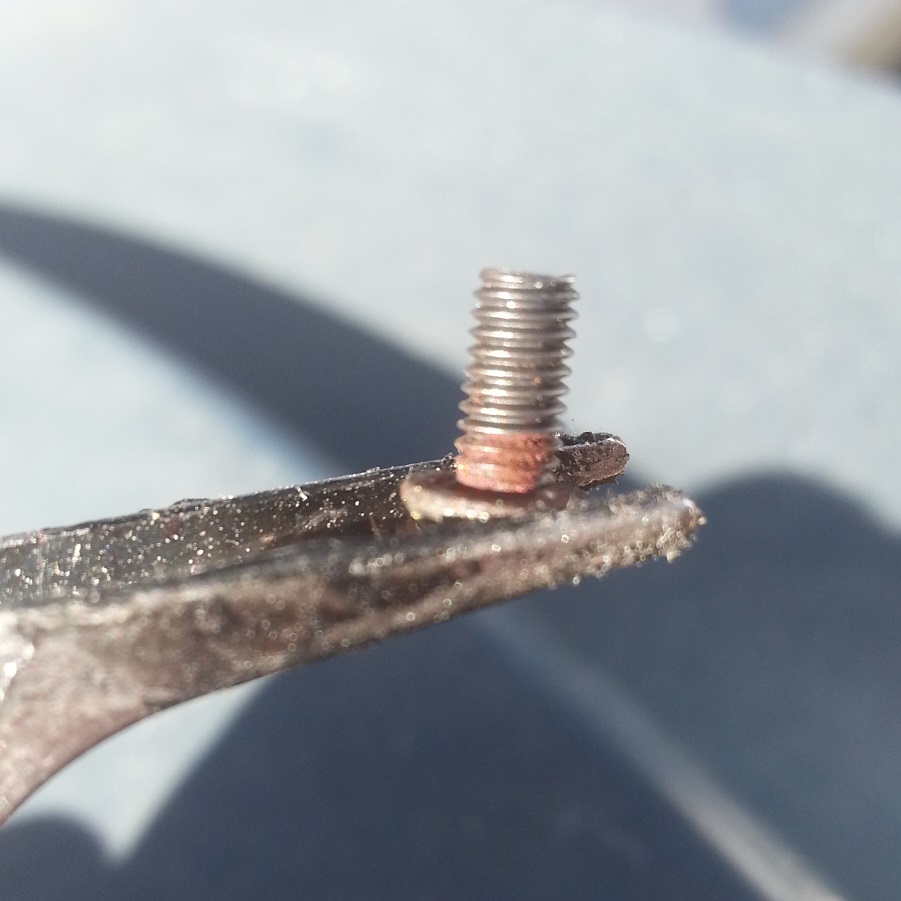
Elektron sent me some screws to replace the rusted ones on my digitone and one of them was stuck and the head was stripped. I had to use a grinding disc on a rotary tool to take down the edges of the round screw and make two flat parallel sides and then as suggested above, I used a channel lock plier to grab it and manually turned it out.

Of course I protected the faceplace first, but it wouldn’t come out and I had to get creative, so there is definitely some risk and effort involved and you may want to look into the screw extraction kit, although usually you have to purchase more than what you need because the kits come with more than one size even if you only need the one for your application.

I think a lot of those kits also involve drilling down into your screwhead so if it’s at the point where you aren’t comfortable doing this kind of stuff yourself, you may want to hand it off to someone else to get the screw removed.

Sorry, that’s probably all I got. I would normally recommend using something like liquid wrench or WD40 to try and soak into the threads and make it so they might be easier to break loose, but I’m not confident that those types of products won’t stain the finish on your faceplate so I probably wouldn’t want to risk it unless I were desperate.

I’m looking for a picture of how I cut the head to make it work. You might not need to do all that, mine was pretty turfed though as you can see in this picture, the rust was making it really difficult to get it out and that’s why I had to grind on it a little.

4 Likes

Hey, thanks for the comprehensive answer! Testmode worked fine, some encoders are a little jumpy sometimes but that I can live with. I will try another CF card though, back everything up and reflash the firmware. The suggestions for extracting the screw sound reasonable and interesting but I‘d rather avoid them if possible.
It will have to be cleaned at some point though…

1 Like

If I come up with the other picture of the modified screwhead, I’ll let you know, but it’s not hard to imagine that it was a bit of a headache just from the description.

I wouldn’t put this screen issue past being data corruption, especially if it only happens in 1 project, but there’s no good way to determine that right now other than trial and error.

Anyways, good luck. Try and update this topic if you see any improvement or worsening of the condition. I’d be interested to know what happens and what, if anything, fixed it.

So, small update, I switched CF cards and so far the glitch hasn’t happened again. I also tried to loosen the screw with some wd40 (didn’t stain) and then using flat top pliers to turn the screw but that didn’t happen. Minor scratches on the screw and frontplate which I don’t really mind. I guess if I really want to open the OT up I will have to resort to the abovementioned procedure. For now I’ll leave it as is though. If I ever open it up I‘ll make sure to update this post…

1 Like

The type of plier I’m referring to has a locking mechanism in the handle that engages when you squeeze the grip past a certain point so it acts as a vise. Makes it easier to grip and twist without having to maintain a grip on the screwhead by force of hand.

I think maybe if you had very strong hands and moved in a pivoting motion you could do it with a more standard plier but it would be considerably more difficult.

Sorry you got some marks on it. When I do something like this, I cover the surface with blue painter’s tape because it’s low adhesive and doesn’t leave a residue but still fairly substantial in the thickness of the paper.

I just punch a hole for the screwhead to fit through and then usually if there’s sufficient clearance left, I do roughly the same thing with a piece of cardboard or cardstock paper with a hole punched through it as another layer above the tape. That way if the plier goes beyond the screwhead it’s got some sort of protection in place.

Interesting about the CF card, I’ll hope that completely clears the original issue for you.

I have a reasonable amount of experience doing delicate tasks with the dremel tool I mentioned above which I used to flatten the edges of the screw so I would advise caution if you decide to go that route. I’ve tried things like using epoxy to set the wrench inside the screwhead and though some people report it works, I’ve never had luck with that.

Screw extractor kits are roughly like this

There are also some precision varieties like this, similar to a precision screwdriver set.

The general idea of most is to increase counter rotational force and/or sink something into the head of the stripped screw to allow force to be applied.

These all (the pliers, the extractors, various snake oil methods, all) have some degree of risk if you aren’t careful so I’d watch a few youtube videos and see what looks easiest for you.

There are probably other ways to go about it but this is what I have personal experience with so that’s mainly what I’m talking about.

If you have some questions though, I can try to help out.

1 Like

Also known as ‘mole grips’, ‘mole grip pliers’ or ‘vice clamp pliers’

1 Like

Screw extraction kits I find work maybe 1 times out of 10 (being generous), I don’t rate them at all personally - and I’ve had to deal with many a stripped screw or bolt head. Mileage may vary. But I’ve got maybe 5 of these kits all different kinds and they’re pretty useless.

The mole grips approach would work well but definitely carries a risk of damage to the case, I’d be wary of that approach.

My protip:

You’ll want to replace the screw anyway, as it’s stripped - so personally I’d use a tiny dot of epoxy glue on the scew head, and glue another screw or… basically anything… to it. It won’t have been screwed in with significant torque so this should give you something to get a good hold of and turn it with ease. Dispose of screw, and replace (I’d just replace them all as a set).

This is a lightweight version of welding something to a bolthead.

Normally I’d favour taking an angle grinder to it but I suspect that might be more destructive than the molegrips. I’d probably be confident in using a Dremel to cut a slot to use a flathead screwdriver but unless this is something you’ve done before it’s probably equally risky.