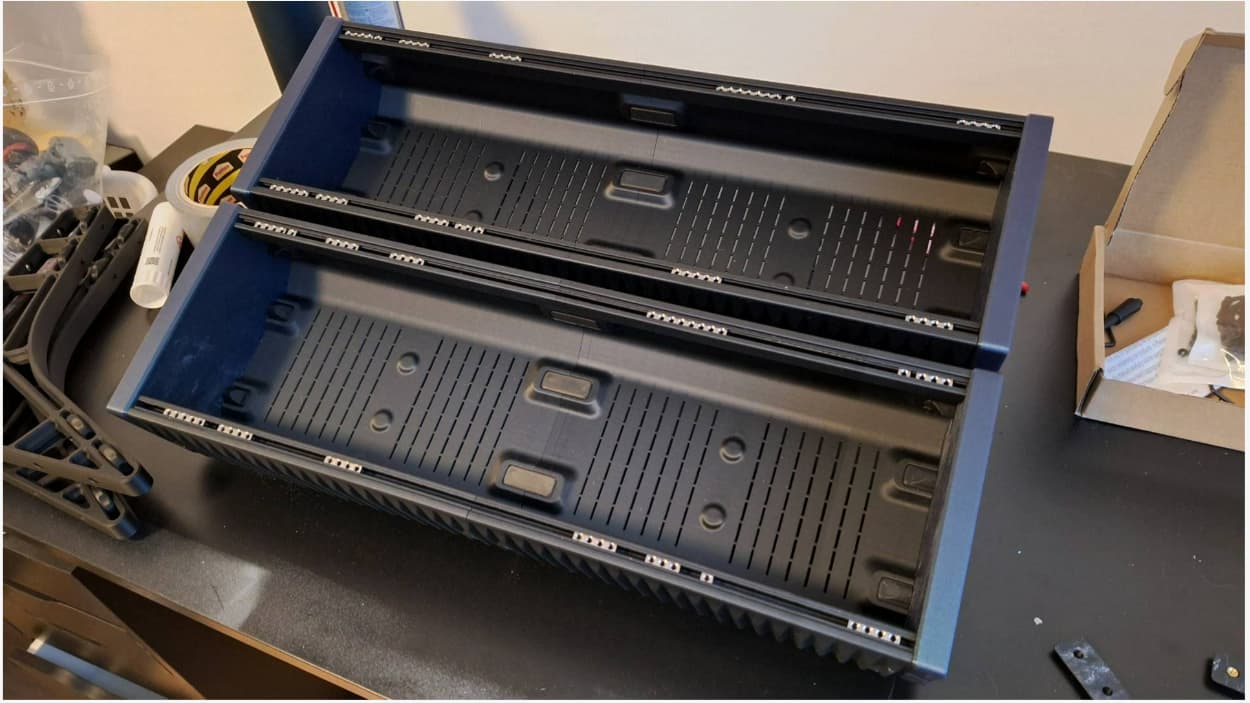
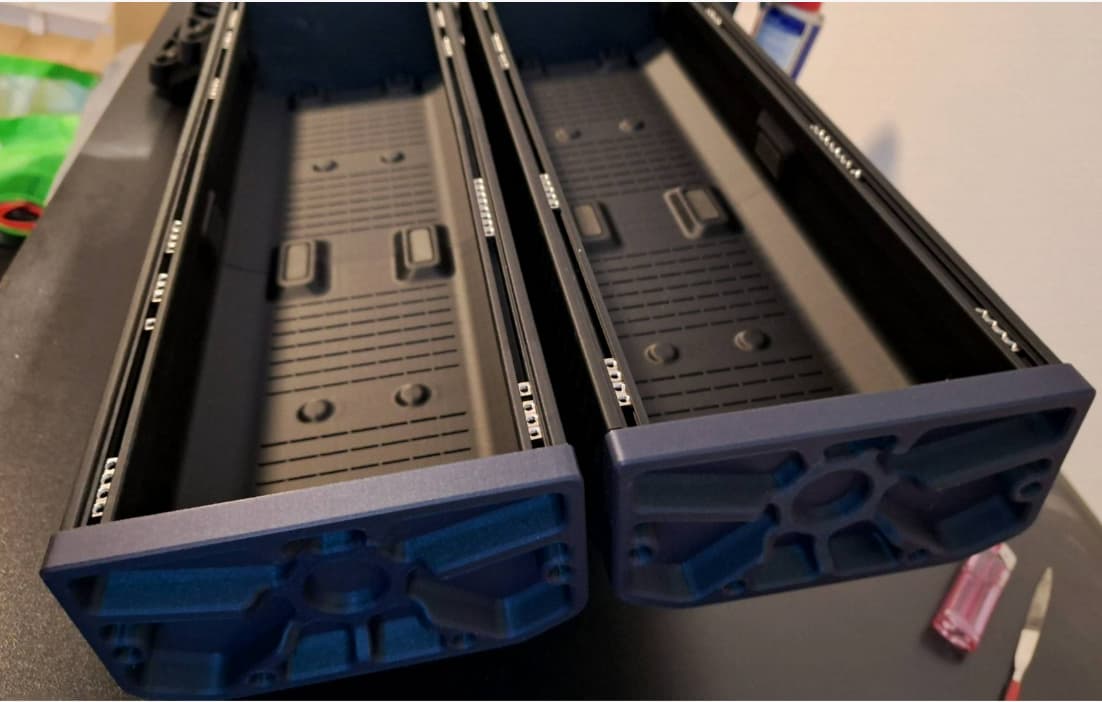
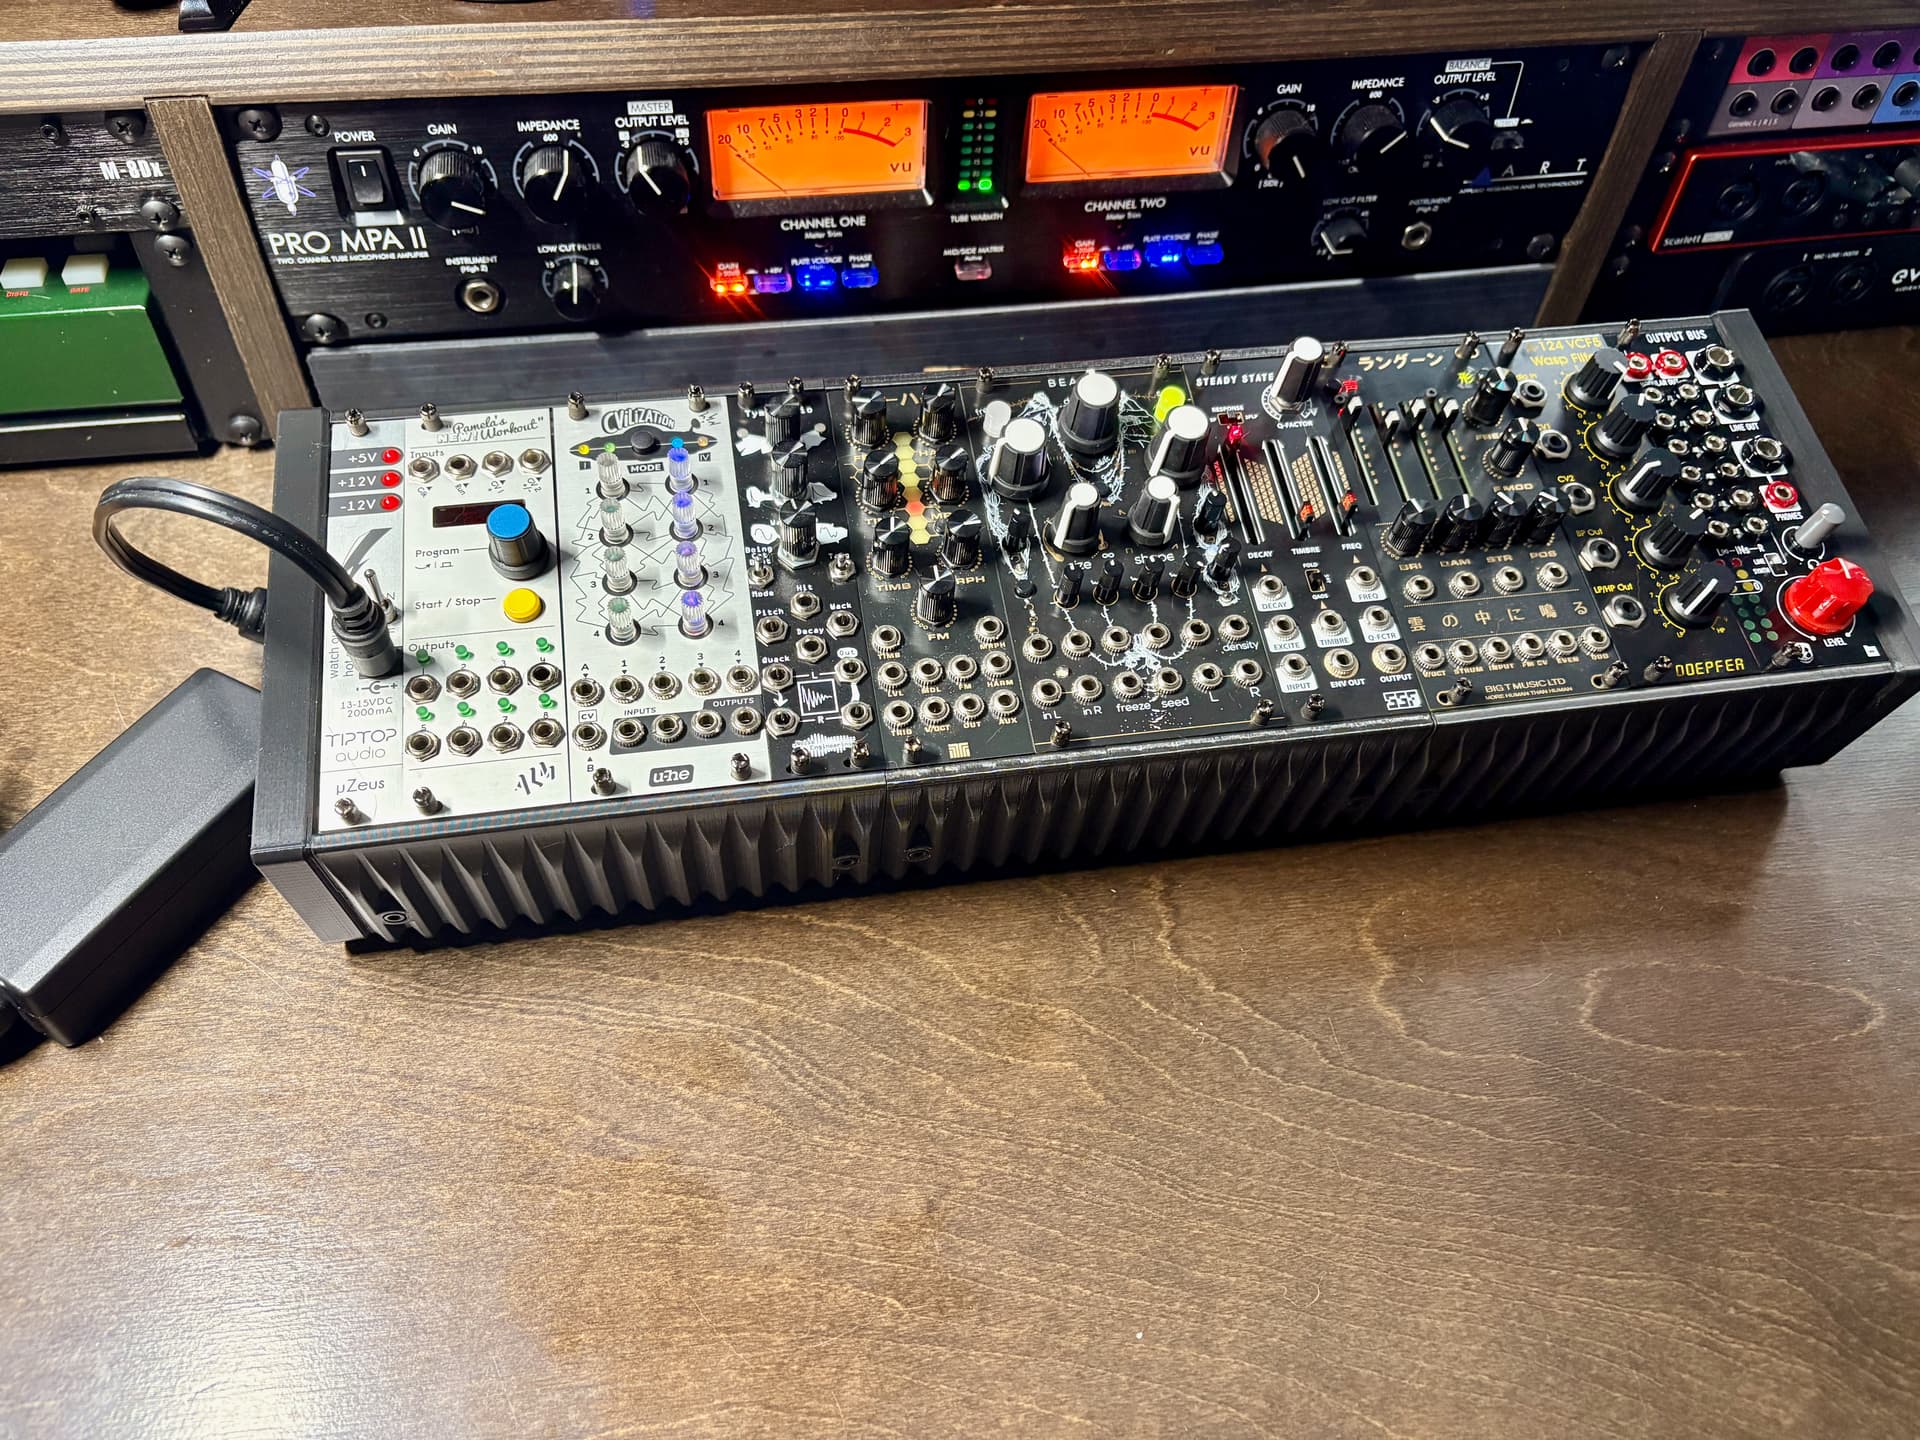
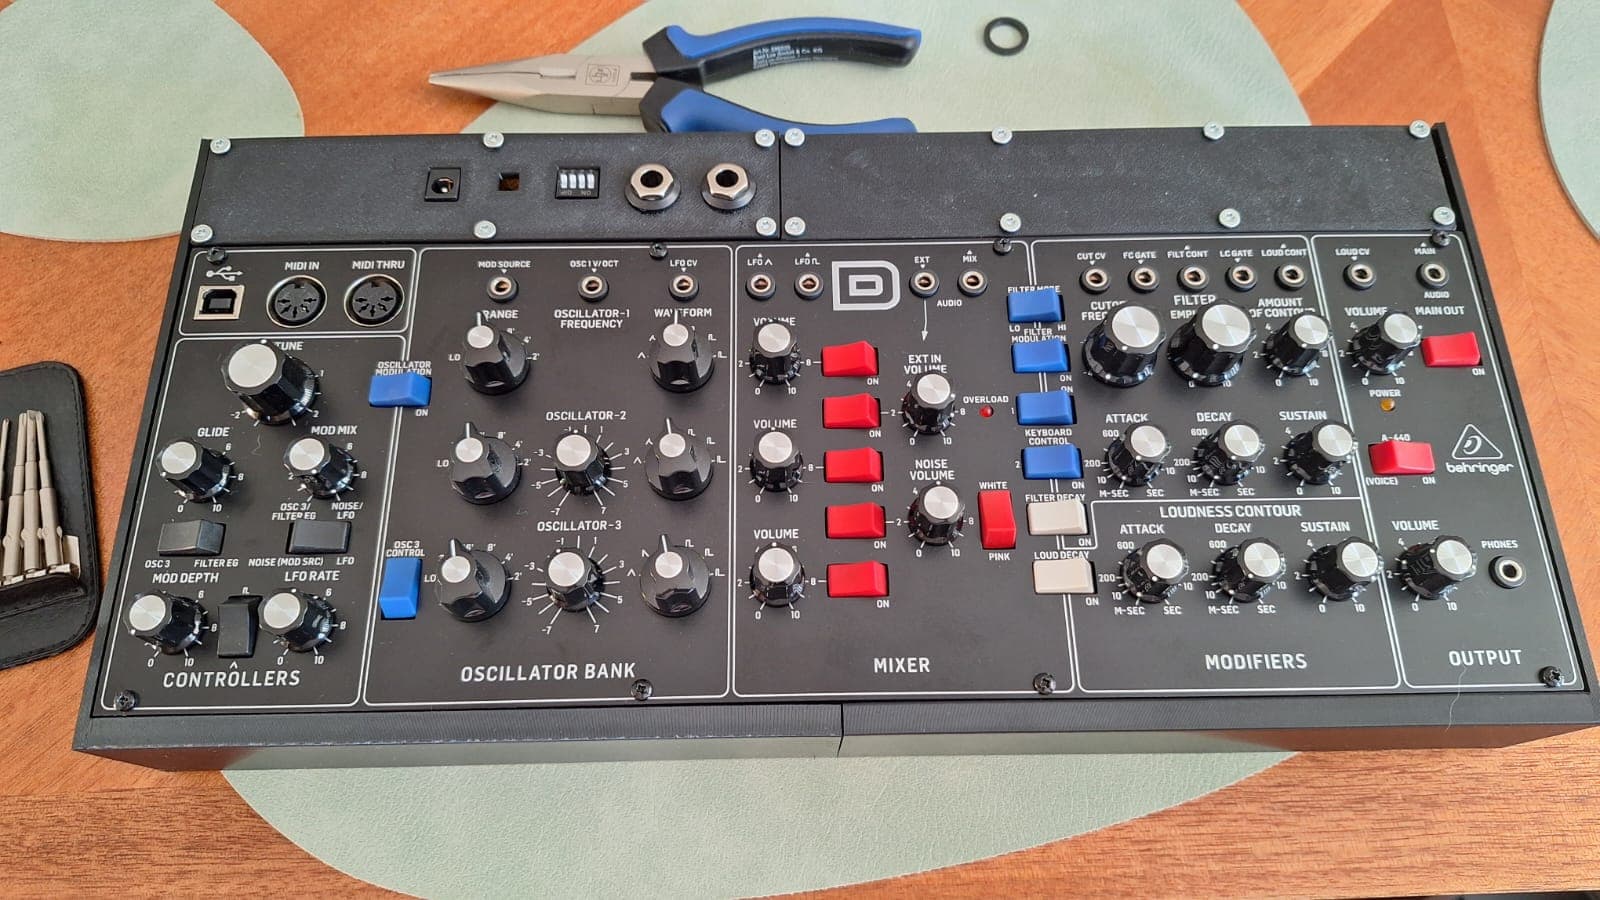
I came across this free printable Eurorack-Case blueprint and printed it over the weekend:
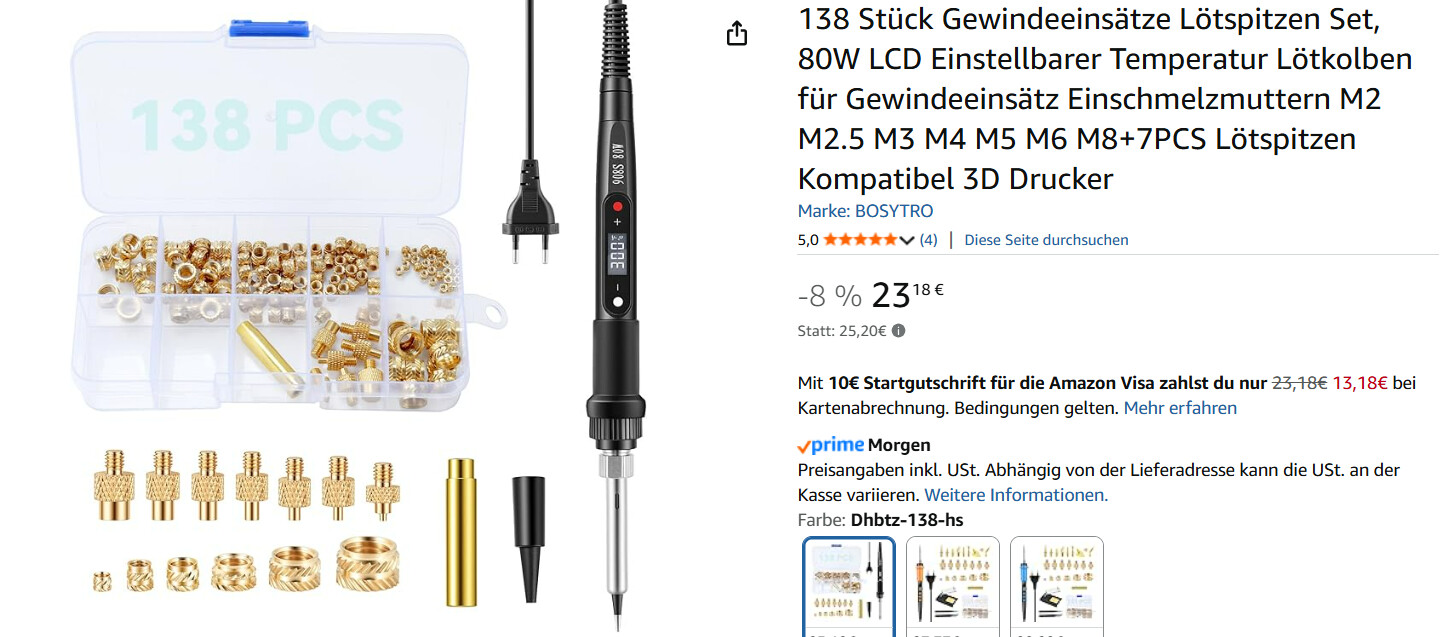
I just wanted to share, as Eurorack Cases seem very very pricey (this whole thing including filament + tools and screws for several more cases cost around 50€): Not including a powersupply but a suggestion is Behringer CP1A 55€ maybe?
This one is aroudn 86hp, I also printed 2 other middle pieces, so I get to 108hp.
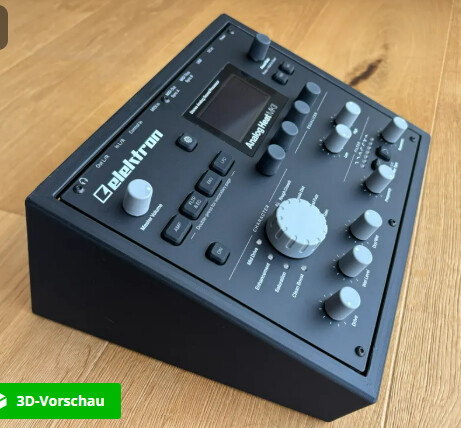
And on the left you can see an alternative stand so the upper case gets more angled toward you.
Absolutely, they are very good for home usage, they are really stable on their own, more with the stands. But they have ventilation vents on the bottom and there is no cover that can be printed. But for @ home great.
I also recommend more pricey robust cases for live use outside of home, as modular is expensive it should be well protected when on the road.
If they made a cover for it, there’s no reason that wouldn’t hold up to live settings. Looks very well designed, they didn’t play when it came to wall thickness either.
Yeah, the eurorack case is really robust, and between the different hp modules are 4 connectors 2 on the bottom 1 on each side (top,bottom), which makes it really quite sturdy, and the screw nuts easily slide between the different parts.
Is there anything special about inserting the brass inserts, or do they go in easy?
Looks like I might have an x86hp double-decker version in the next few days. I just bought the screws, nuts, brass inserts and sliding nuts they recommended (after I couldn’t find my other sliding nuts).
I was wondering if there’s anything that’s good to know when putting everything together, or if it’s as easy as it looks!
It did the job flawlessly, there is a “screw on” cap, that holds the brass-nut, you only have to be carefull to #1 melt it in straight and not at an angle #2only melt it in as far as needed and not any further.
But I did it first try and only melted 1 nut in a tidy bit deeper than I should, but the screw did bite into the nut so no problem.
(A tempreature around 150-200°C should be enough to melt the nut into the plastic)
Everything else is fit by hand or screwed in by hand/tool.
I’ve got the first one done. I ran out of the 6mm screws, so have more screws on the way to build the second rack, and then attach it to the stand.
It was super smooth and quick with the right rhythm insertion the brass fittings, align, set to side and repeat.
Here’s the first tier. it’s not perfect at the edge of each section, so no overlapping modules (and the reason for the strange module placement). I’m heat testing now, but so far still good and I’m keeping the back open to ventilate until I get it on the shared stand.
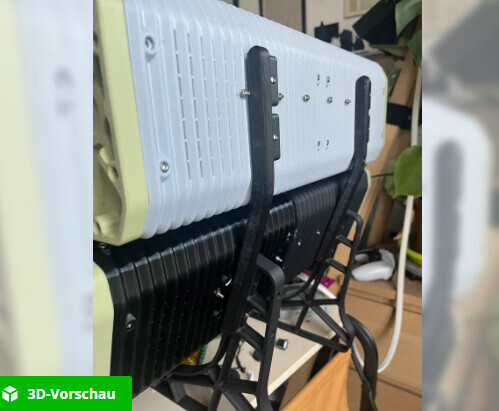
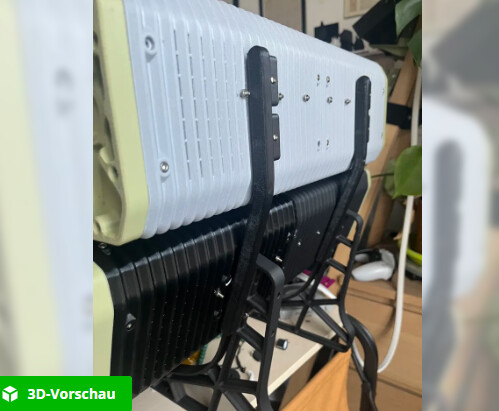
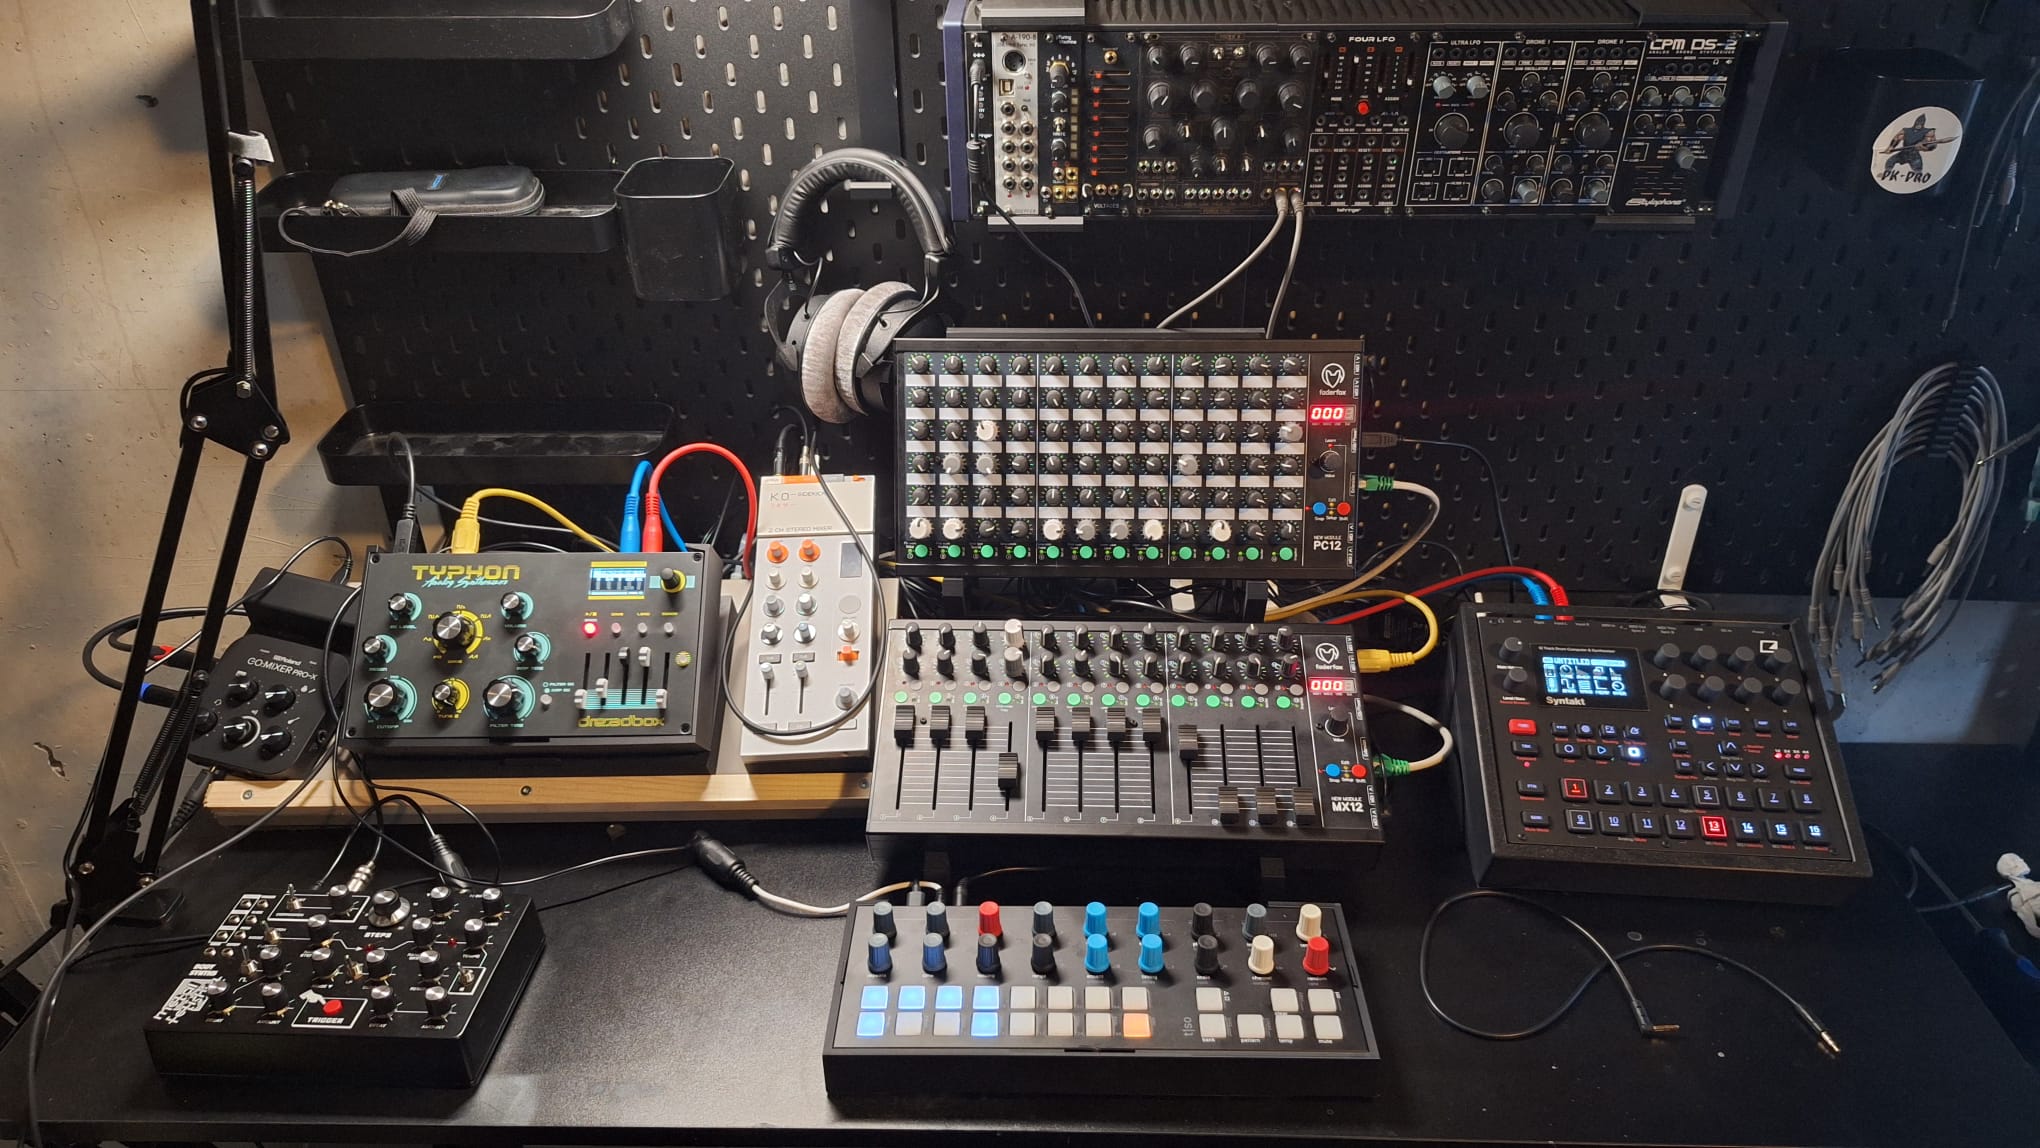
The last 2 weekends I was busy designing and prototyping Cases for DreadBox Typhon + FaderCaps for the Typhon, and a case for the Torso T1 and Stands for my 2 Faderfox units (which double as a tilt stand-torso&dreadbox). I modded a Stand for the Teenage-Sidekick so it has a bottom and clamps for backup AAA Batteries. I also thought about mounting my 3D printed Eurorack Cases to the Skadis wall and after 2 failed prints (measurement failure) I also have working clamps for the 3D printed Eurorack case to mount “clamp” it to a Ikea SKADIS wall: