The most obvious and sensible alternative would be double shot PBT or ABS (preferably PBT), which are fairly ubiquitous for computer keyboards now. Elektron could absolutely do it if they wanted.
4 Likes
2nd the warm water.
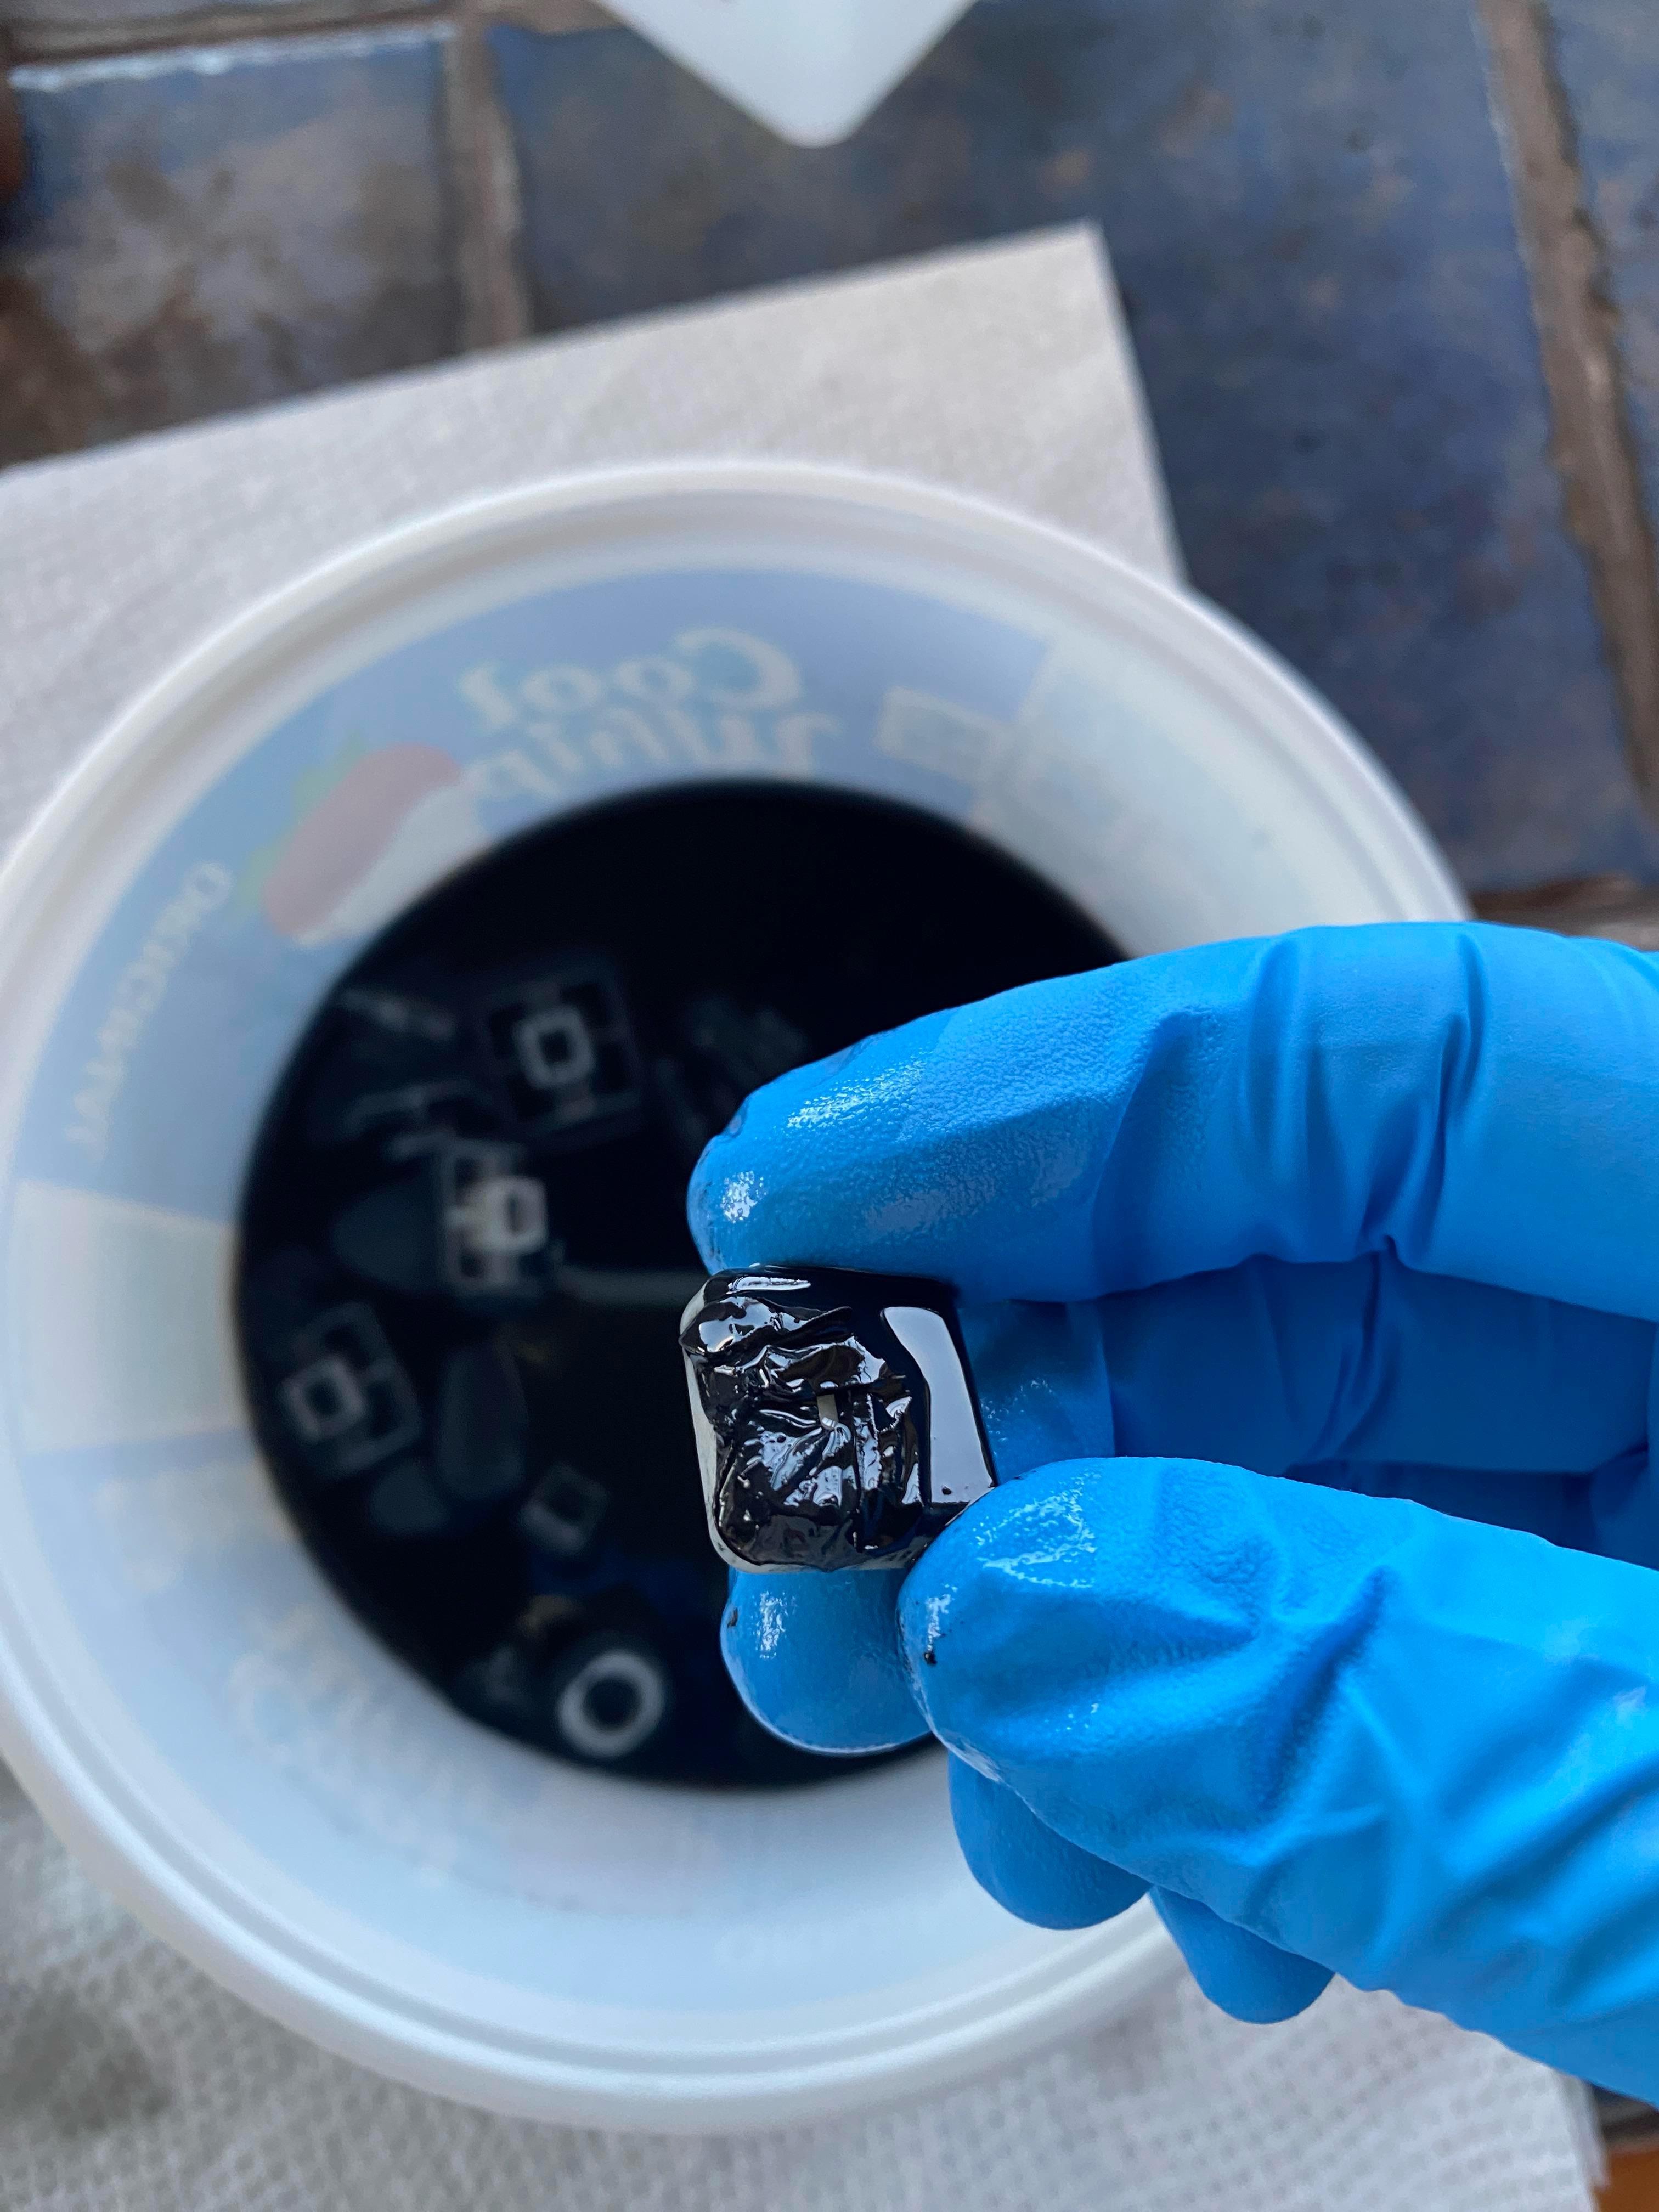
I used boiling water and it softens up the coating a lot. Had to throw away the Brillo afterward though
https://youtube.com/shorts/UKruR8V2Snw?si=WmL6yKXLuT82Nkx4
This is the method that I believe they’re using. It can be argued that the first spray is the paint you’re referring to, but I don’t think it’s a viable method to just stop at that first step. It’s likely that “paint” is a necessary component working in conjunction with the second coating, hence why they’re cured together.
I would also be inclined to call this an example of a singular coating, coming off as one.
Again, I don’t think this is as simple as “hey guys look how pissed our customers are, we can just skip that very last step that the entire world hates AND is entirely optional.” They would’ve done this long ago if this were the case.
In the end, I absolutely agree with @GurtTractor in that a double shot keycap would be the obvious preference no matter who’s right or wrong about their methods.
1 Like
Buttons on my OT mk2 are becoming sticky so I guess ill need to buy a kit of buttons from Elektron. How do i do that? Do i need to open a ticket? My OT si out of warranty.
They are just in the shop now, in the add-on section.
https://www.elektron.se/shop/add-ons
You can buy the same ones (sticky) or a new non-sticky option, if you prefer.
5 Likes
Wow thats great! Thanks 
1 Like
I replaced the buttons with the smooth ones on dt1, dn1, oct mk2, syntakt, rytm mk2, a4mk2, digi keys. On the oct mk2 some of the new buttons were sticking when pressed in. Also on the a4 i think. On those units and the rytm the buttons are really close to the size of the hole. Seems they decided to make the holes a little larger on newer units. Anyway I solved it by lightly sanding the side of the buttons getting stuck. I think it was always the right side. Don’t sand too much though because you will work through the paint. It didn’t take much and they all trigger fine. I recommend a plastic spudger for getting the buttons off. It took a few hours but I like the result. I had a fair number of sticky buttons and now everything feels great. I think the most pain in the butt was the a4. The buttons were difficult to get off. It is a grey unit. I have a newer black rytm and that one was not bad getting the buttons off.
4 Likes
So now they have new buttons but we have to sand them to make them fit? lol
2 Likes
This issue has been discussed on the forum before. It can be fixed by realignment of the PCB that the buttons are mounted on, see eg. this video:
3 Likes
It was just a few buttons, but yep. And I would rather do a little sanding then try to realign anything. It was just a tiny amount of sanding with a really low grit paper. Out of the 400 or so buttons I replaced, I only had to do that for maybe 4-5. so around 1%.
1 Like
OT mk2 has 55 buttons, so 1% is 0.55 buttons! I guess ill have to sand just one or two sides on one of those buttons. Seem acceptable 
Strongly recommend as @Kraus pointed out, it’s probably a whole lot faster to just lift the lid of the device and straighten things out versus sanding your brand new caps. If you target just a couple caps that are sticking, you’ll notice that the rest still aren’t centered within the faceplate holes.
All you need is a 2mm Allen for the faceplate and a T10 bit for the standoffs. And you don’t have to go as far as removing the ribbon cables as he does in the video. Simply rotate the faceplate over the rear of the device and all can be achieved without taking it apart any further. I also found you don’t always need to insert anything either. If you loosen up the faceplate pcb and just press in all the various keycaps from the underside (faceplate is upside down) you’ll naturally recenter everything.
6 Likes
Sounds reasonable. Especially if you are just doing one device. I spent hours and just wanted to power through doing 7 devices. I am very happy with the result.
To be fair, trig key #4 on my Tonverk was rubbing against the front panel when it was the og rubber caps. Now that I use the smooth set, it doesn’t anymore.
I think it says less about the new buttons, and more about how the buttons and caps in general can be very picky about alignement.
1 Like
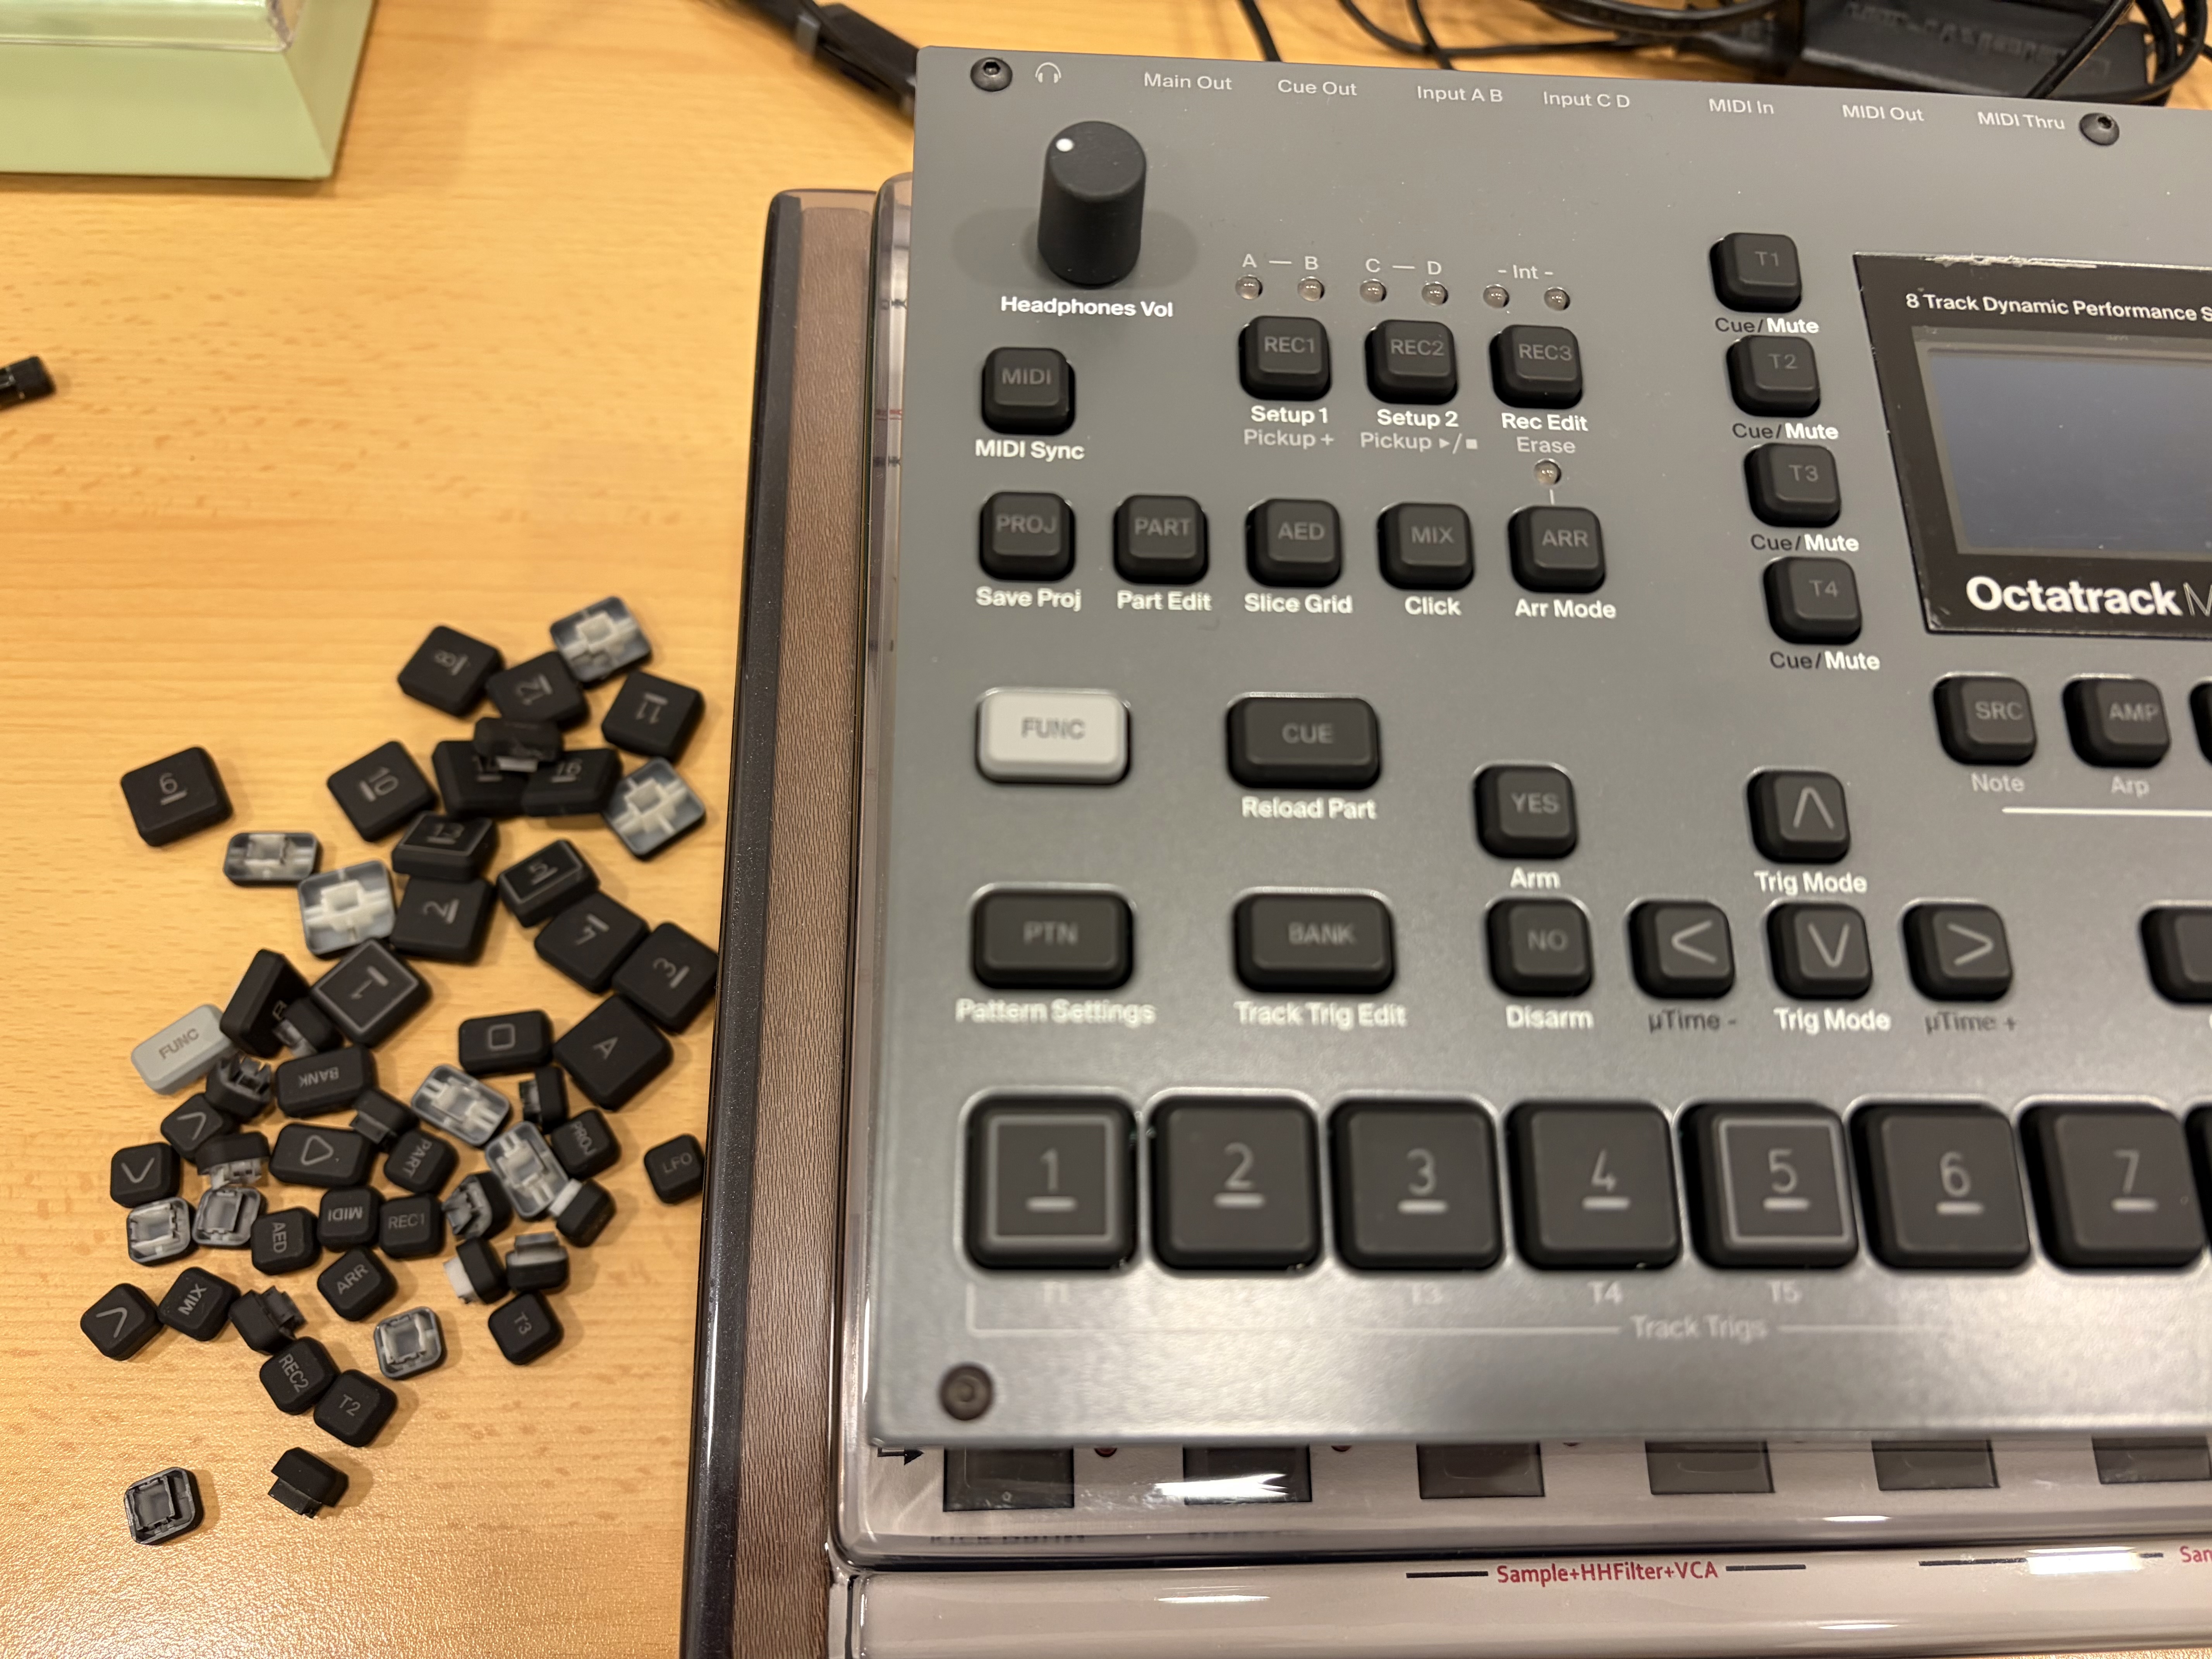
Changed the sticky buttons to uncoated ones and i deff prefer the new ones; i never liked the orig buttons but now after the change i hate the old ones even more!
4 Likes
So these (Button Cap Kit - Smooth Surface - Elektron) are exactly like the originals, minus that stupid rubber coating?
do these wear off ? are they more sensible since they lack the coating? anyone can chime in?
I think they’re probably too new for them to have experienced significant wear yet, but if it’s UV coating then the black part will inevitably wear away. Even so I would prefer them over the rubber coating, but I think I might prefer to just get a set of those 3D printed caps on etsy instead.
1 Like
Yes, they’re the same minus coating. Im planning to change buttons on my other Elektron machines even though they are still fine but i prefer the feel of these less grippy ones
Anyone tried baking soda or goo gone? I really don’t want to strip any paint off.
I actually like the rubber ones, to me it gives a sort of classy feel. Shame about the coating degrading over time though. I’m going to buy the smooth keys though for all my machines pre-emptively as a ‘last resort backup’ in case they stop selling the rubberized replacements in the future.
1 Like