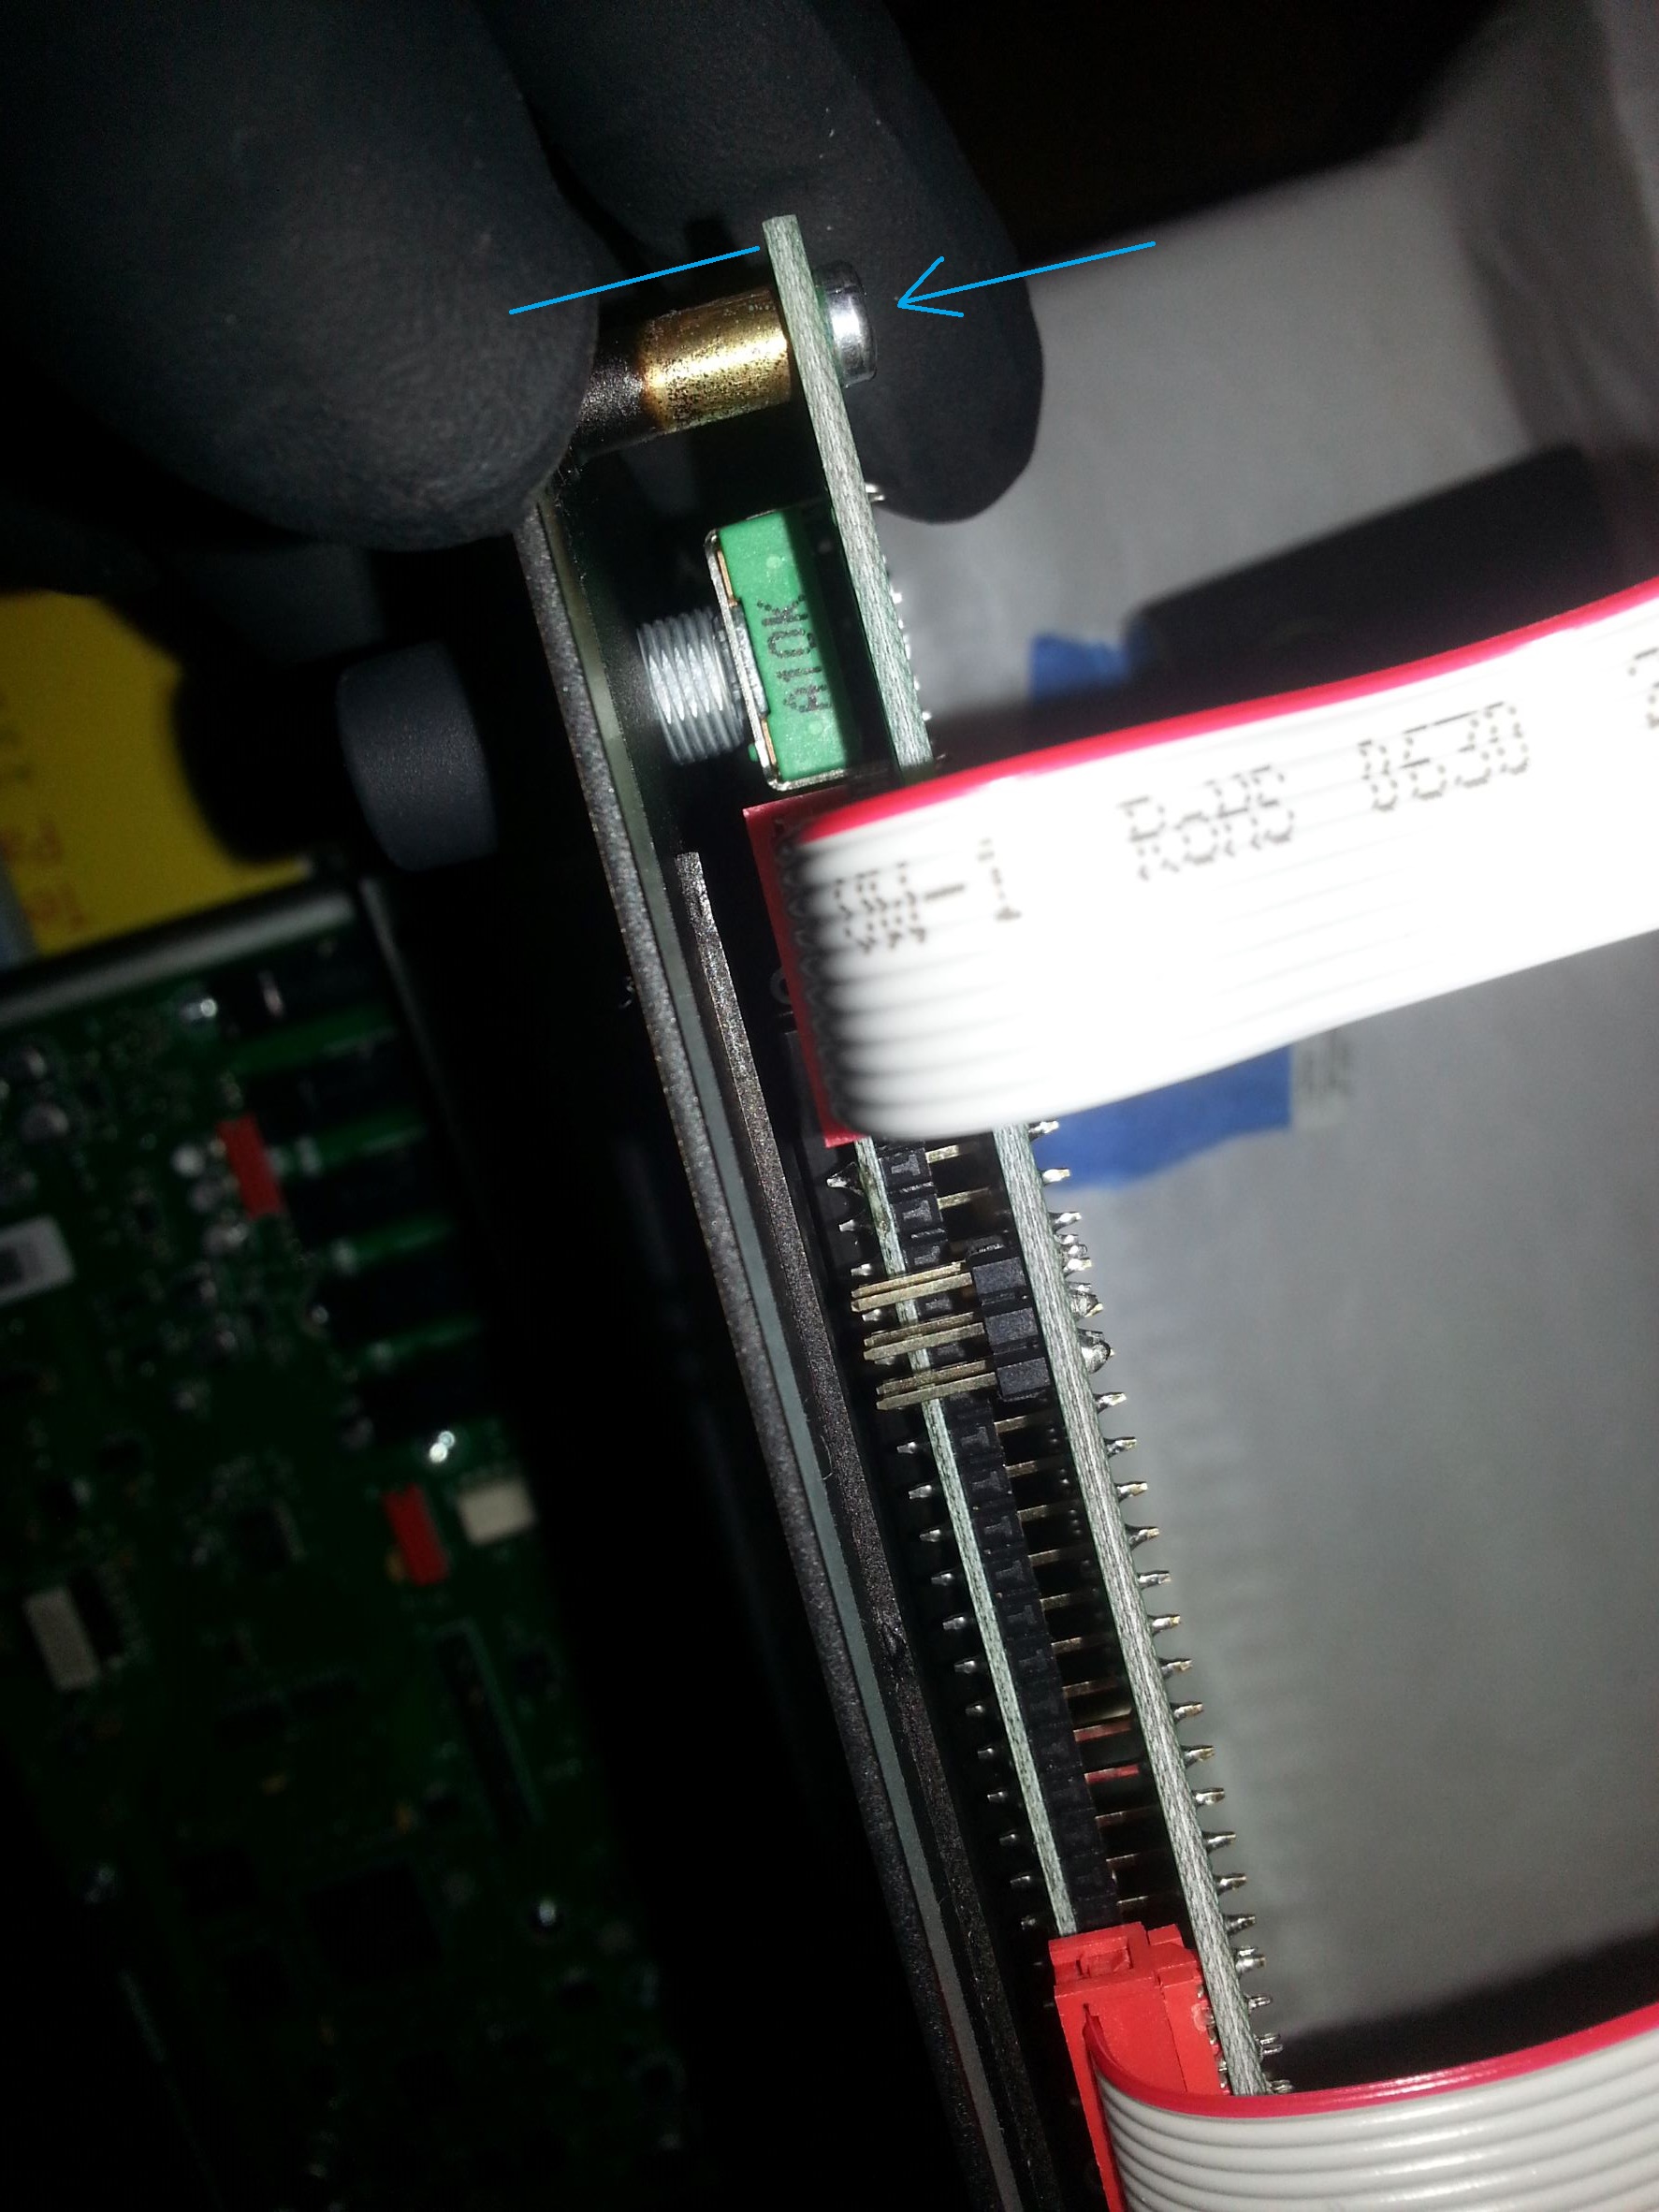
everything that looks like the ones I circled in blue you will be removing with your torx or hex tool.

The previously mentioned hex screws seat into the cylindrical mounts which are welded to the metal face of the device, it is the same for your model there are only more of them to remove. The path of this arrangement is shown with the arrow and the blue line.
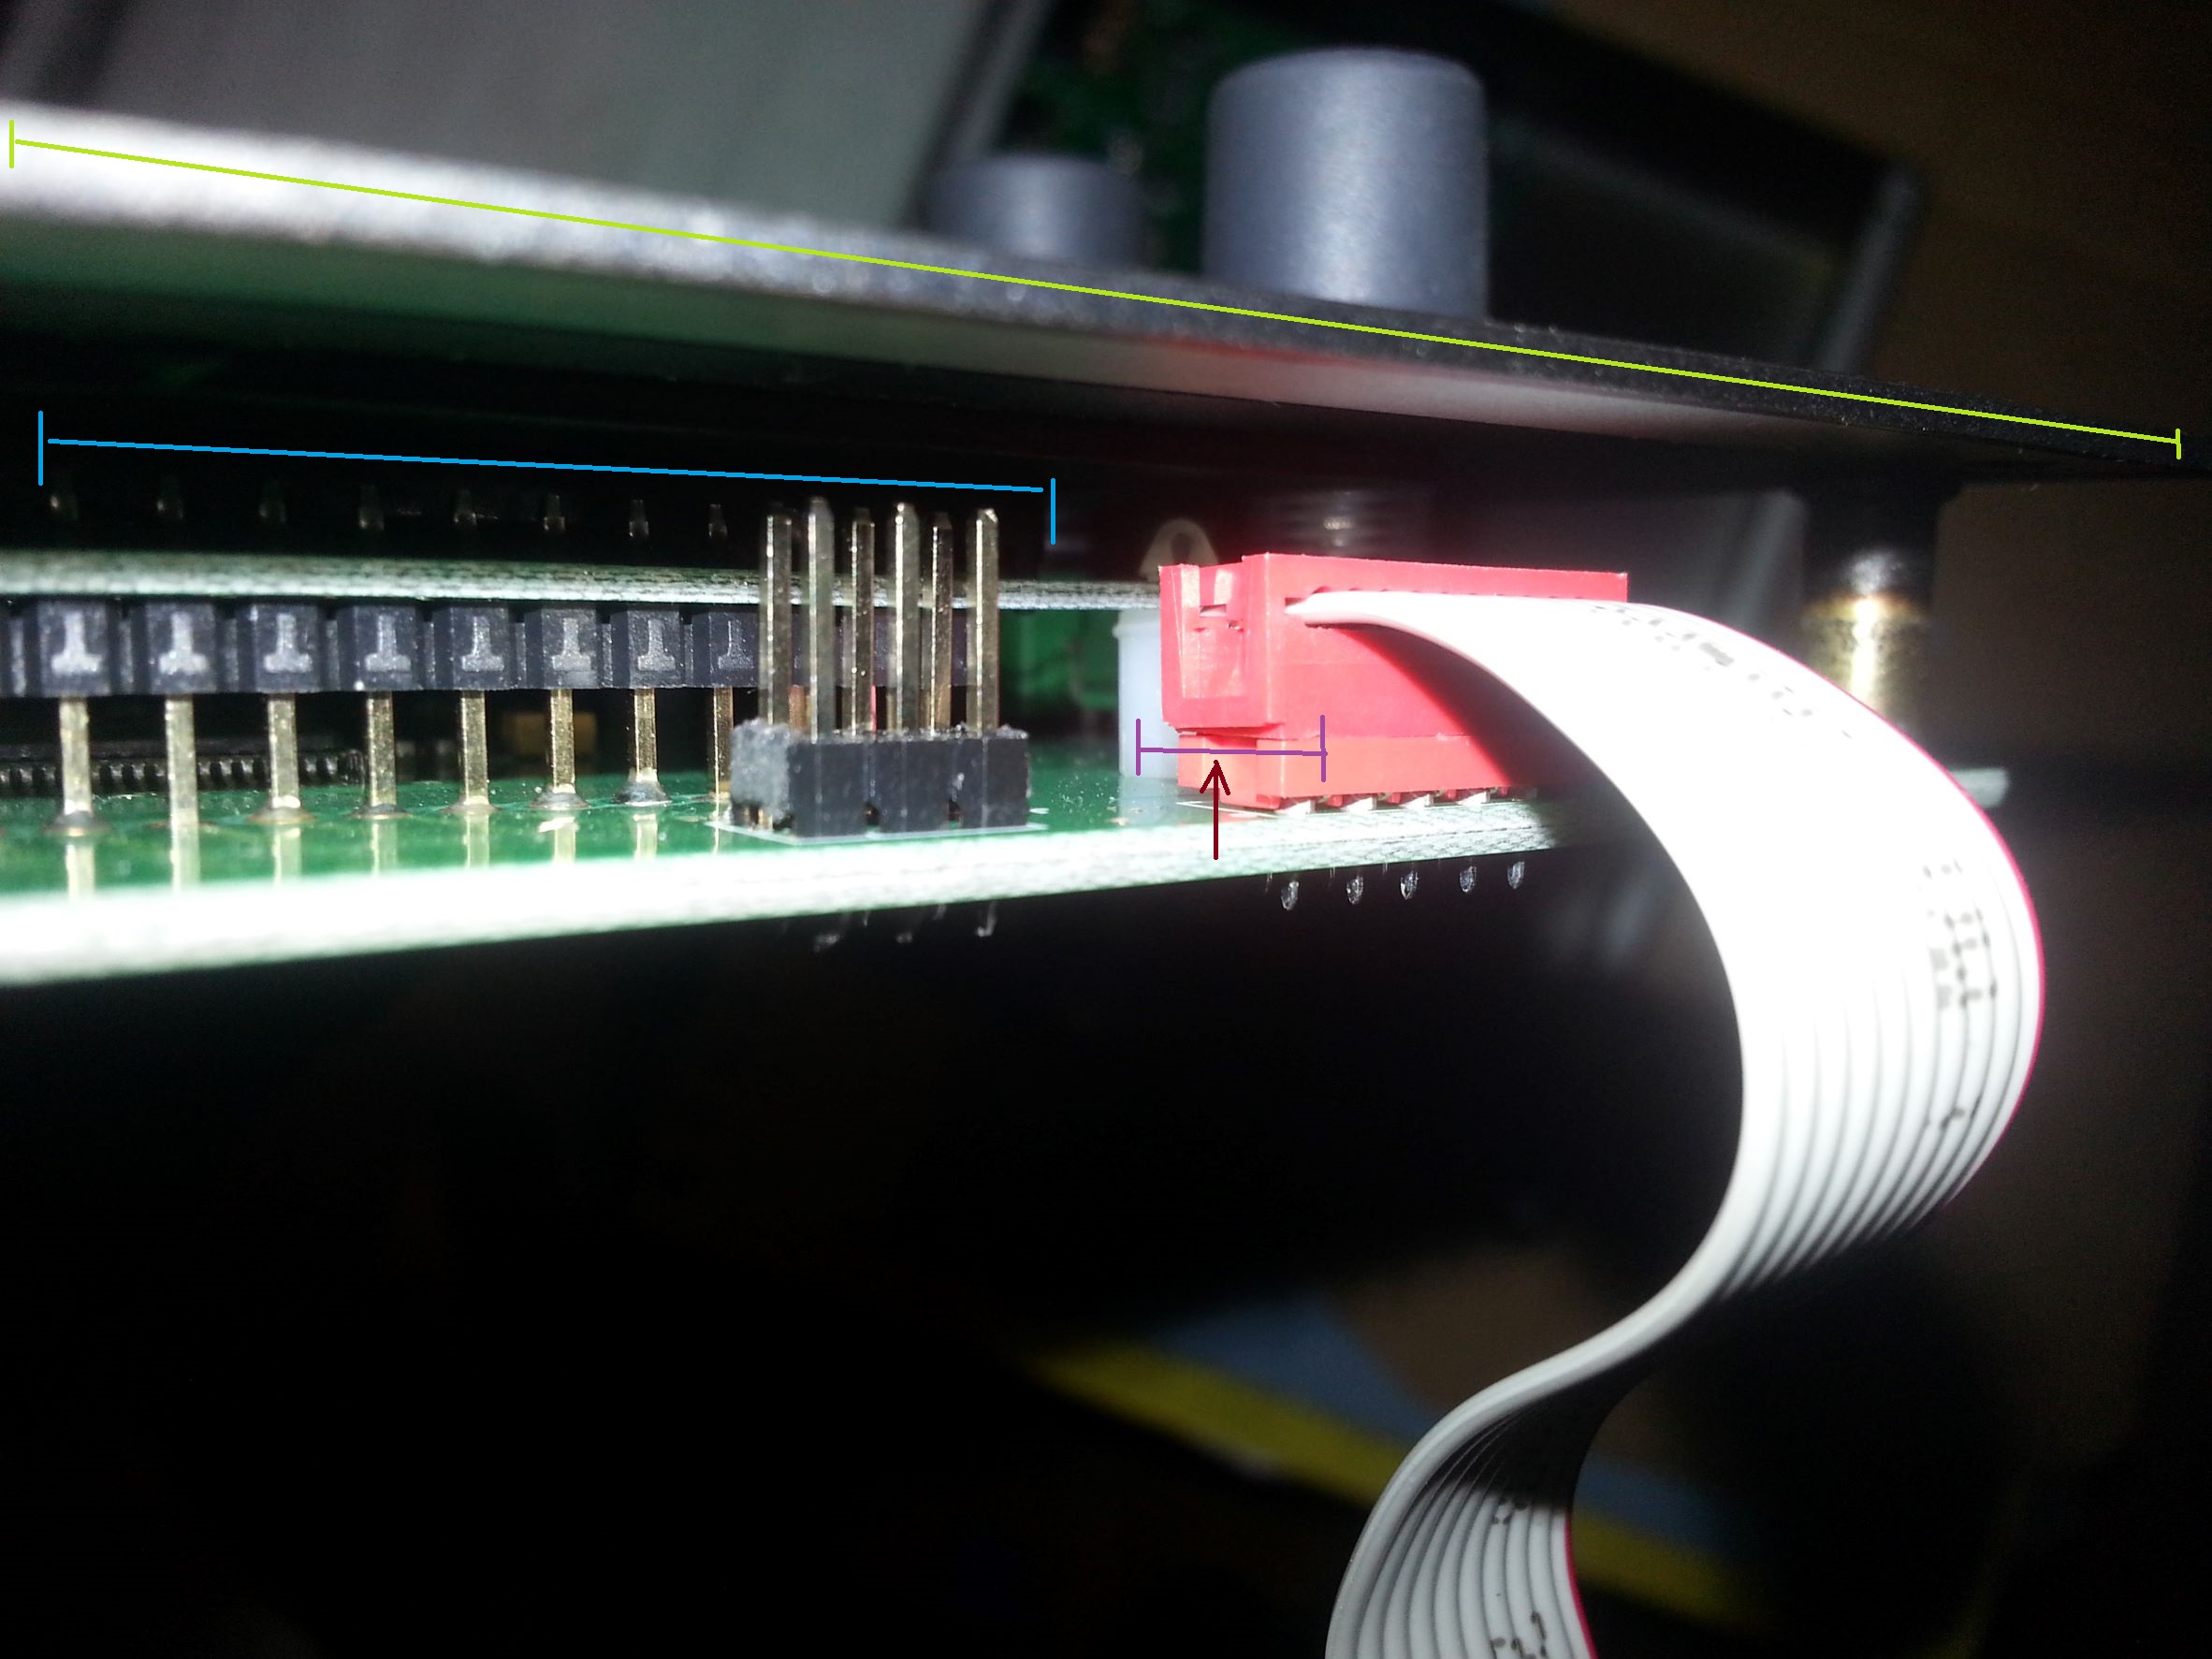
In this photo the path of the blue line is the screen which is under and parallel with the green line which is the faceplate, you can see it must be separated in order to accomplish the removal of the sticker. The orange ribbon cables are not clipped in and can be removed by hand but the preferred method (if available) would be esd tweezers with a L shaped end. I took a small video of the method for removal, I’ll see if the forum will allow me to post it. the purple line indicates where you would hook the tweezer or pull up if done by hand, the brown arrow is the direction of removal. It is a snug fit but not a troublesome job.
here is a short video showing the cable removal from the top half using esd tweezers with the faceplate still attached. It does not need to be done from both sides, really only the bottom half if you are careful. I’m showing this side for a different purpose but the procedure is the same.
I had to reduce video quality quite a bit for the forum to accept the upload but it should still be self explanitory, you’ll see it’s not rocket science. If this seems simple enough that’s fine but if you are uncomfortable with this type of process be honest with yourself and decide if now is the time to learn or if you want to take a different course of action, there’s no shame in acknowledging your own ability or limitation. I can tell you however the process is not complicated if you keep all your screws together and are sanitary with the project. I’m confident in your ability to judge for yourself and if I can’t help further someone with more insight can.
Keep in mind this is a digitakt but most elektron devices have similar DNA, my digitone is identical on the inside, I just happened to be doing a project with cleaning the digitakt volume pot today so this is what you get.
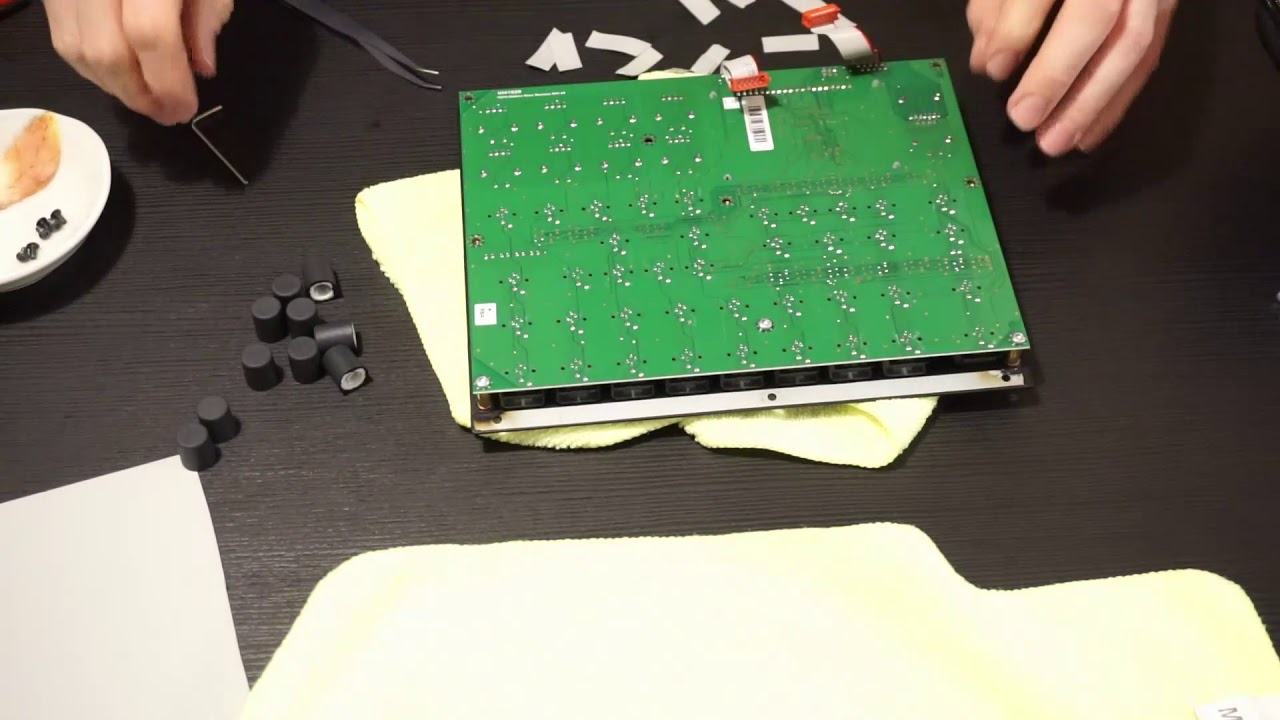
To replace the orange cable plugs first observe the orientation of the pins on the cable end, and the holes on the receiving end so you can align them correctly then just push down gently to make sure the pins are into the socket before applying pressure. apply equal pressure then once seated, press each side to insure one is not higher than the other. The rest of it is just reverse of removal. here is the youtube video of the guy who uses card paper to align his digitakt buttons, you can use the same method when you replace the face plate if it helps you.
also just as an aside, I’m sure I don’t need to mention this but don’t touch the screen after you remove the sticker, unless there is something like a residue on it avoid touching it. If there is a residue on the OLED screen of any kind use a clean lint free soft (preferably microfiber cloth and if necessary a very small amount of water, do not use glass cleaner or alcohol on an oled screen if at all possible. If the screen has no residue, try and cover it up before you get any dust or prints on it or the inside of the clear fascia bezel. If you leave bits of funk inside the bezel area it will bug you for the rest of your partnership with your device.
I think that’s all I got for now.